
 Dare I say that I think our home is finally purged of stomach buggies? It’s been one rough week since our return from NY. After K began mending, I took her place as the sick-pukey-cranky baby-mommy. Thanks to some care taking from my own mommy, I rested and recovered, only to pass the monster onto little R, who spent the next night in my arms and over the toilet as K bounced on my knee alongside her. Alas, it’s over! At least I hope and pray it is. I do have a hoarse and almost non-existent voice following all that hard core mommy-ing, but I’ll take sniffles over a stomach thingy any day.
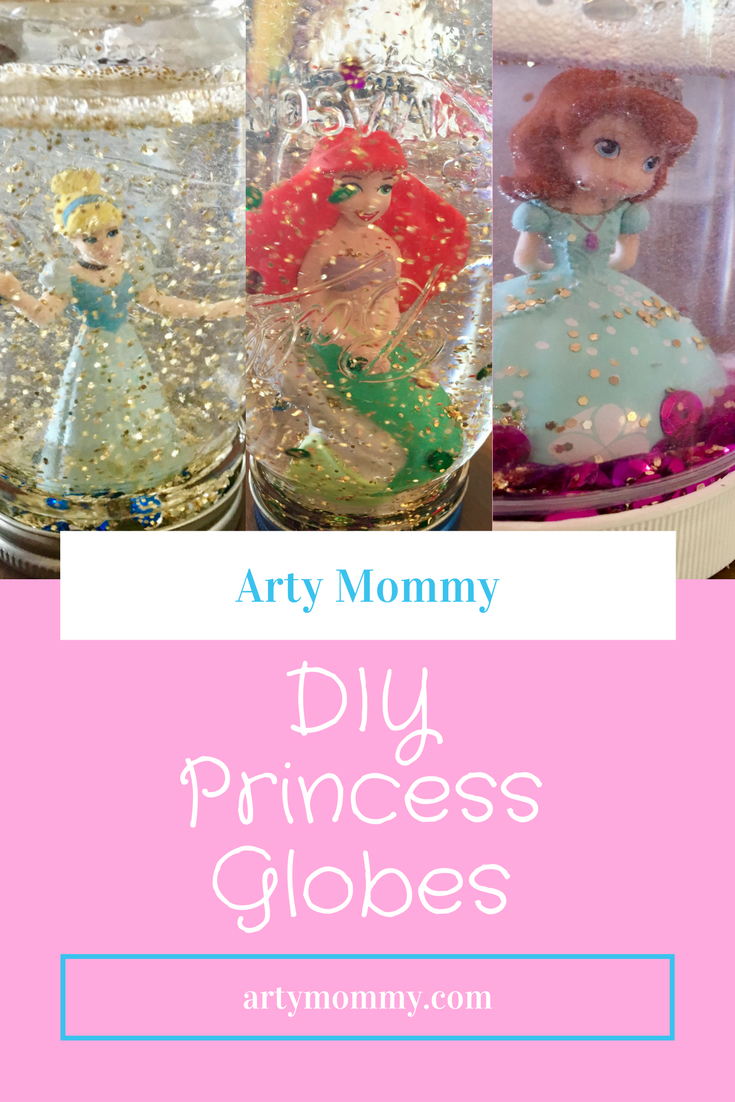
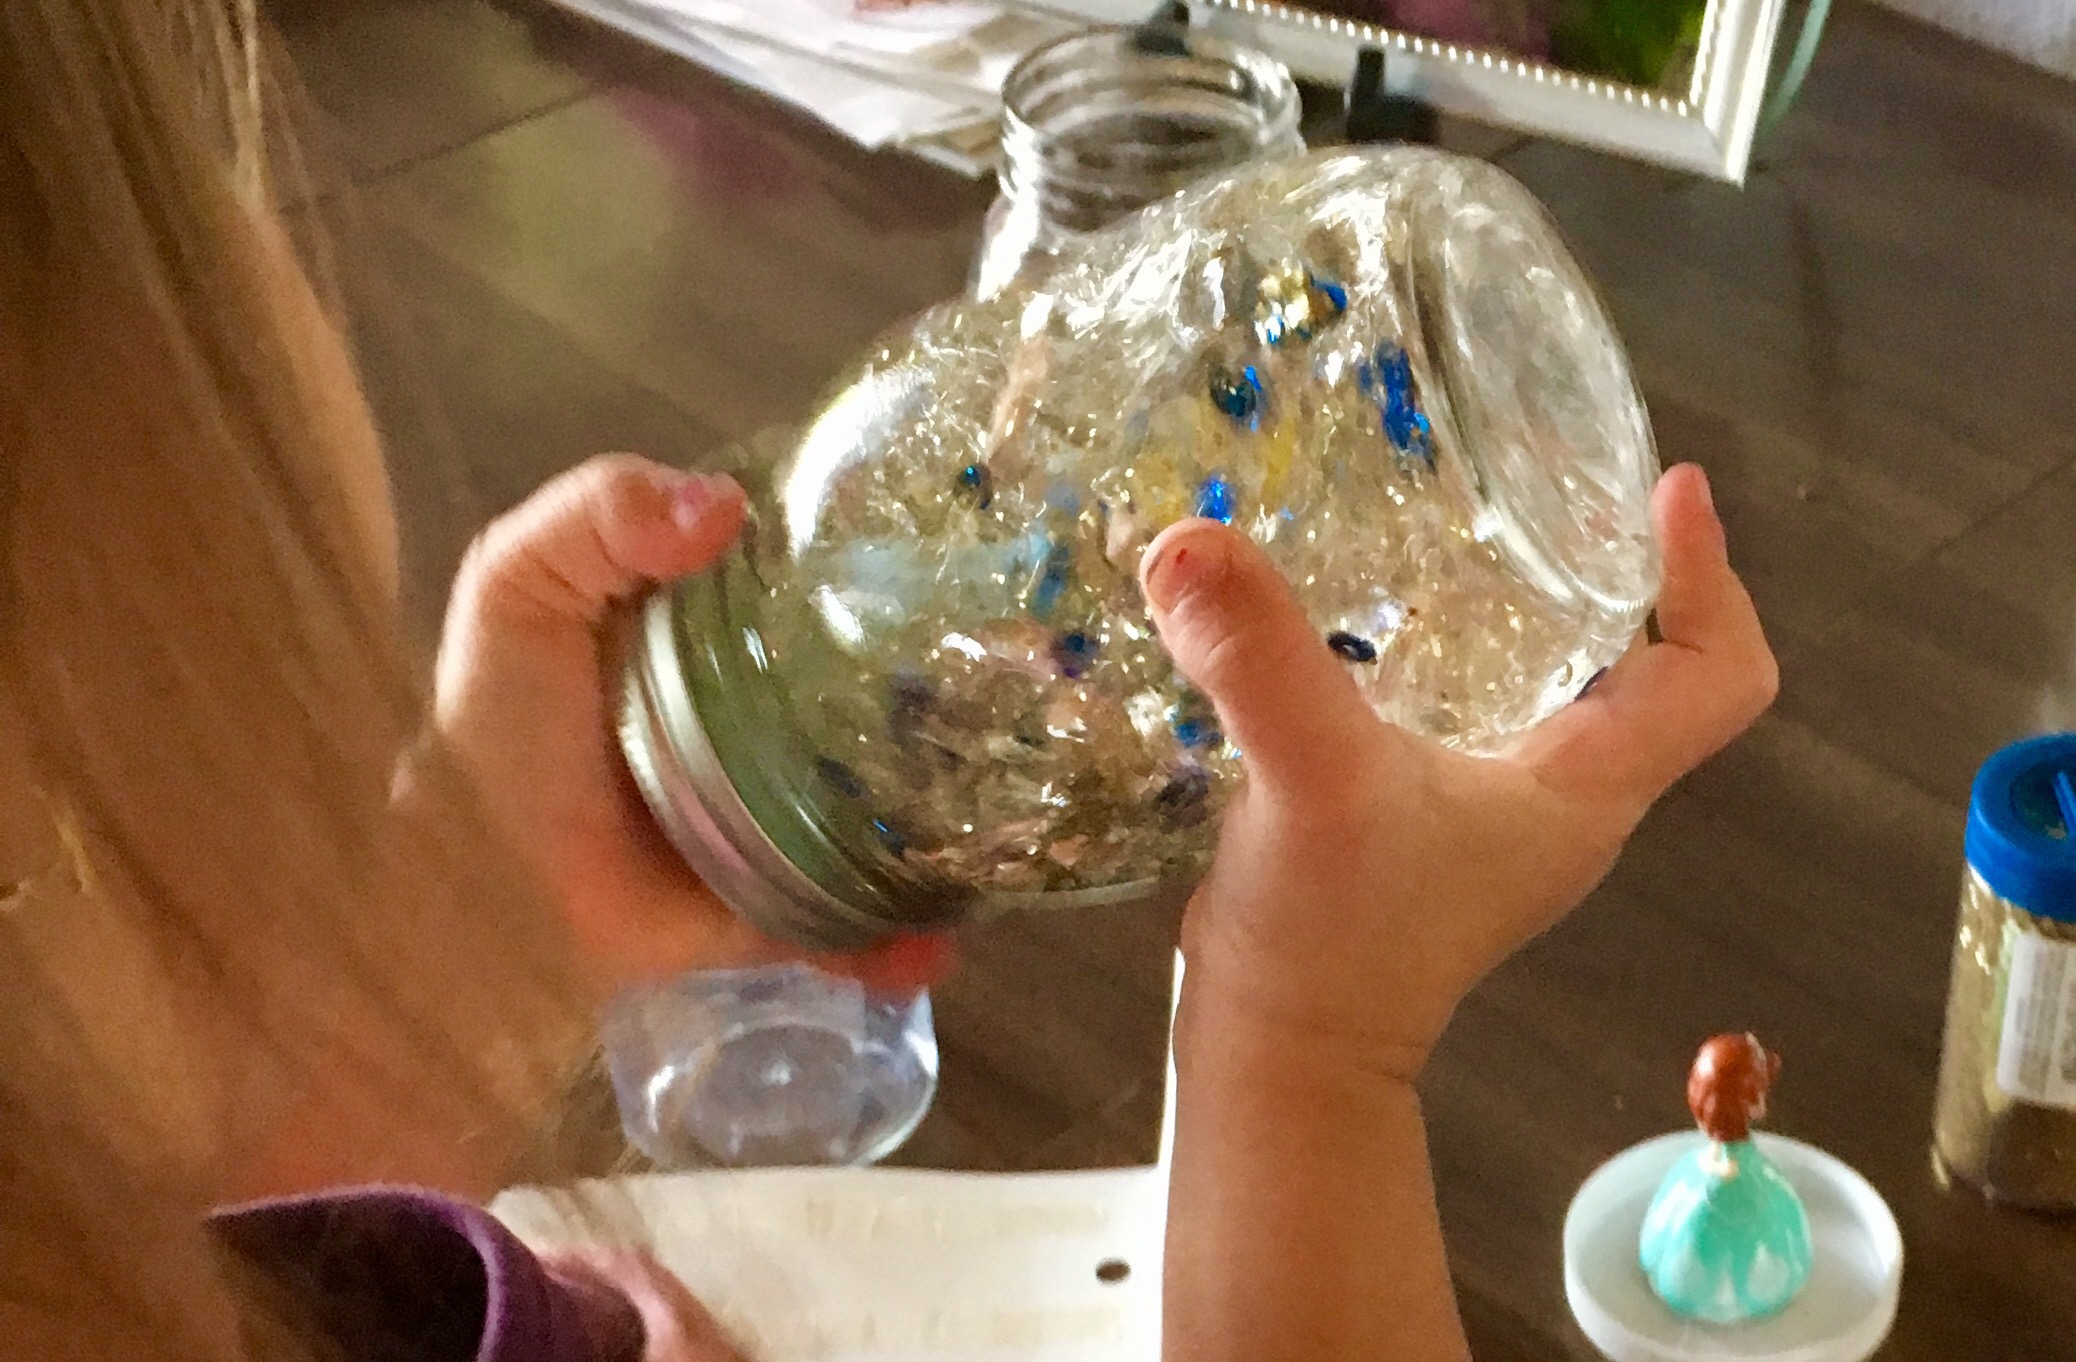
I’m playing catch-up now, and that includes sharing a couple of our recent art projects, or “art progois,” as R used to call them. We had great fun making these Princess Glitter Globes — thank you, Lavern, for sharing the idea with me! These are so very easy and they gave us an excuse to use and display a few of our many princess figurines (we’ve amassed quite a collection due to R’s love and my weakness for blind bags). 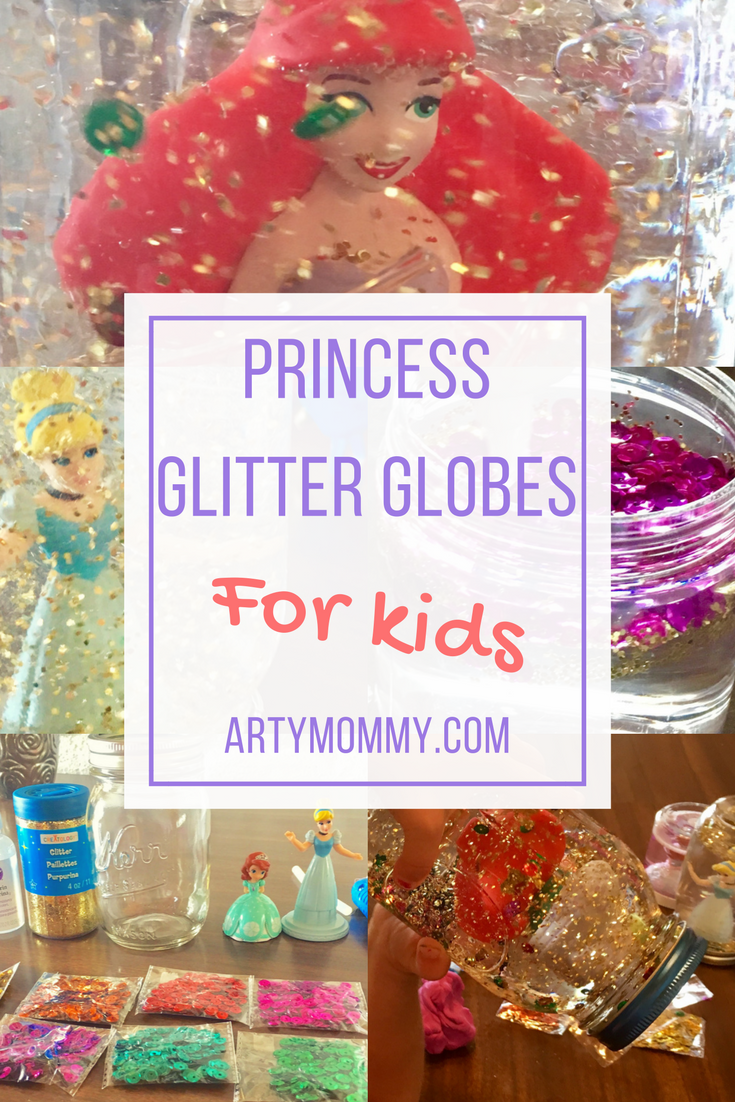
So here’s what you need: 
- Mason jar or clear jar with tight lid
- Distilled water or tap water
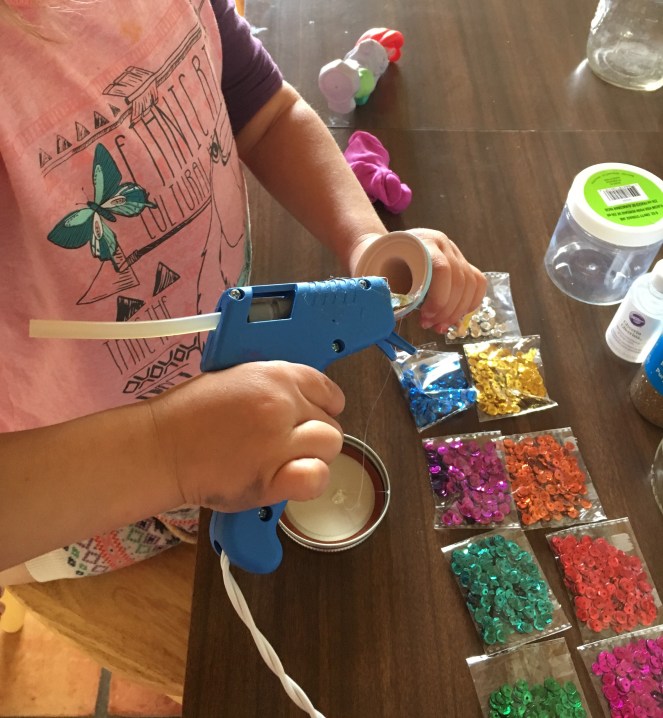
- Glue gun or super glue
- Figurine
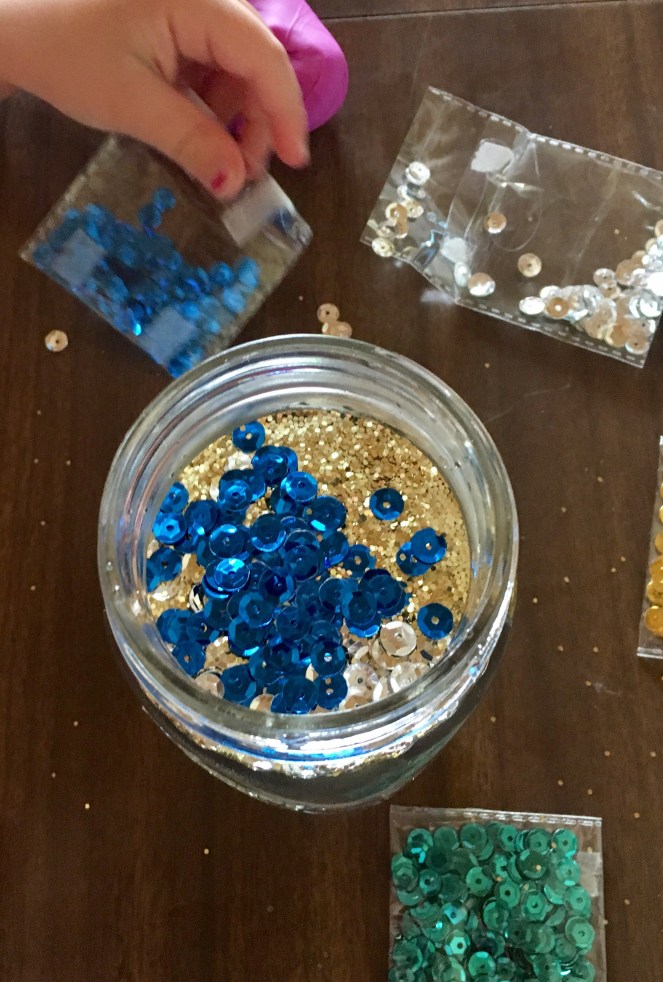
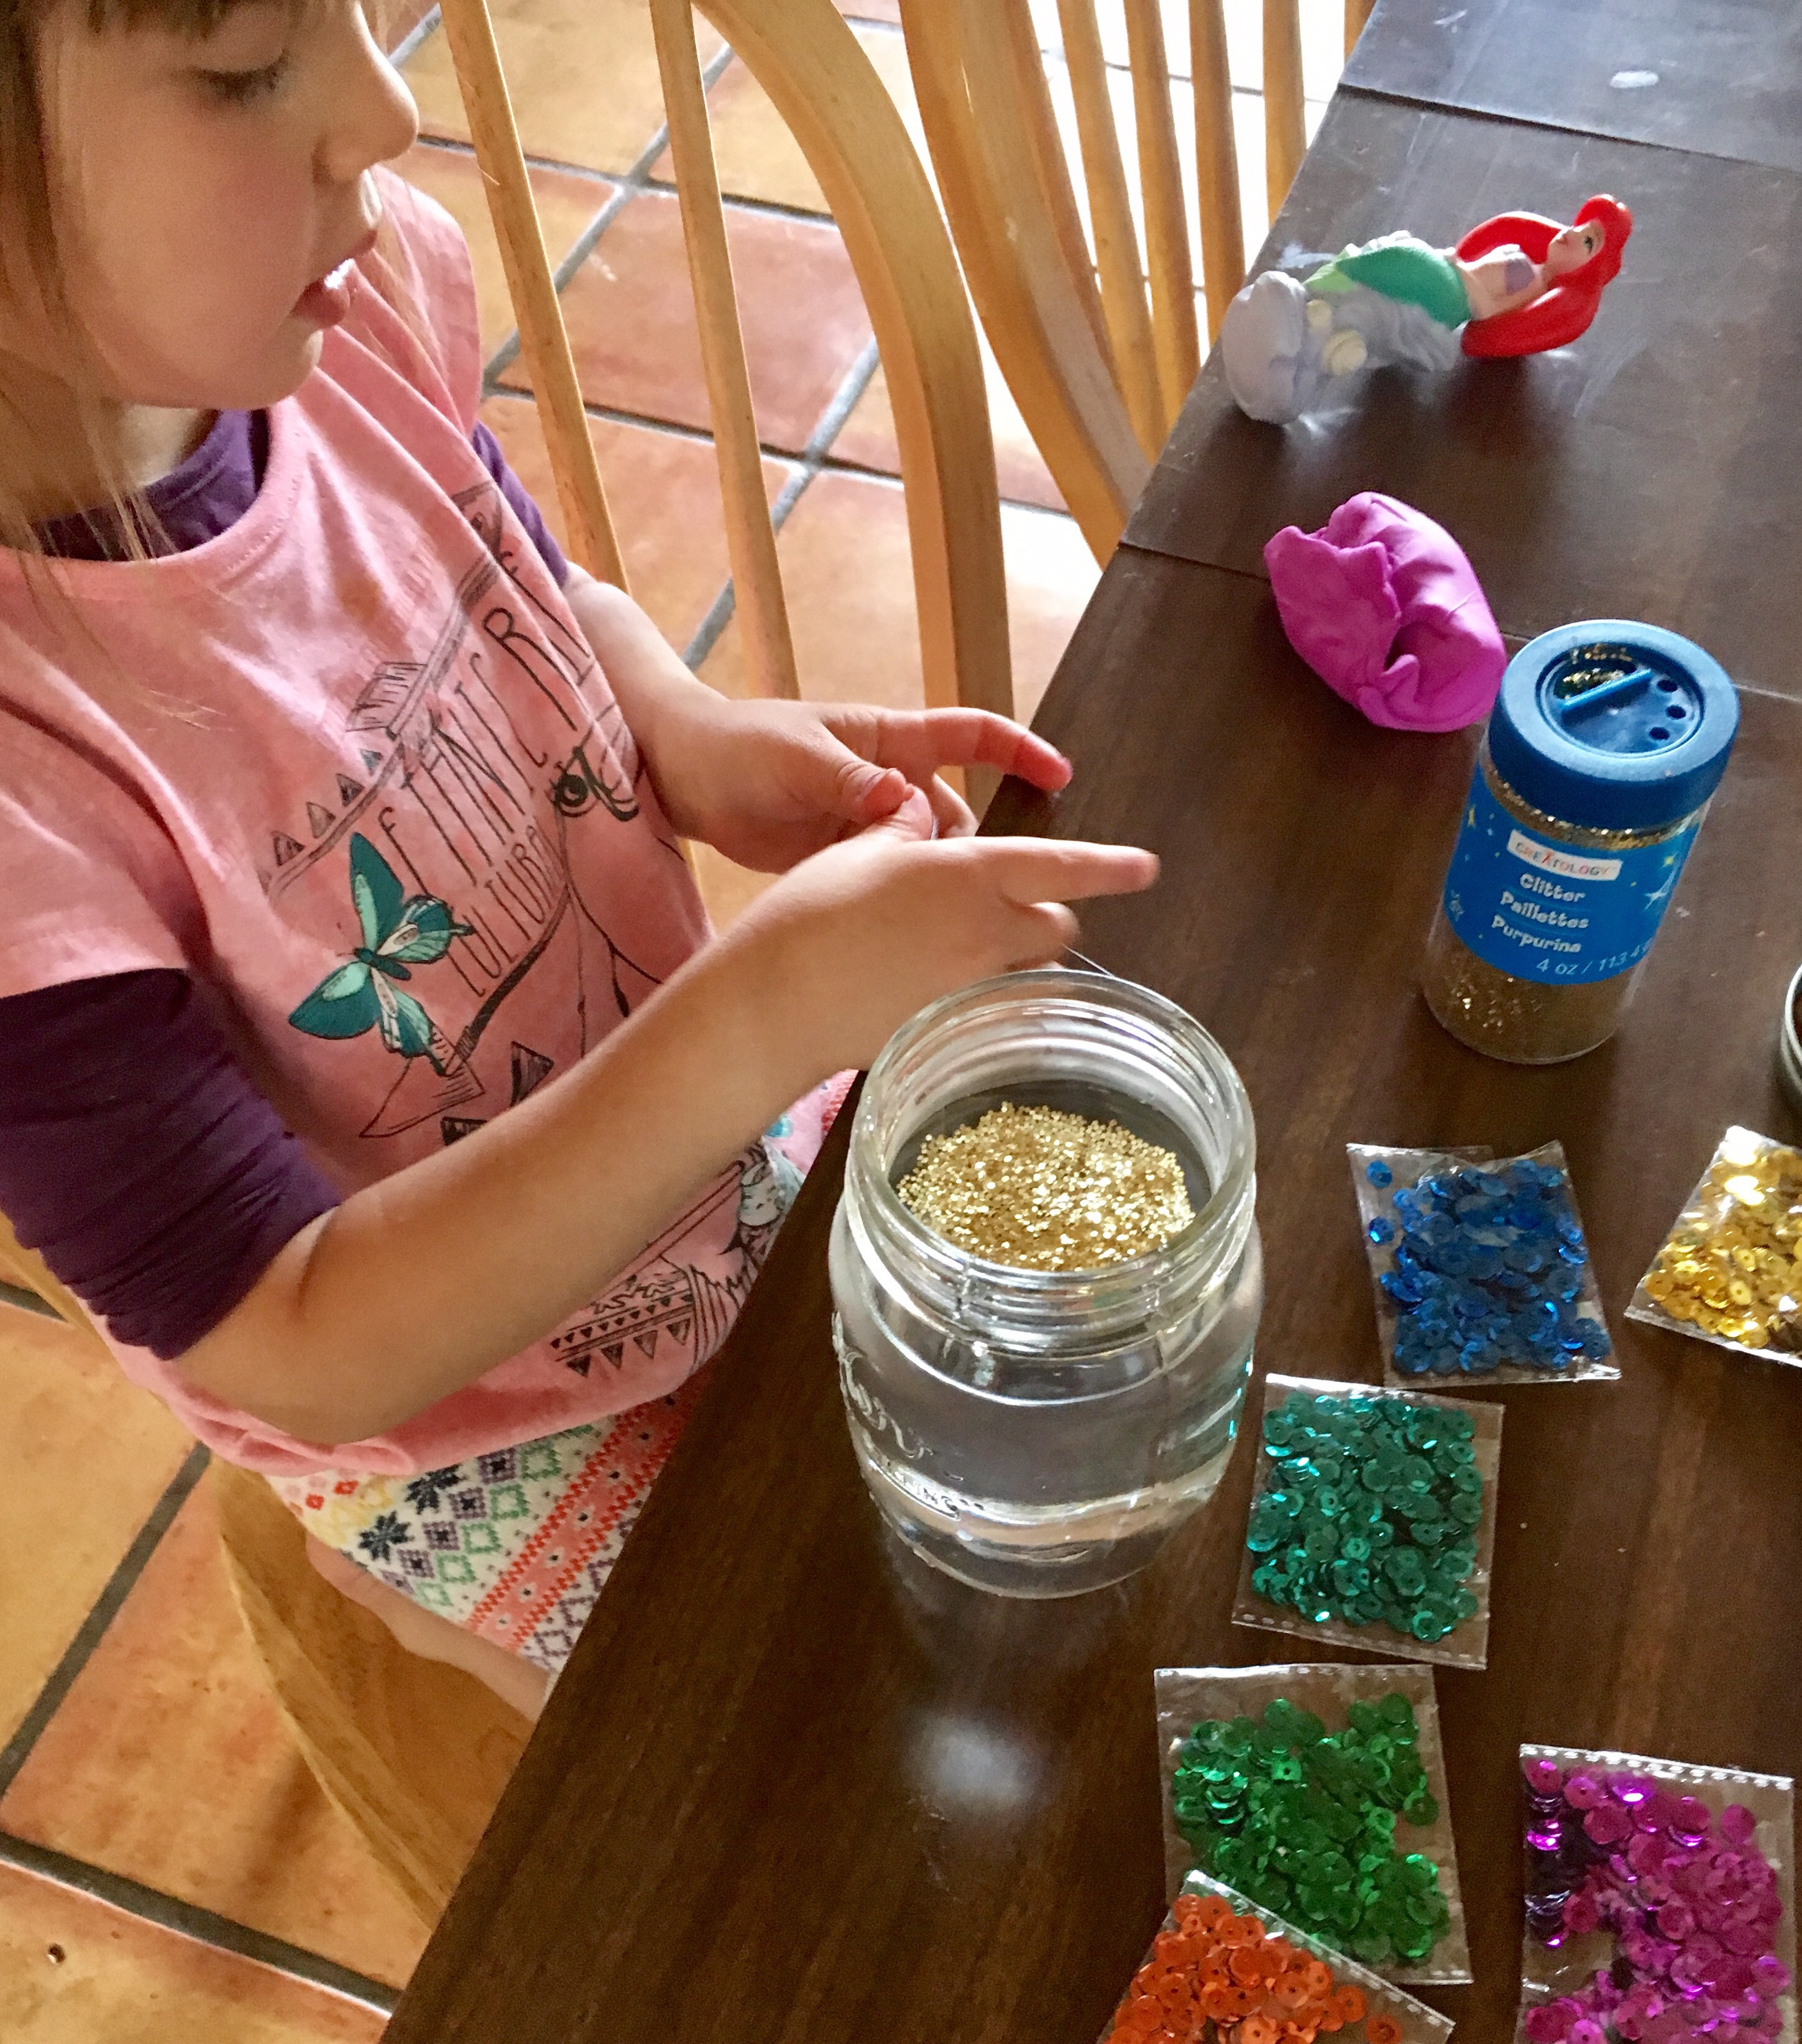
- Glitter and/or sequins
- Glycerin (liquid)
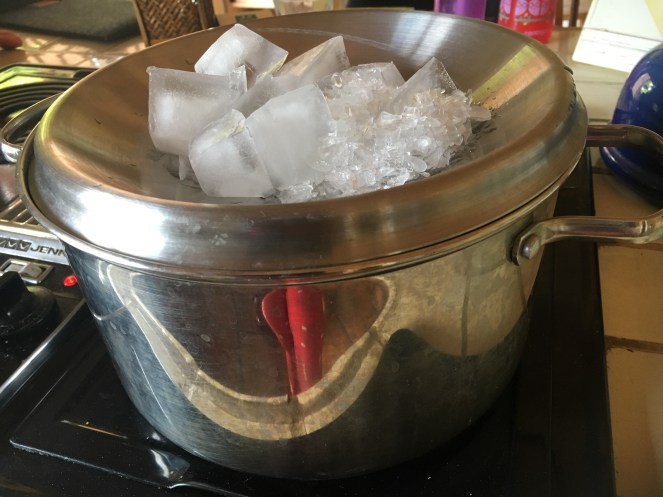
- Fill up your jar with water. Most recipes call for distilled water, so I made some myself using the whole double boiler — with ice on lid — so condensation drips into inner pot technique. I made three princess jars and only had enough distilled water for one (this odd technique renders very little distilled water) and, honestly, the tap water worked just as well.

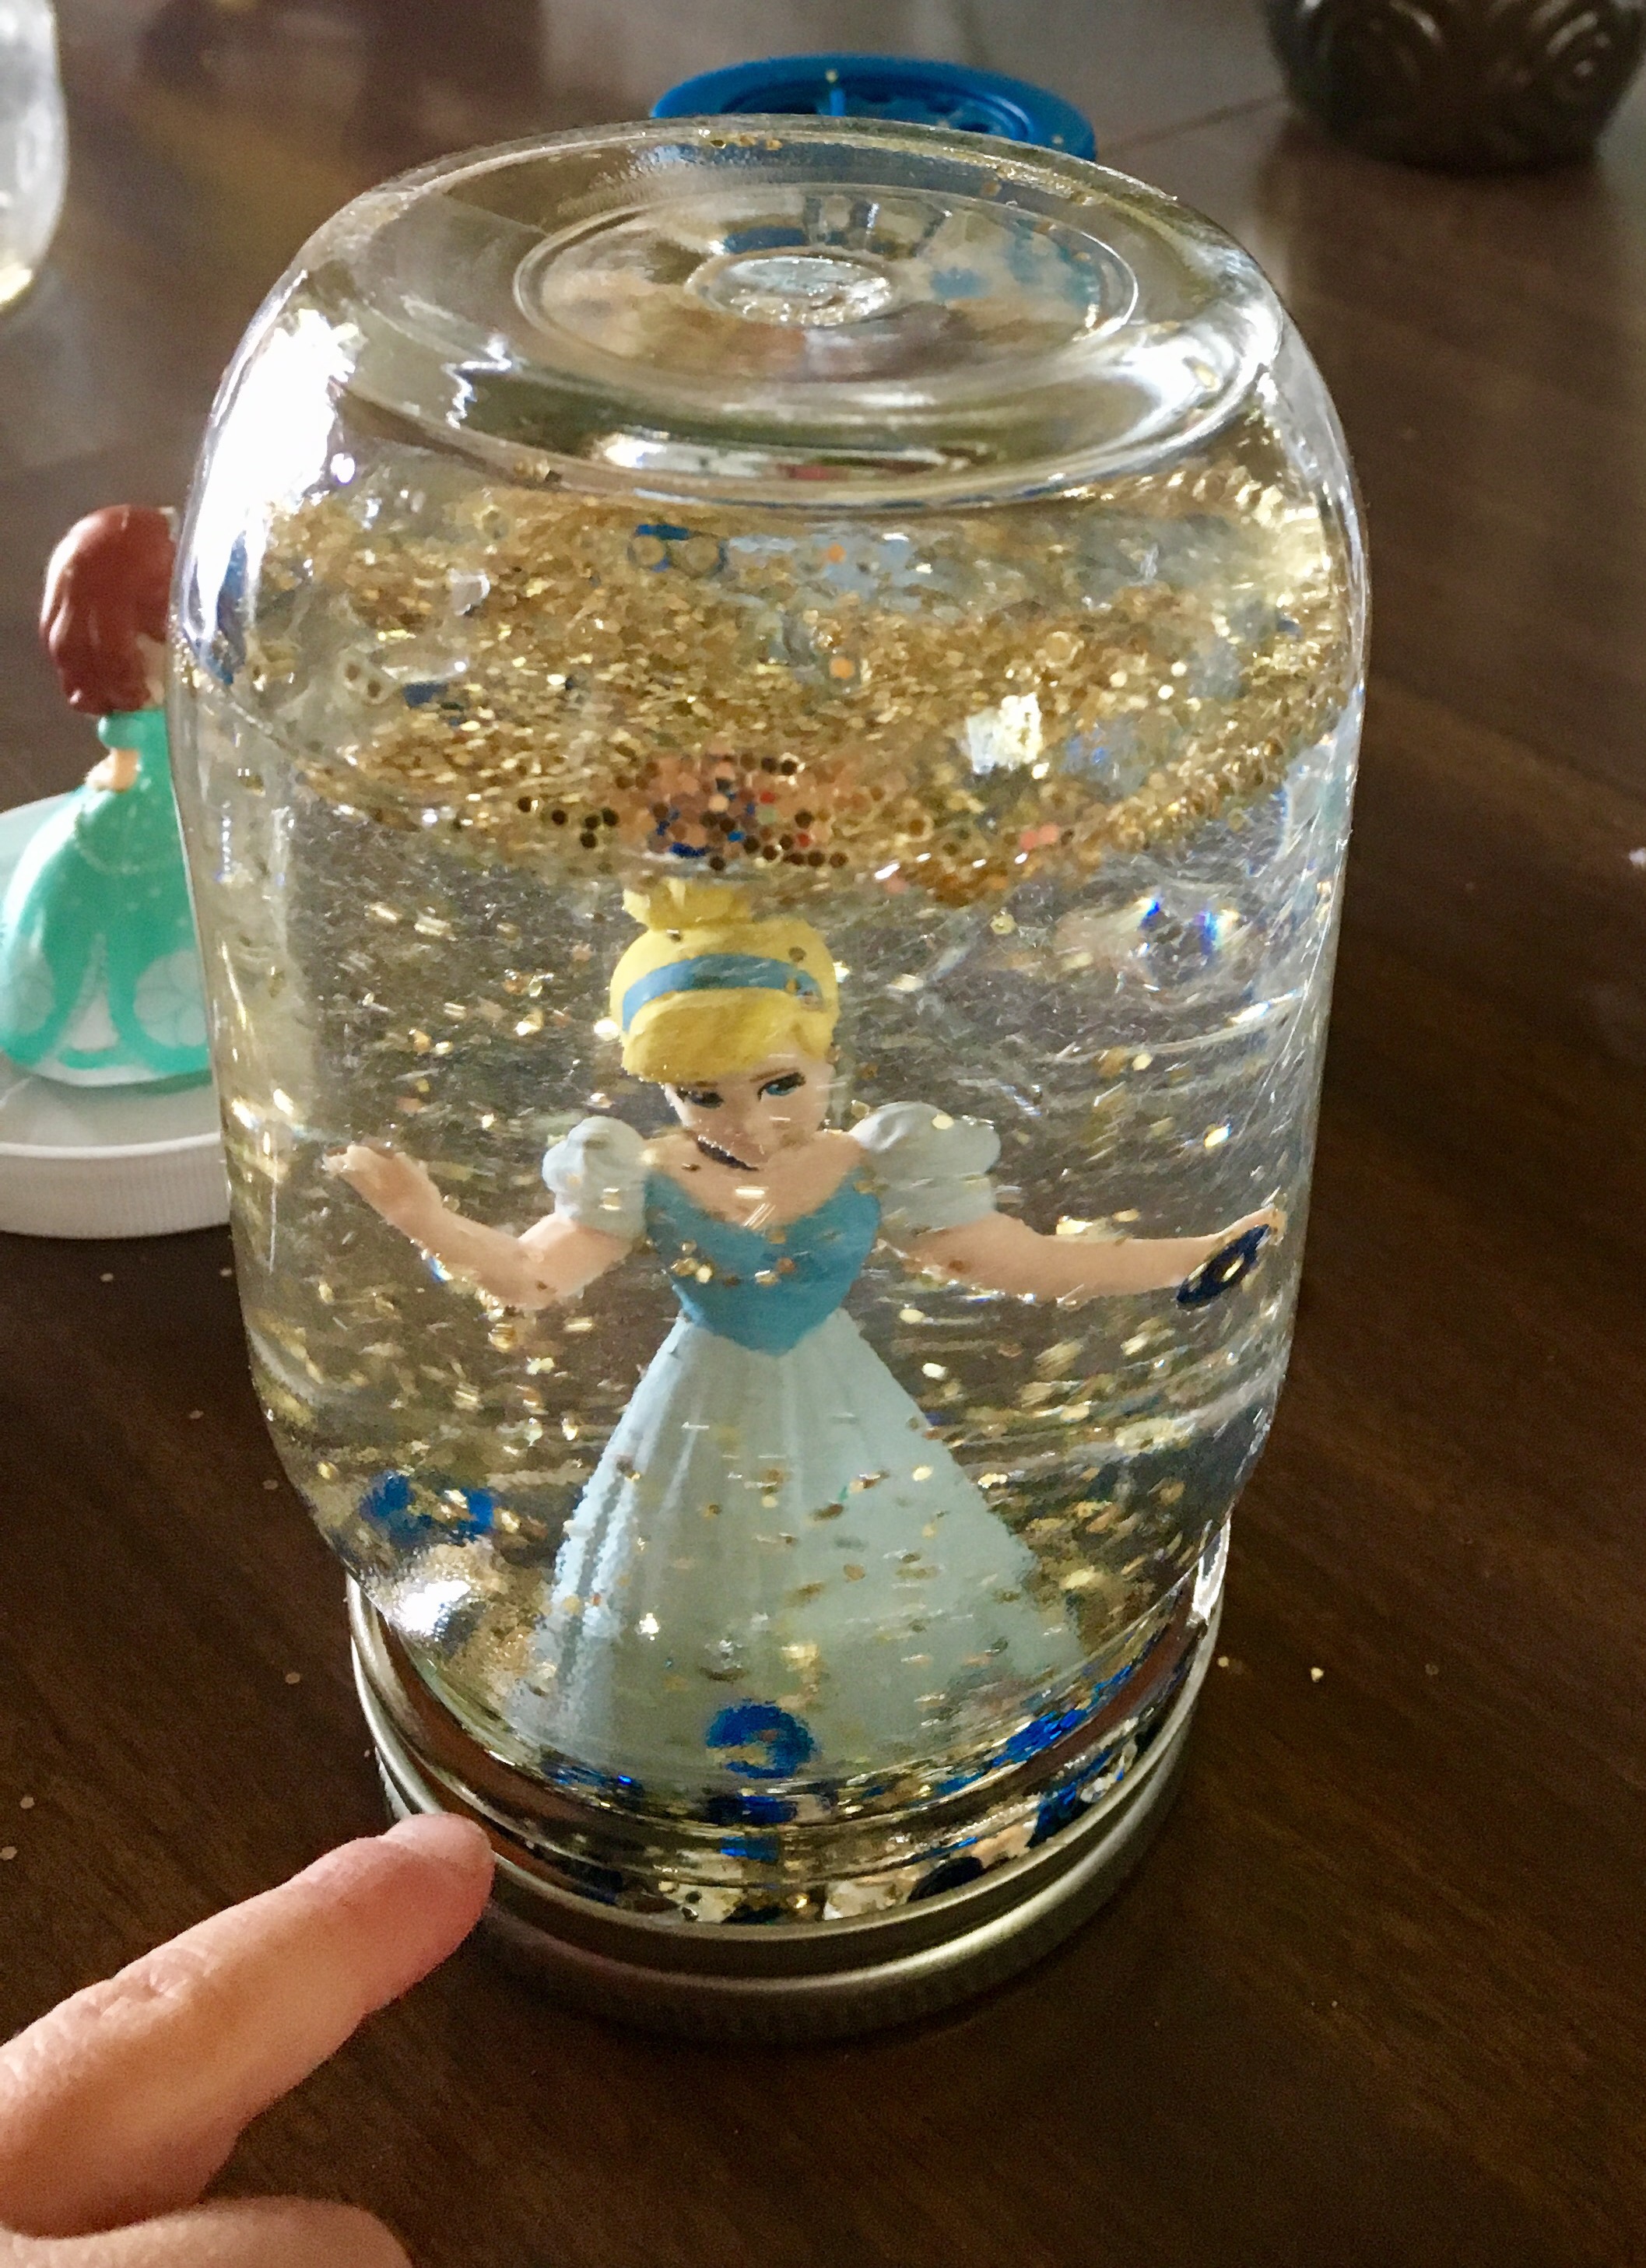
- With a hot glue gun, glue your figurine into the inside of the jar’s lid. * Make sure to stick the figurine into the glue when it’s HOT. Our Ariel later broke off because we waited too long to place her.
- Place a tsp or so of glycerin into the water (if you use too much, your globe will be soapy — as evinced by our Sofia globe below).

- Sprinkle glitter and/or confetti into the water. We stuck with the color scheme for our princesses, so Ariel was surrounded by green, Sofia by purple and Cinderella by blue.

- Place lid on tightly (we even applied hot glue to the rim) and shake!! Your globe is DUNZO!
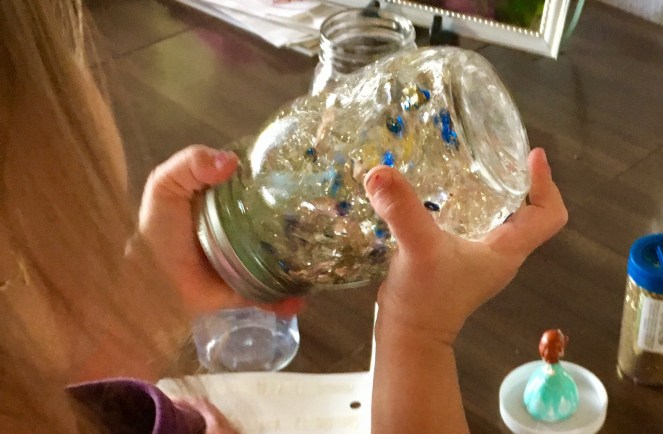


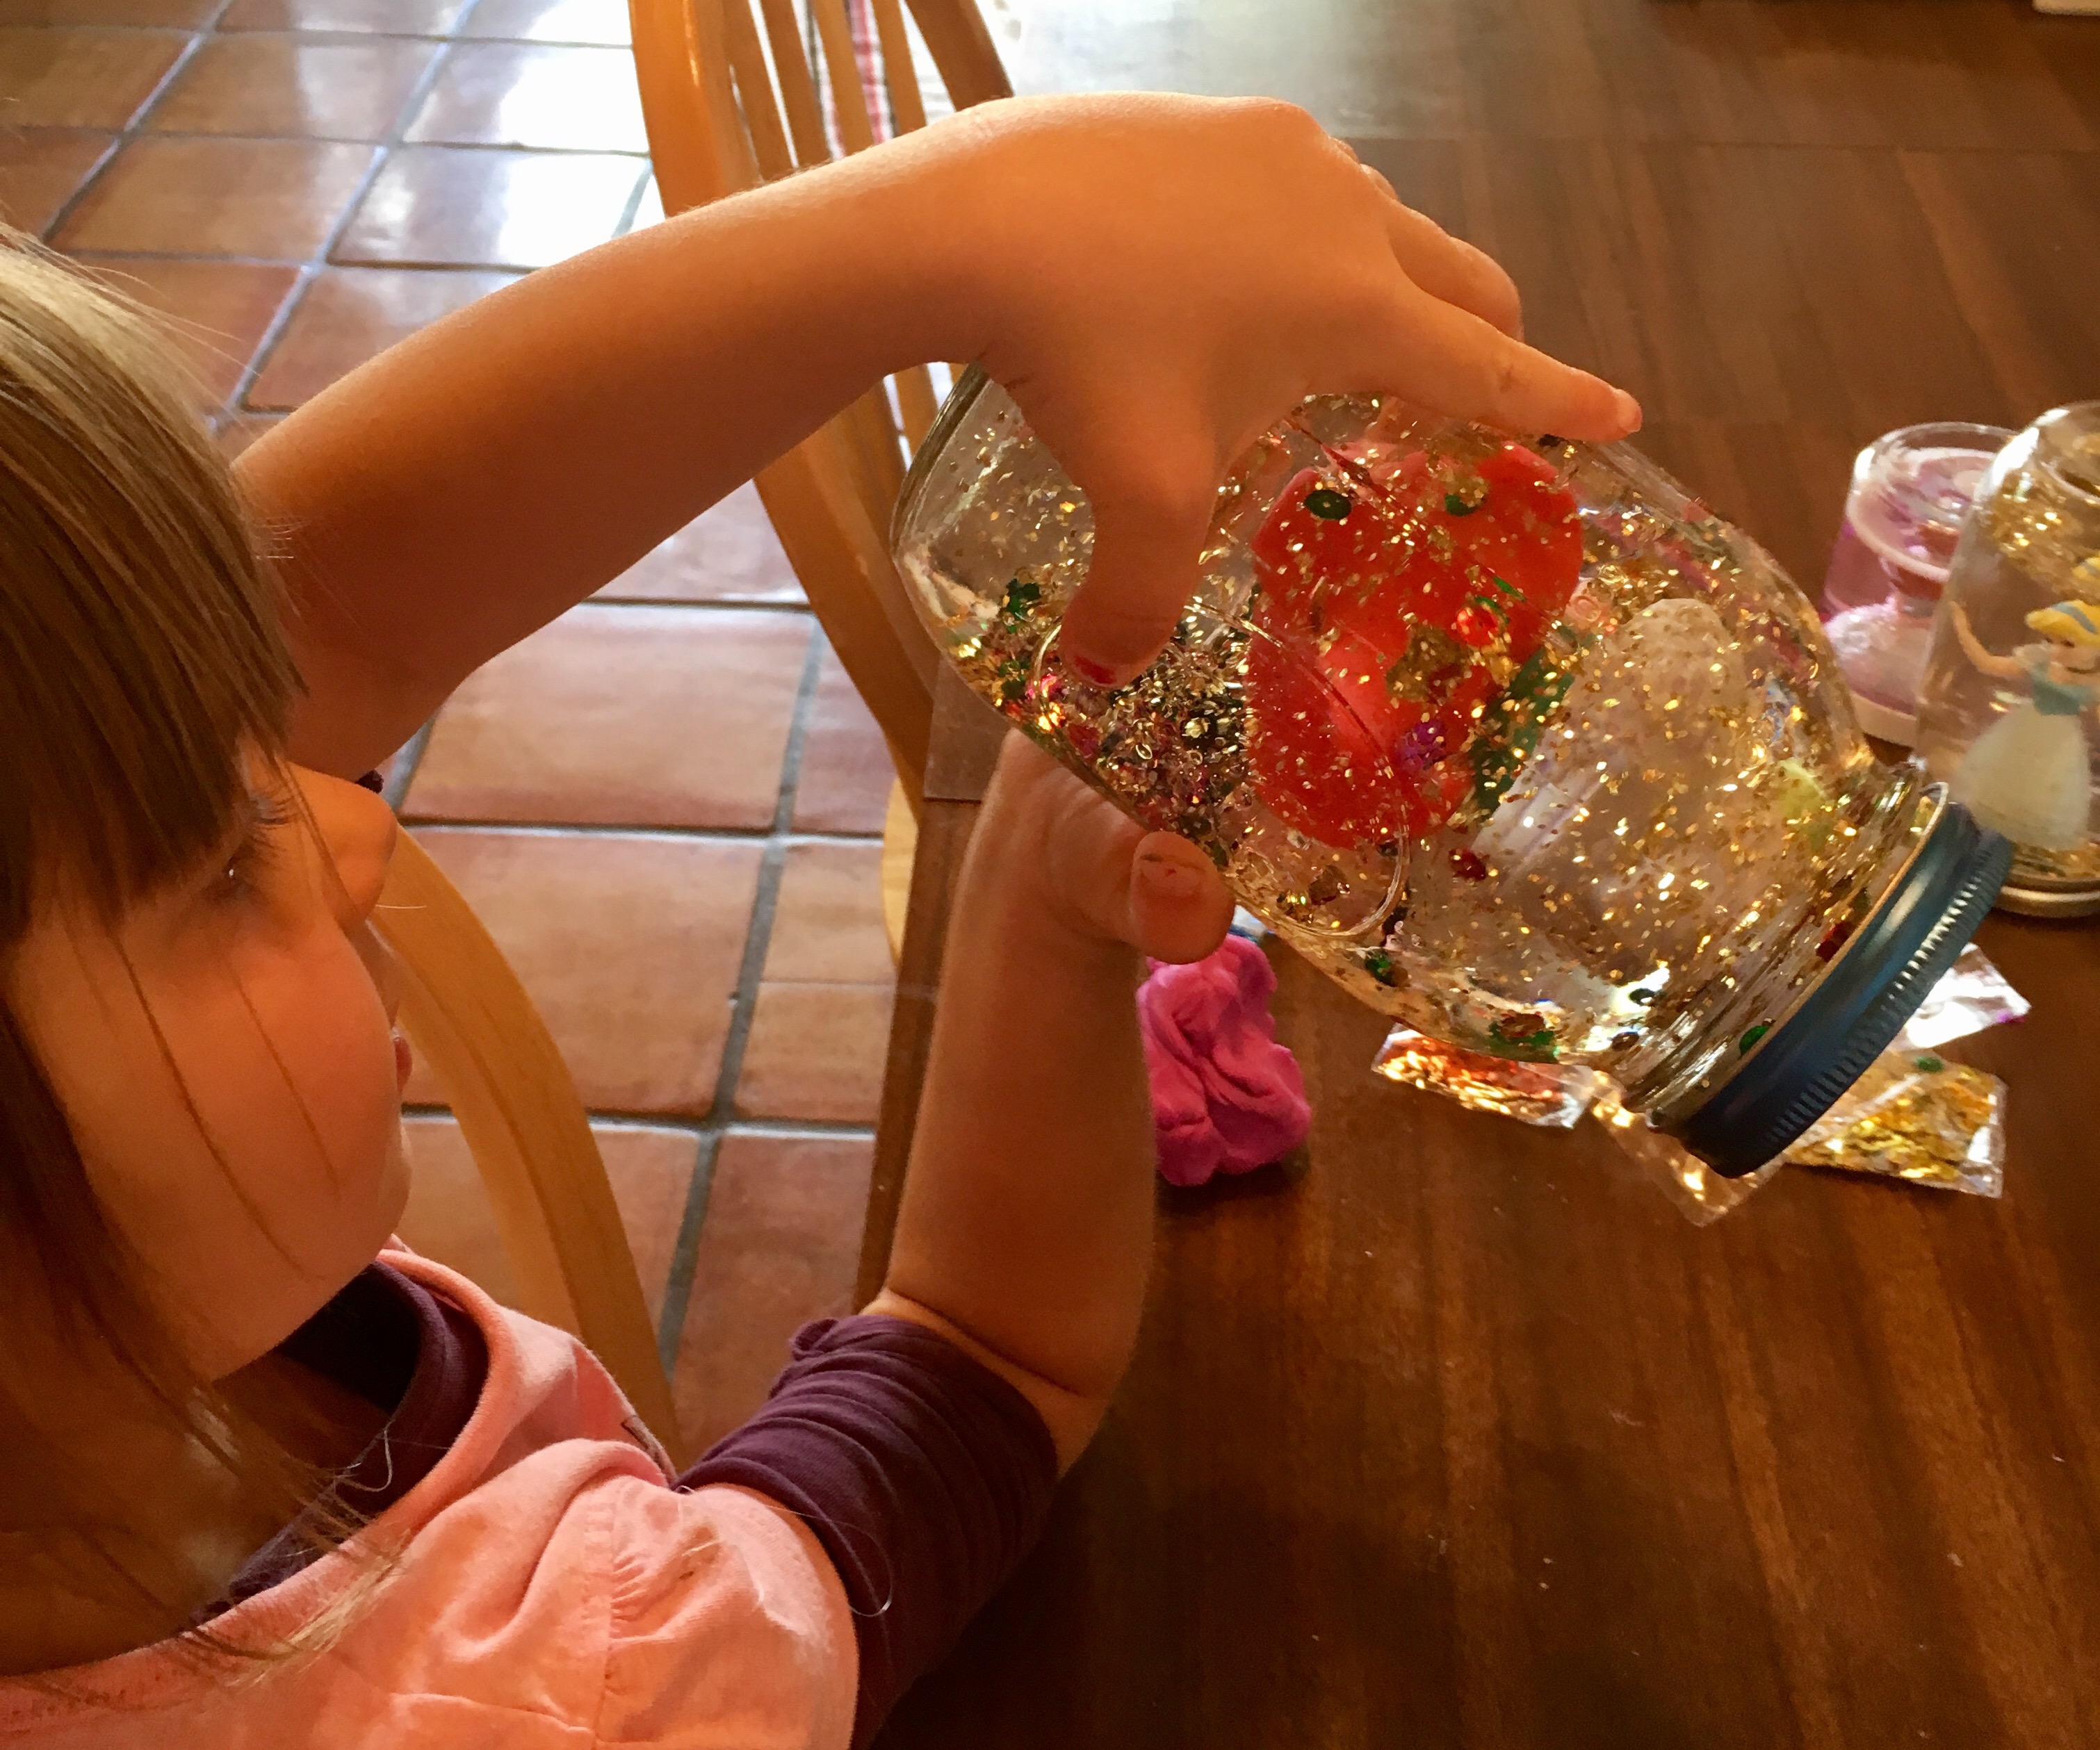
This project was a joy and oh-so-easy. We had everything we needed right at home. You might even get away with a no-glycerin recipe if you’re lacking that particular ingredient in your baking or craft inventory. We placed our Ariel globe in R and K’s bathroom (because, well, the whole mermaid and water thing) and Cinderella is proudly displayed in R’s room. Both girls love shaking the globes and watching the glittery magic surround the princesses.


Let me know if you try this! More updates to come and stay crafty. Xoxo


Love it. I just knew you would need to be making those.
LikeLiked by 1 person
Love it!!! I think my 3.5yo would LOVE this!! She would just have to part with a figurine….
LikeLiked by 1 person
Totally. You can always take them out! I checked on Sofia today because I needed to reattach her and she was no worse for the wear, lol. I feel like now, at least, we’re seeing the figurines whereas they only came out to play every now and again before.
LikeLiked by 1 person
Good points!!! They will be played with more, perhaps – and they’ll be “art!”
LikeLiked by 1 person
Love these!!! Xoxo
>
LikeLiked by 1 person
Love your blog 🙂 so creative! Just thought I’d let you know your link (when you comment on other blogs) has an extra ‘c’ on the end of ‘.com’ so it doesn’t work. Thought you’d want to know! x
LikeLiked by 1 person
Thanks for alerting me!! I’ll definitely check that out.
LikeLiked by 1 person
Thanks again — I fixed that glitch! And FYI, nominating you for a Versatile Blogger Award.
LikeLiked by 1 person
Wow thank you! 🙂 Made my day! x
LikeLike
Reblogged this on kelleysdiy and commented:
This is such a wonderful craft kids will surely enjoy!
LikeLike
Just wanted to let you know…I reblogged this post! Wonderful. Also I am nominating you for the Versatile Award…so heads up!
LikeLiked by 1 person
Thanks Kelley! Your stuff is always inspirational.
LikeLiked by 1 person
Ah your so sweet! I will get it up in a bit…and let you know….thank you honey!
LikeLike
Love this! I’ve been looking for things to do this summer with the kids and think both would have a good time with this. Pinning it 😀
LikeLiked by 1 person
I love this!
LikeLiked by 1 person