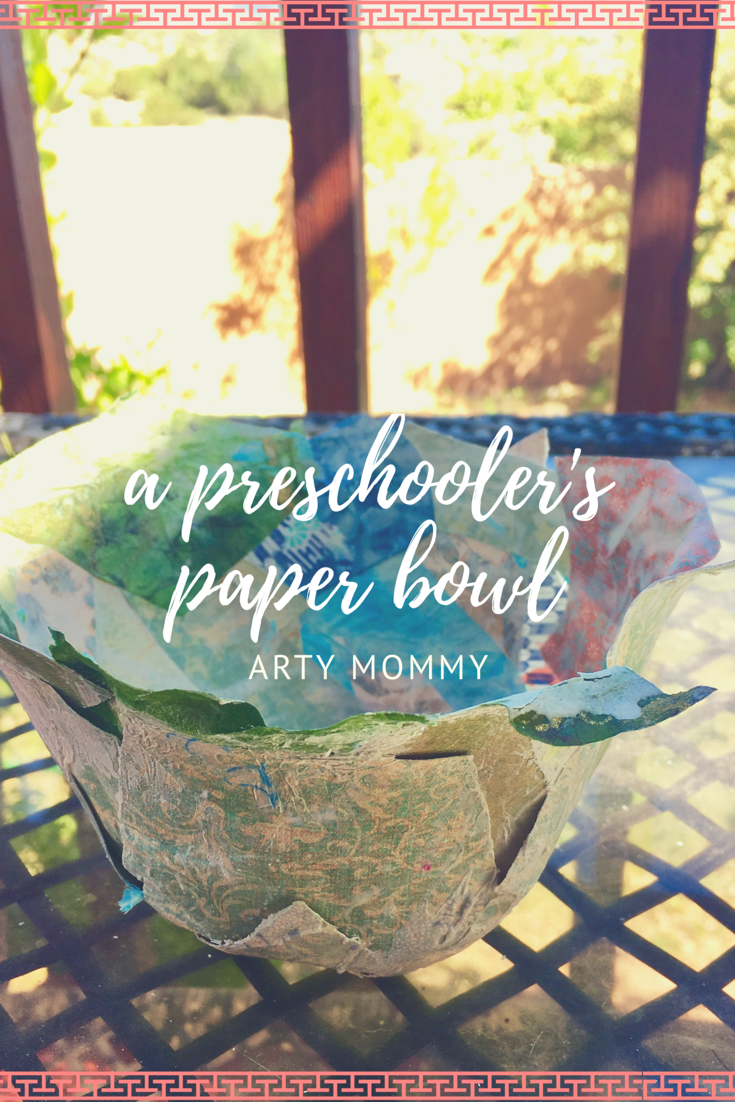
 So, you know that paper-bowls-for-preschoolers post I was going to write yesterday before my mommy rambles took over? Well, here it is. This project was completed during R’s last sick day with that malevolent belly bug that violently traipsed its way around our home. It’s an easy project that generates delicate paper displays — both the adult and kid versions of this activity will render lovely results. I was inspired after visiting one of our favorite toy stores in Woodstock, NY, where we found a paper-bowl-for-kids kit for sale. While we love supporting local kid stores, R’s toy and clothes haul was just too bountiful following a week with her grandparents and one more purchase could have spoiled her for life 😉. So we quickly studied the pictures on the craft box and I promised her that we had all necessary supplies to create the project ourselves. I’m not sure whether the kits provide you with special adhesive, but we went the paper mache/mod podge route and it worked just fine!!
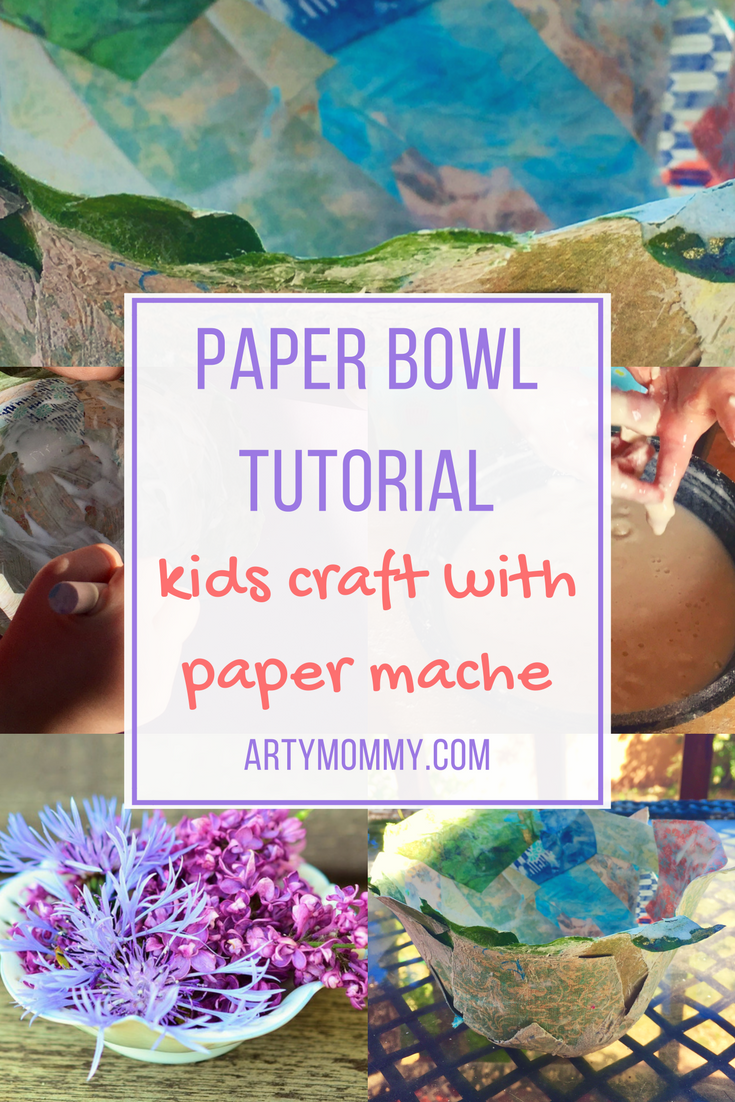
What you need:
- Bowl to act as a mold
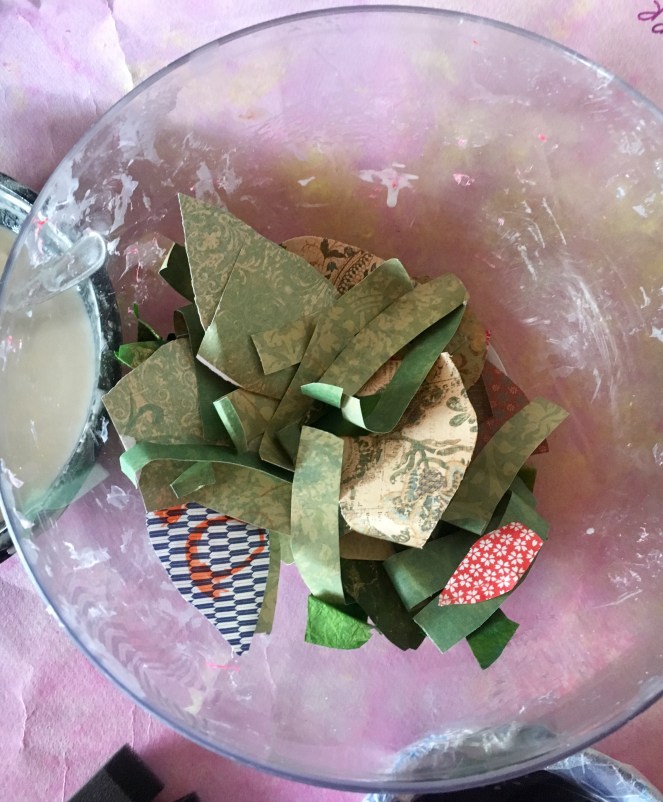
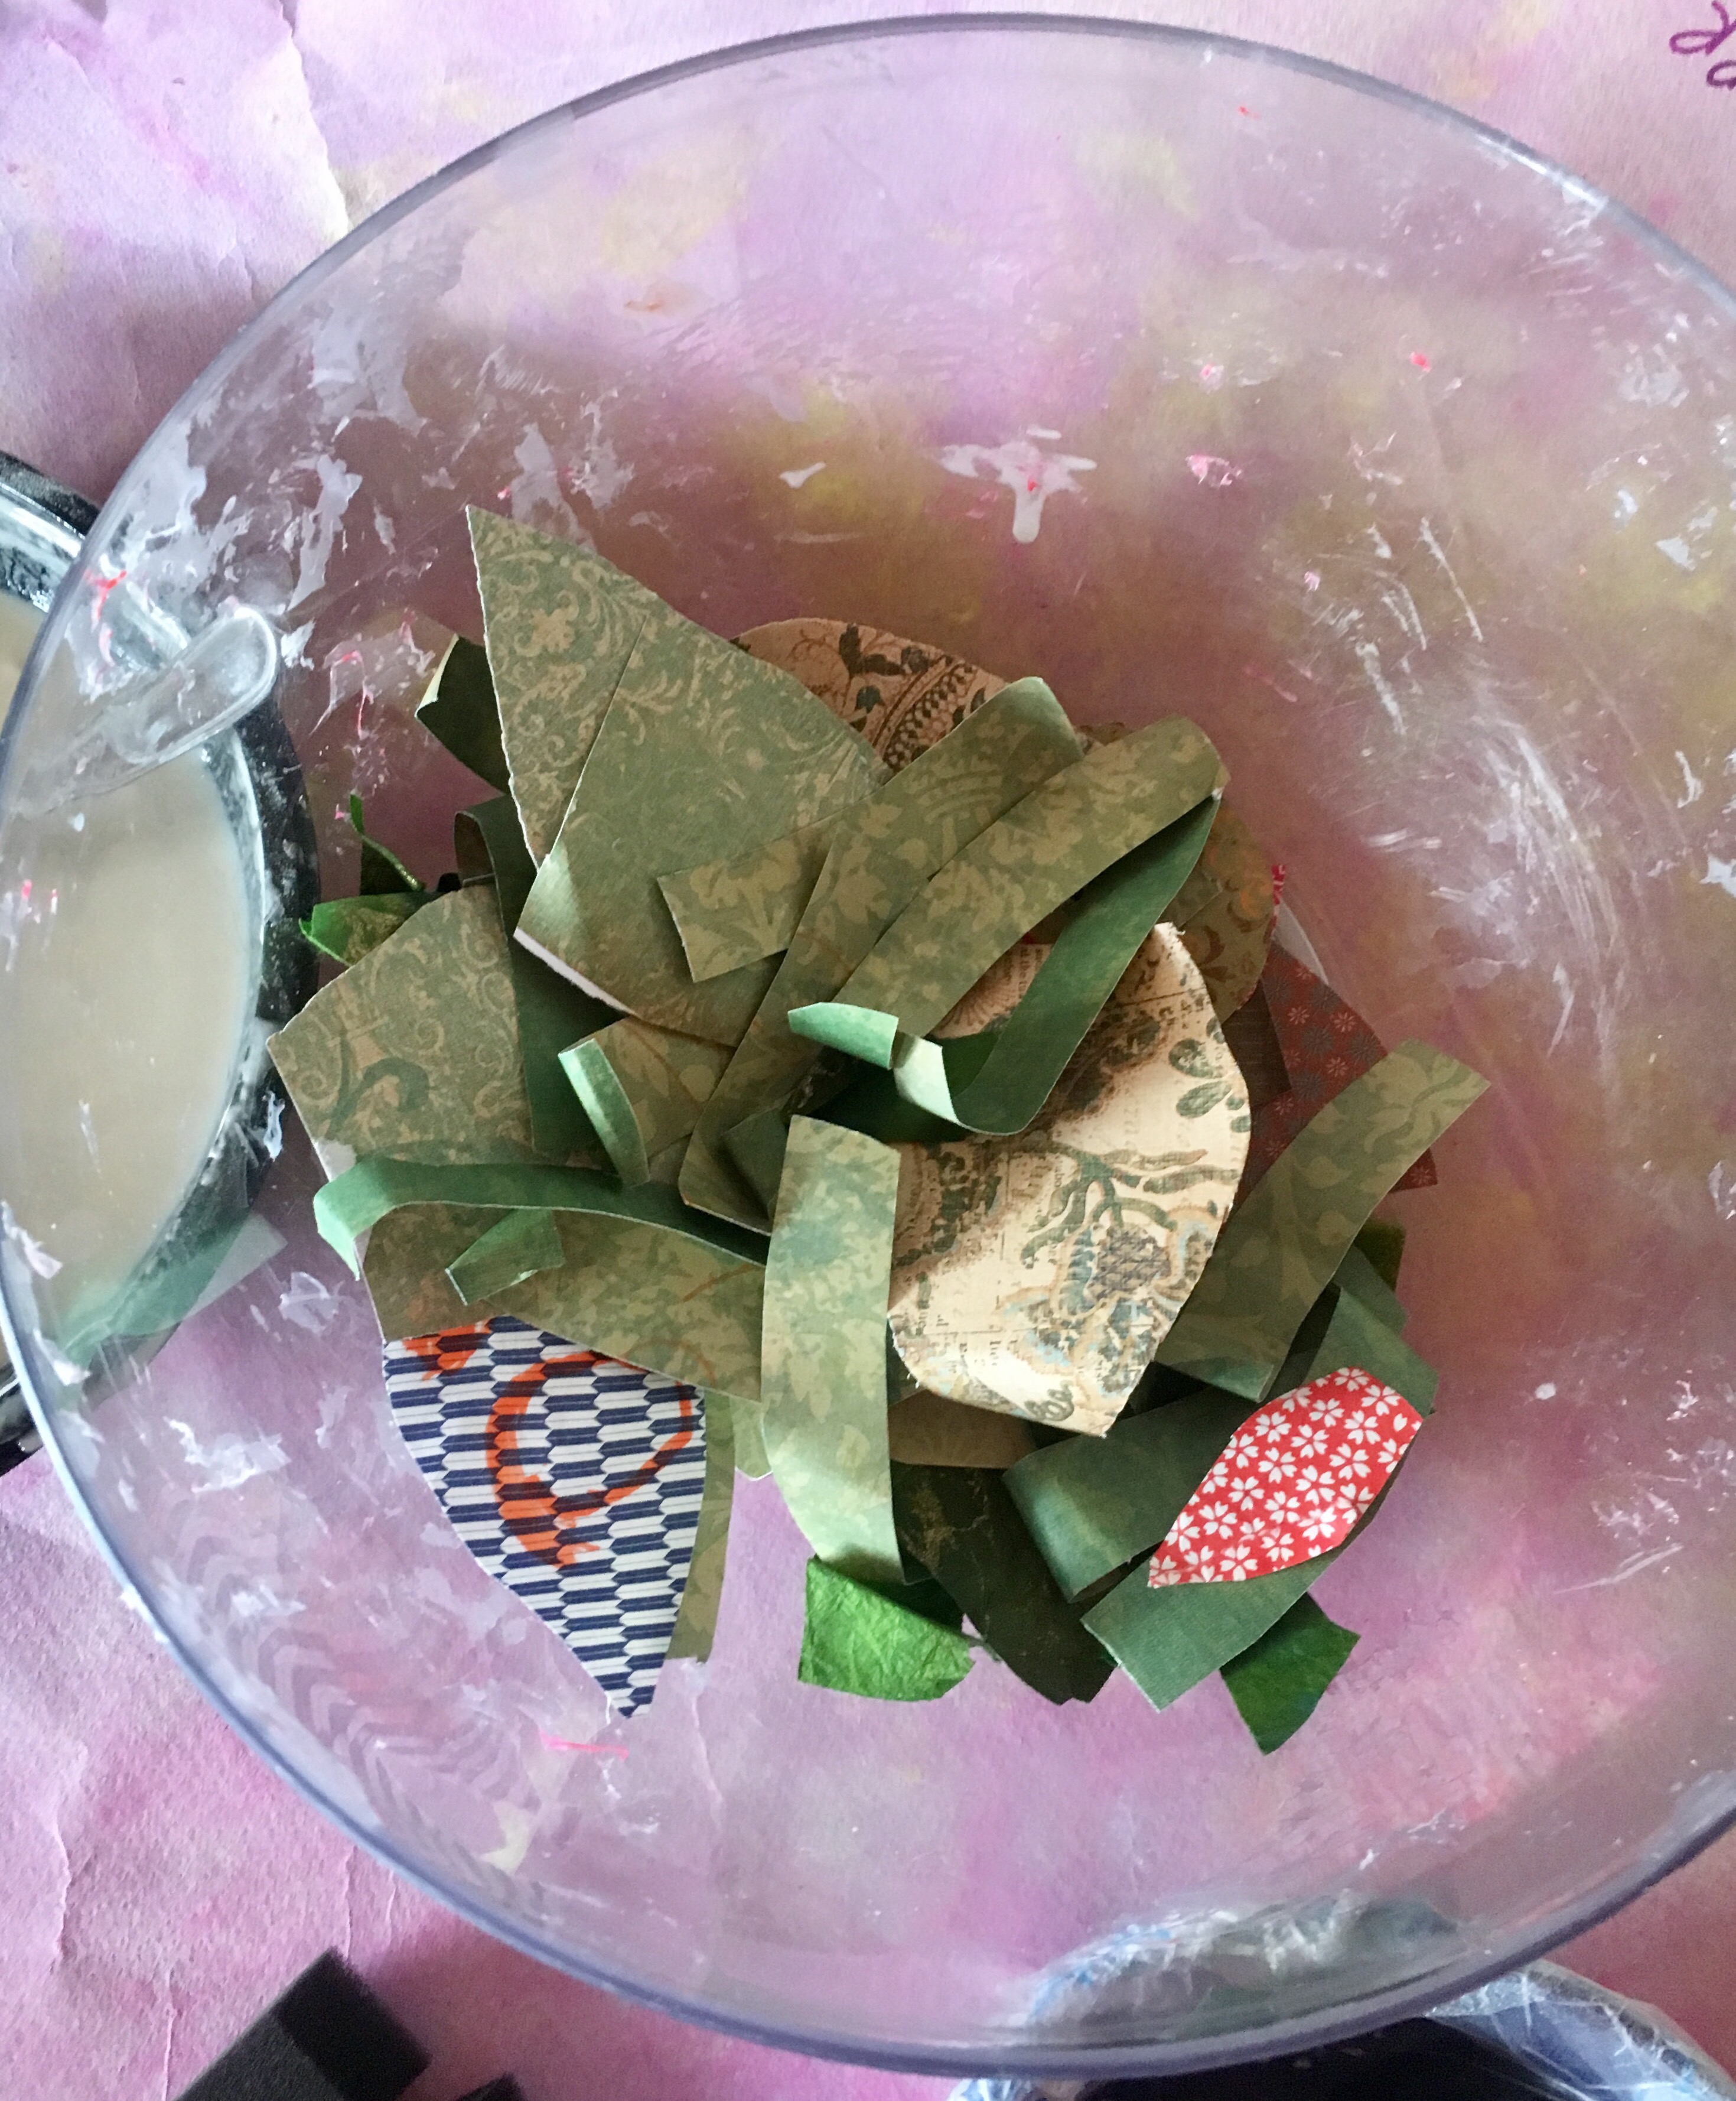
- Cut up pieces of paper (thick paper works well — we mostly used craft paper and a little origami)
- Plastic wrap
- Mod podge
- Paint brush or foam brush
- Paper mache paste (flour, water, salt, glue)

- Make the paper mache paste.

- Cut up pieces of craft paper in any shape you like. We went with many sloppy strips and a few hearts. The box craft seemed to include circular pieces of paper. For a more polished look and perfect circles, a large hole punch would work nicely.
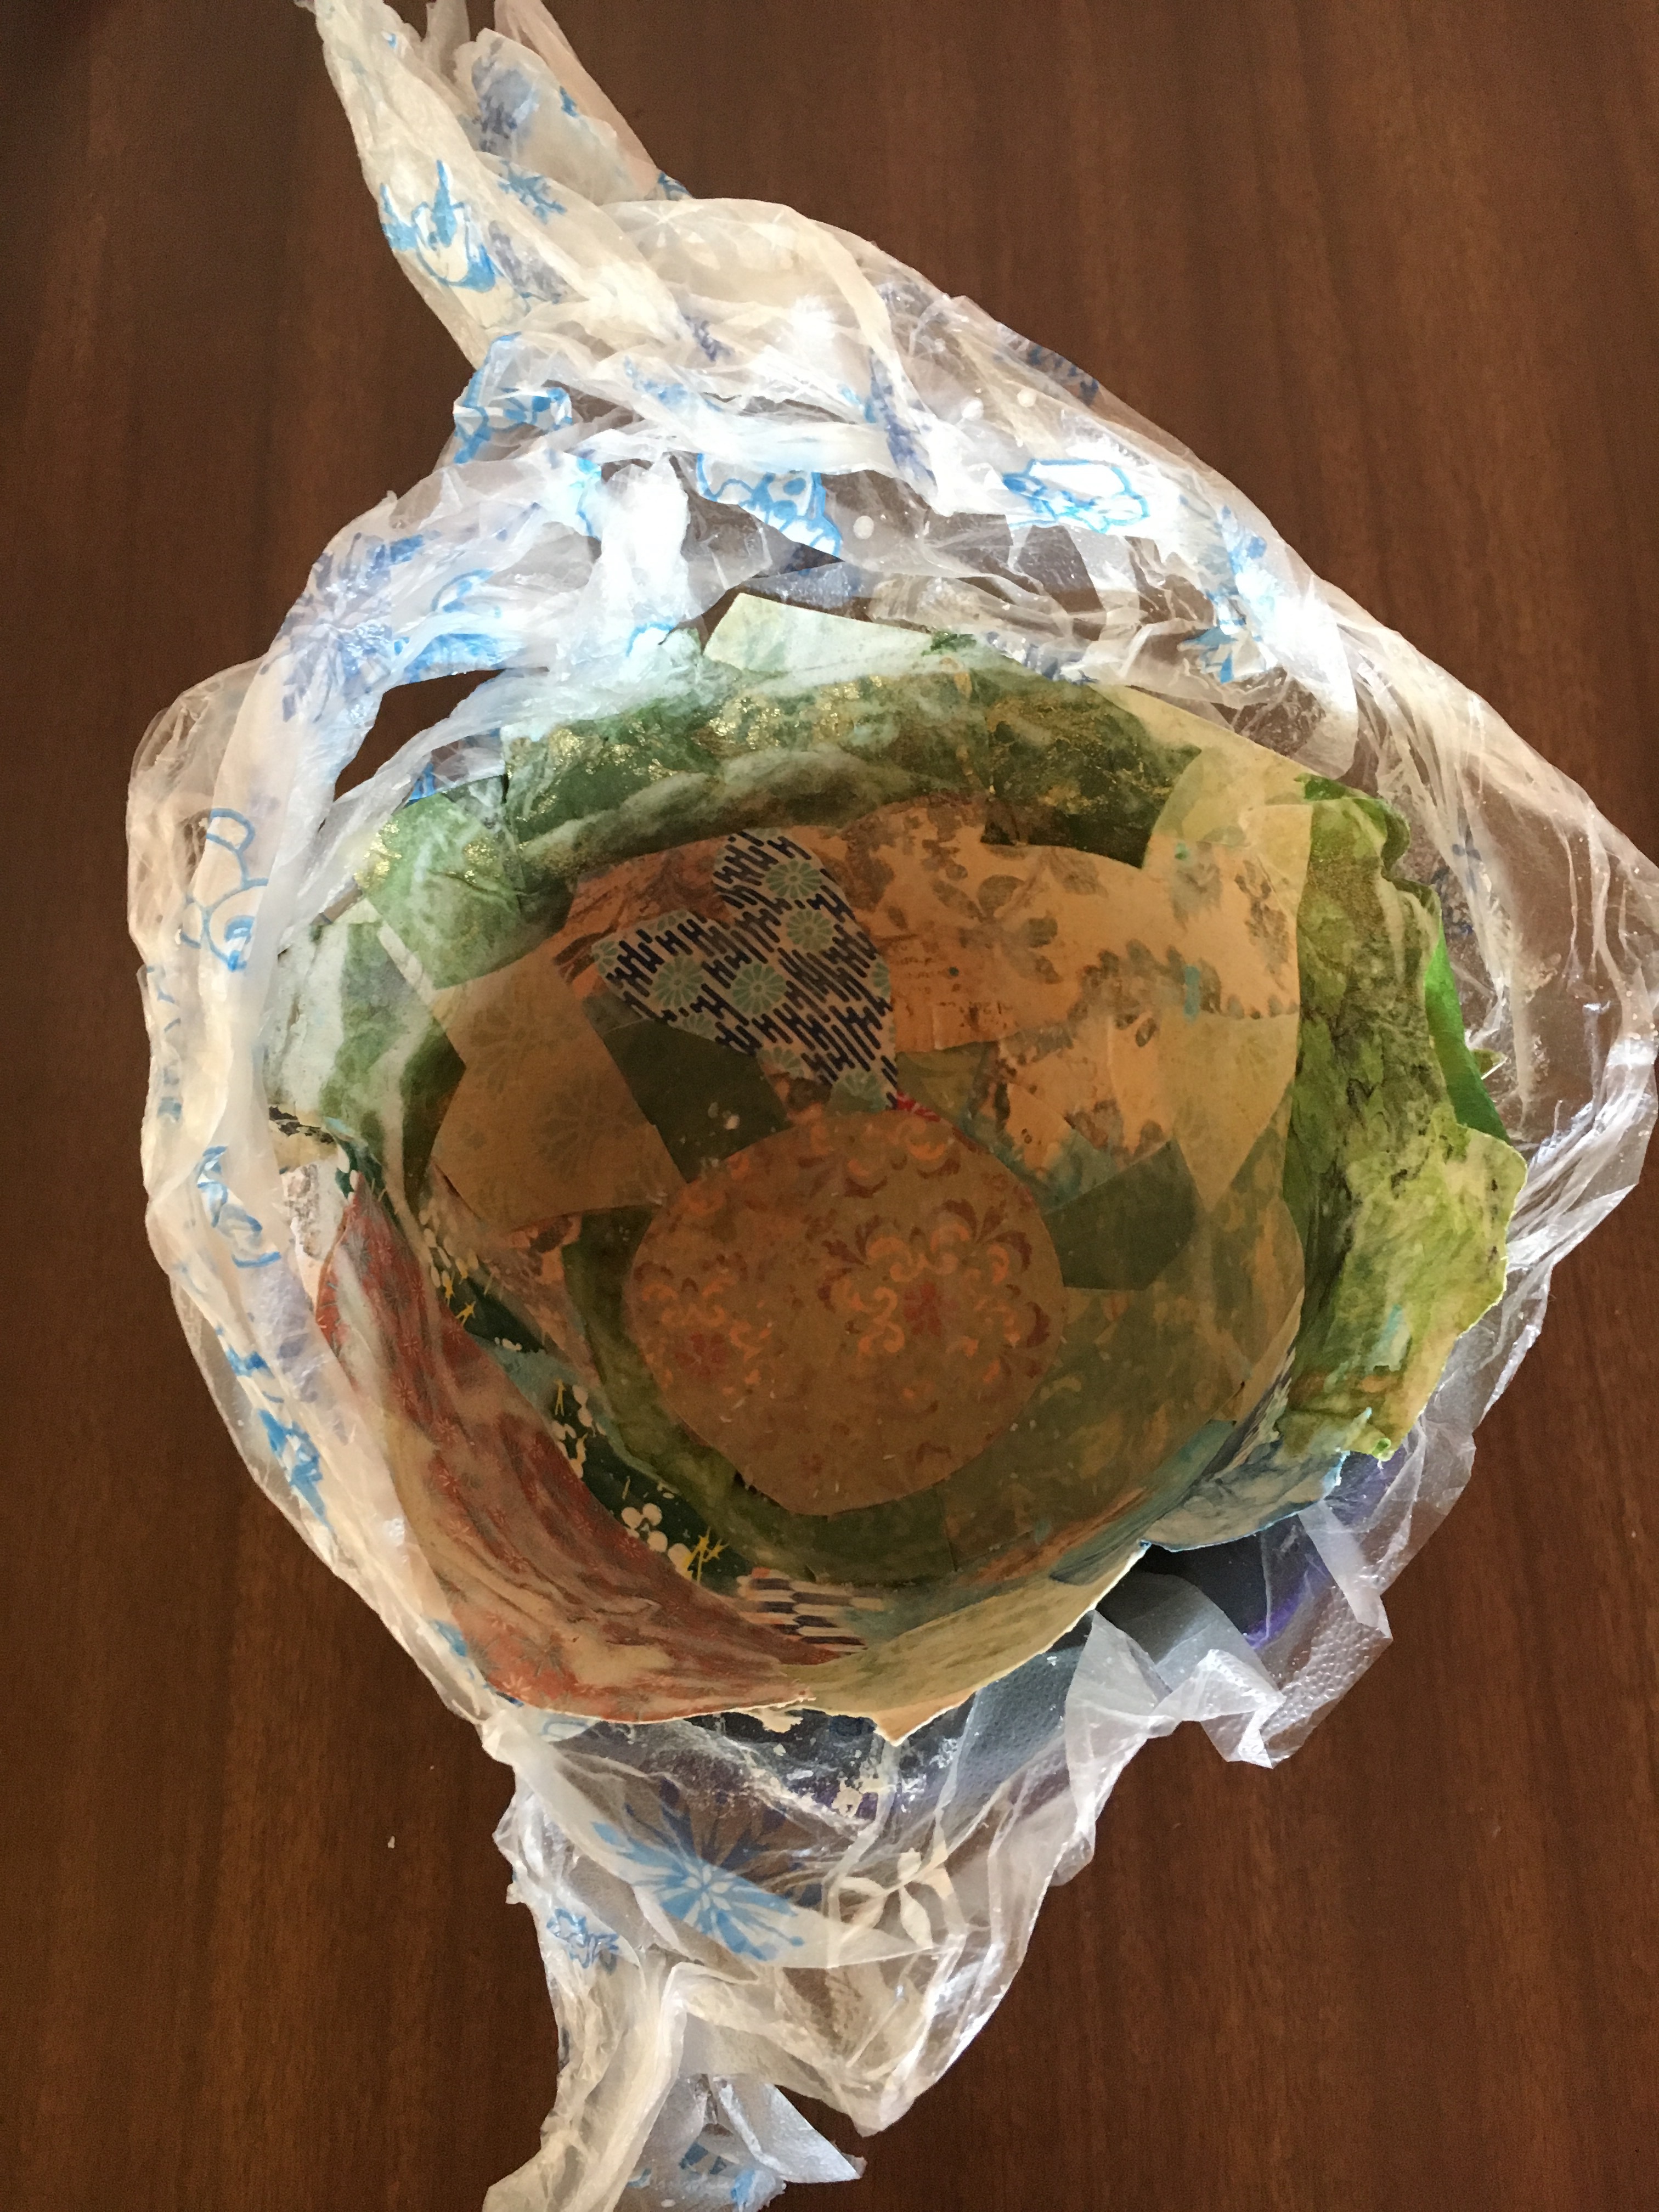
- Line your bowl (to be used as a mold) with plastic/cling wrap. This ensures that the paper will peel off easily once completed. You only need to wrap the interior of the bowl.

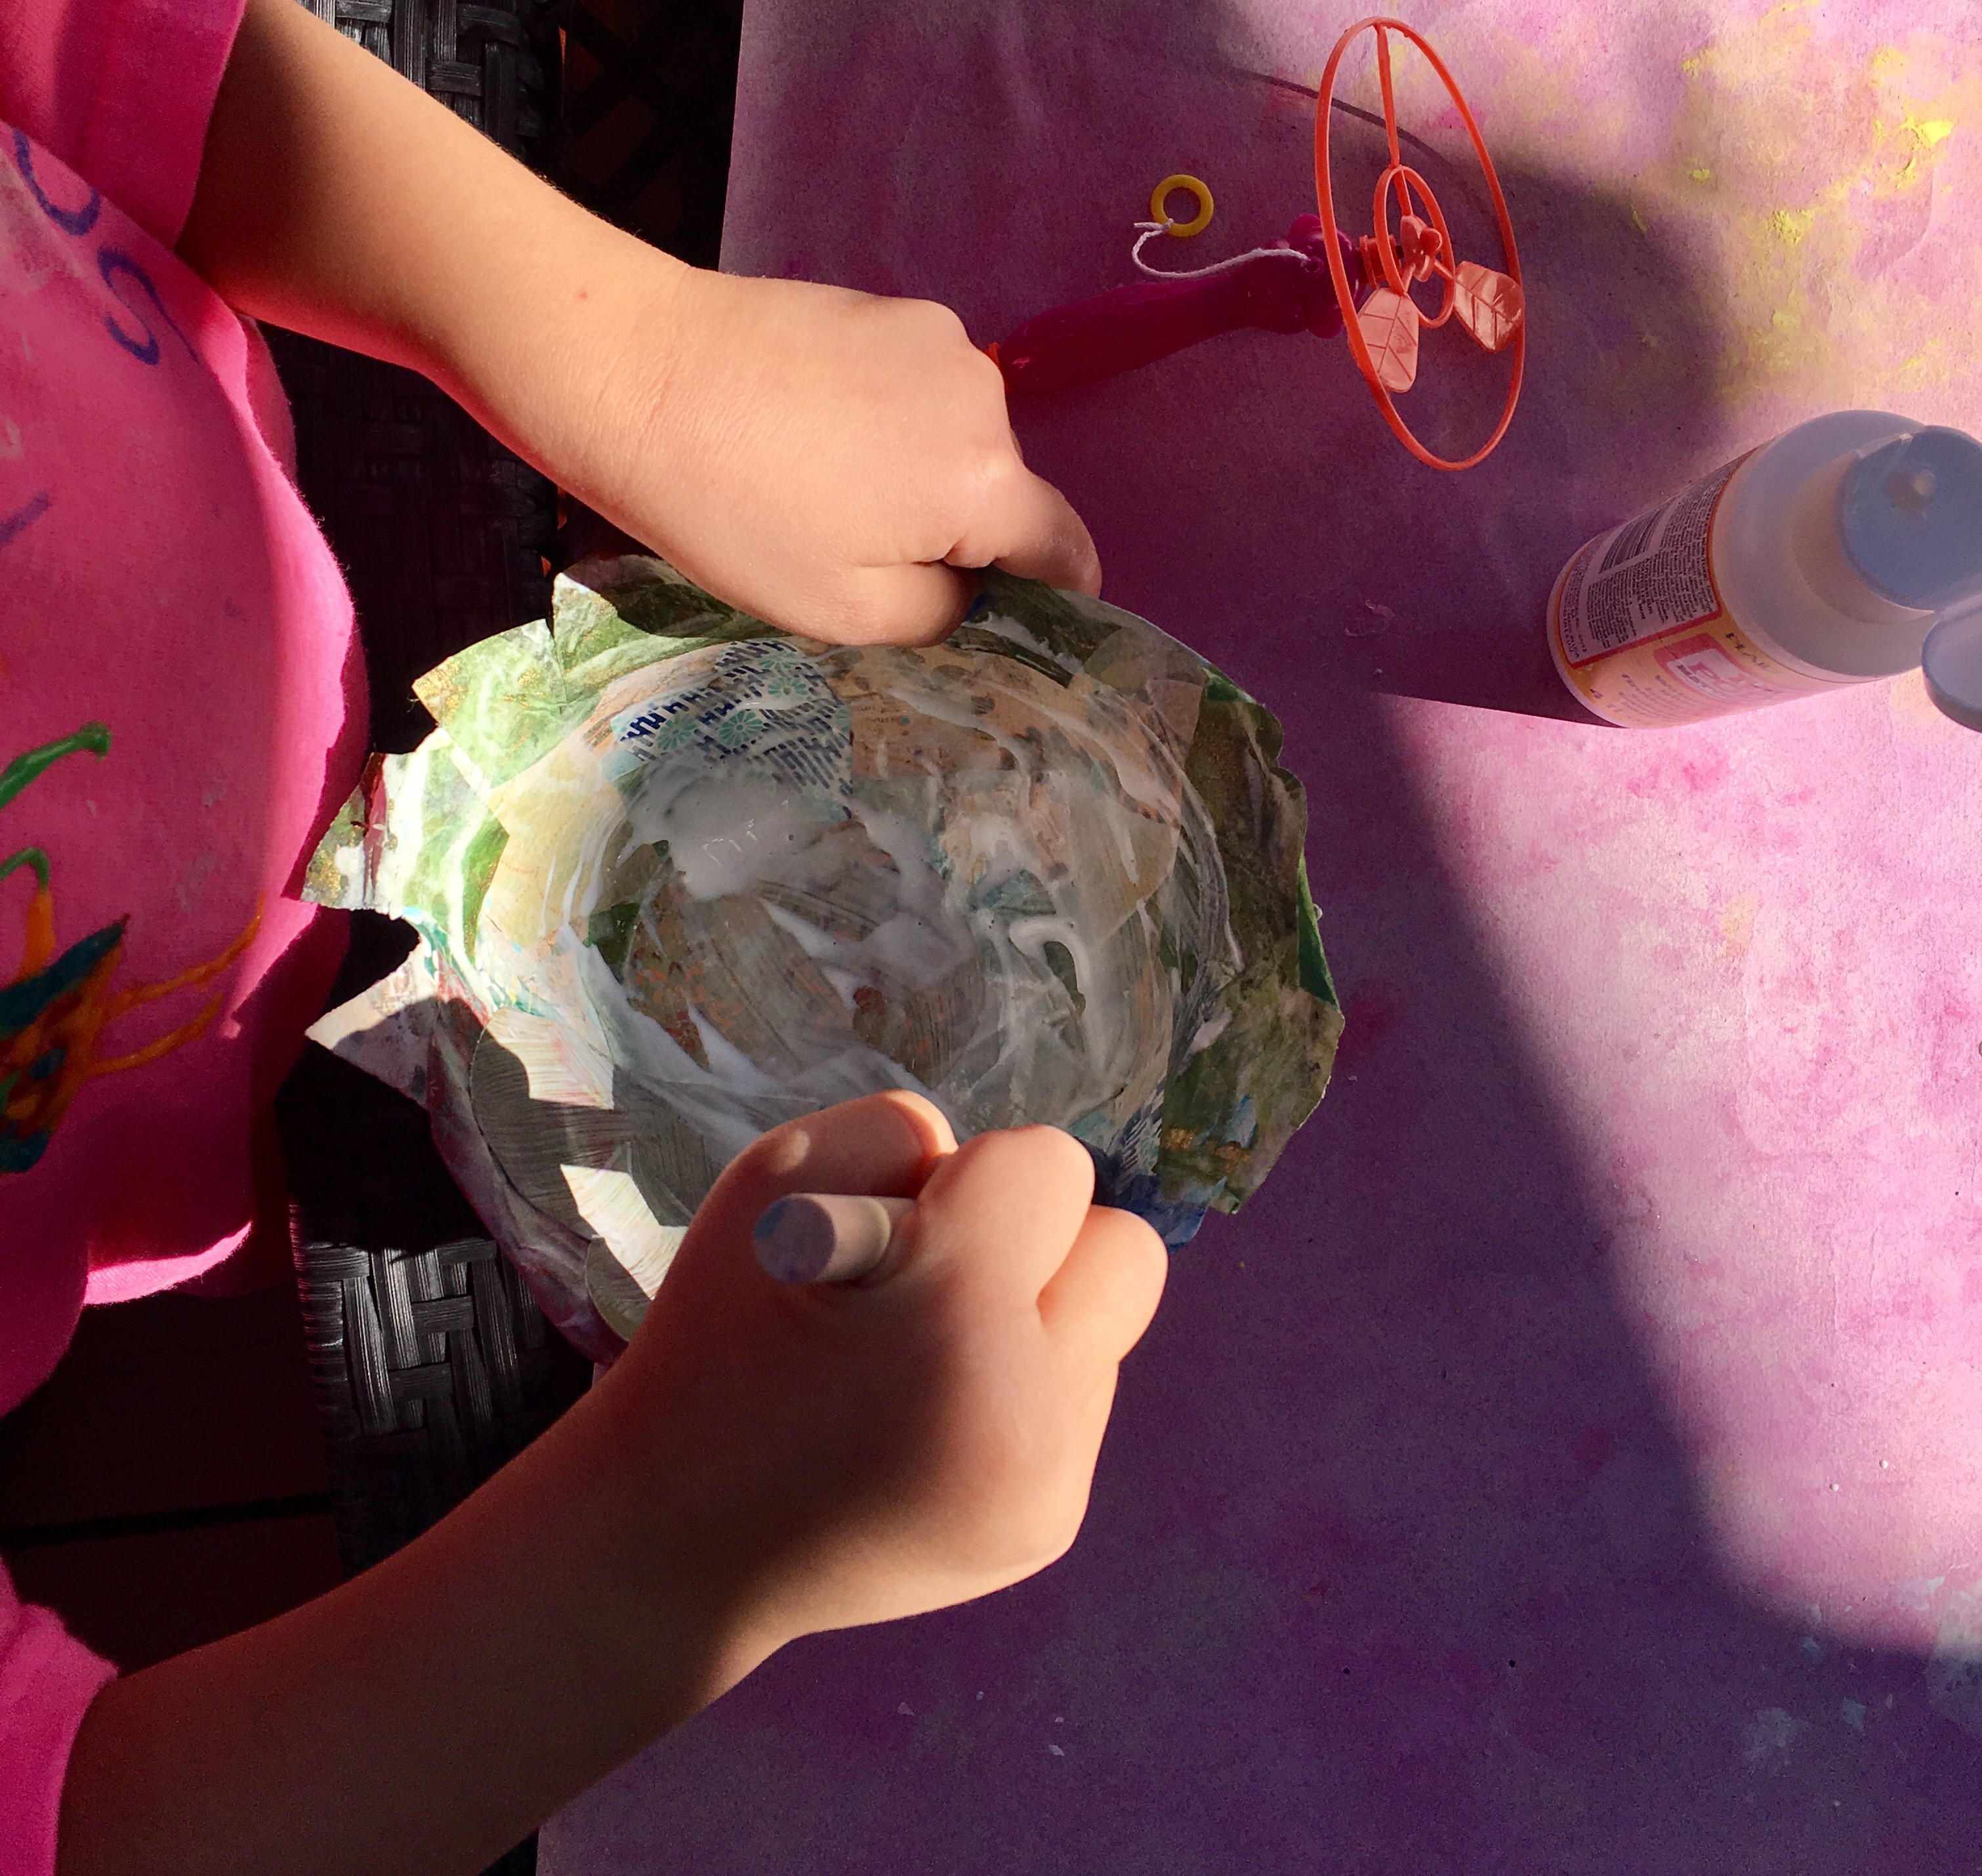
- Start applying the paper to the bowl using the paper mache paste. R went with a random and messy method, but organized placement would look good too. She really piled on the paste, so there was some white residue left over once we finished. You will be coating it with mod podge later, so while you want enough paste to make the paper strong and well-formed, you will be reinforcing it after it dries. * If you prefer to use mod podge ONLY (in place of the paste) that will work! I recommend the paper mache paste for kids because not only is it fun for them to make and play with, it guarantees a strong bowl.
- Allow the paste to dry completely overnight — we waited about 24 hours.
- Remove paper bowl from the bowl mold by pulling on the plastic wrap.


- Gently peel away the plastic wrap from the paper bowl.
- Coat entire paper bowl with a layer of mod podge and let dry.

- You’re FINI!! Share your pics in the comments.


Love it. Have done this with kids always ends delightfully.
LikeLiked by 1 person
This looks like so much fun! And I am thinking this grown up preschooler wants to make one as much as my 4 tear old preschooler does 🙂
LikeLike
I really need to get involved in paper mache. My 4 year old loves crafts. The more I get into blogging (I just started my blog a few weeks ago) The more cute things I see with paper mache!
LikeLiked by 1 person
It’s really fun (and messy!).
LikeLiked by 1 person
And congrats on starting your blog! I’m getting the hang of it, too
LikeLiked by 1 person
Thanks! It’s a little overwhelming but I’m having so much fun with it!
LikeLiked by 1 person
It IS overwhelming figuring out the whole social media component and imagery. But it’s very satisfying too!
LikeLiked by 1 person