
 Summertime is in full swing over here. After wiping sweat beads away from my forehead, burning my legs on my car’s black leather seat, and spewing insults at the heavy and thick 105 degree weather, I vowed to stay inside as much as possible. So here we are, cool and comfortable and messy — making art. We’ve got a few fave projects to share, but will start with this gem — perfect for every season and every kid (even baby K involved herself). If you haven’t tried marble shake painting before, you really are missing out. It’s easy, as quick as you want it to be, and consistently generates dynamic and colorful results. And don’t let my messy comment dissuade you, because this project creates a very contained mess and isn’t itself to blame for my daughters’ pink bodies and streaked hair (see, ever since K introduced herself to finger painting two weeks ago, she now deems it appropriate to paint herself and her sister every chance she gets).
If you have a few marbles on hand, you’ll likely have everything you need:
- paint
- paper
- high-sided baking tin
- marbles


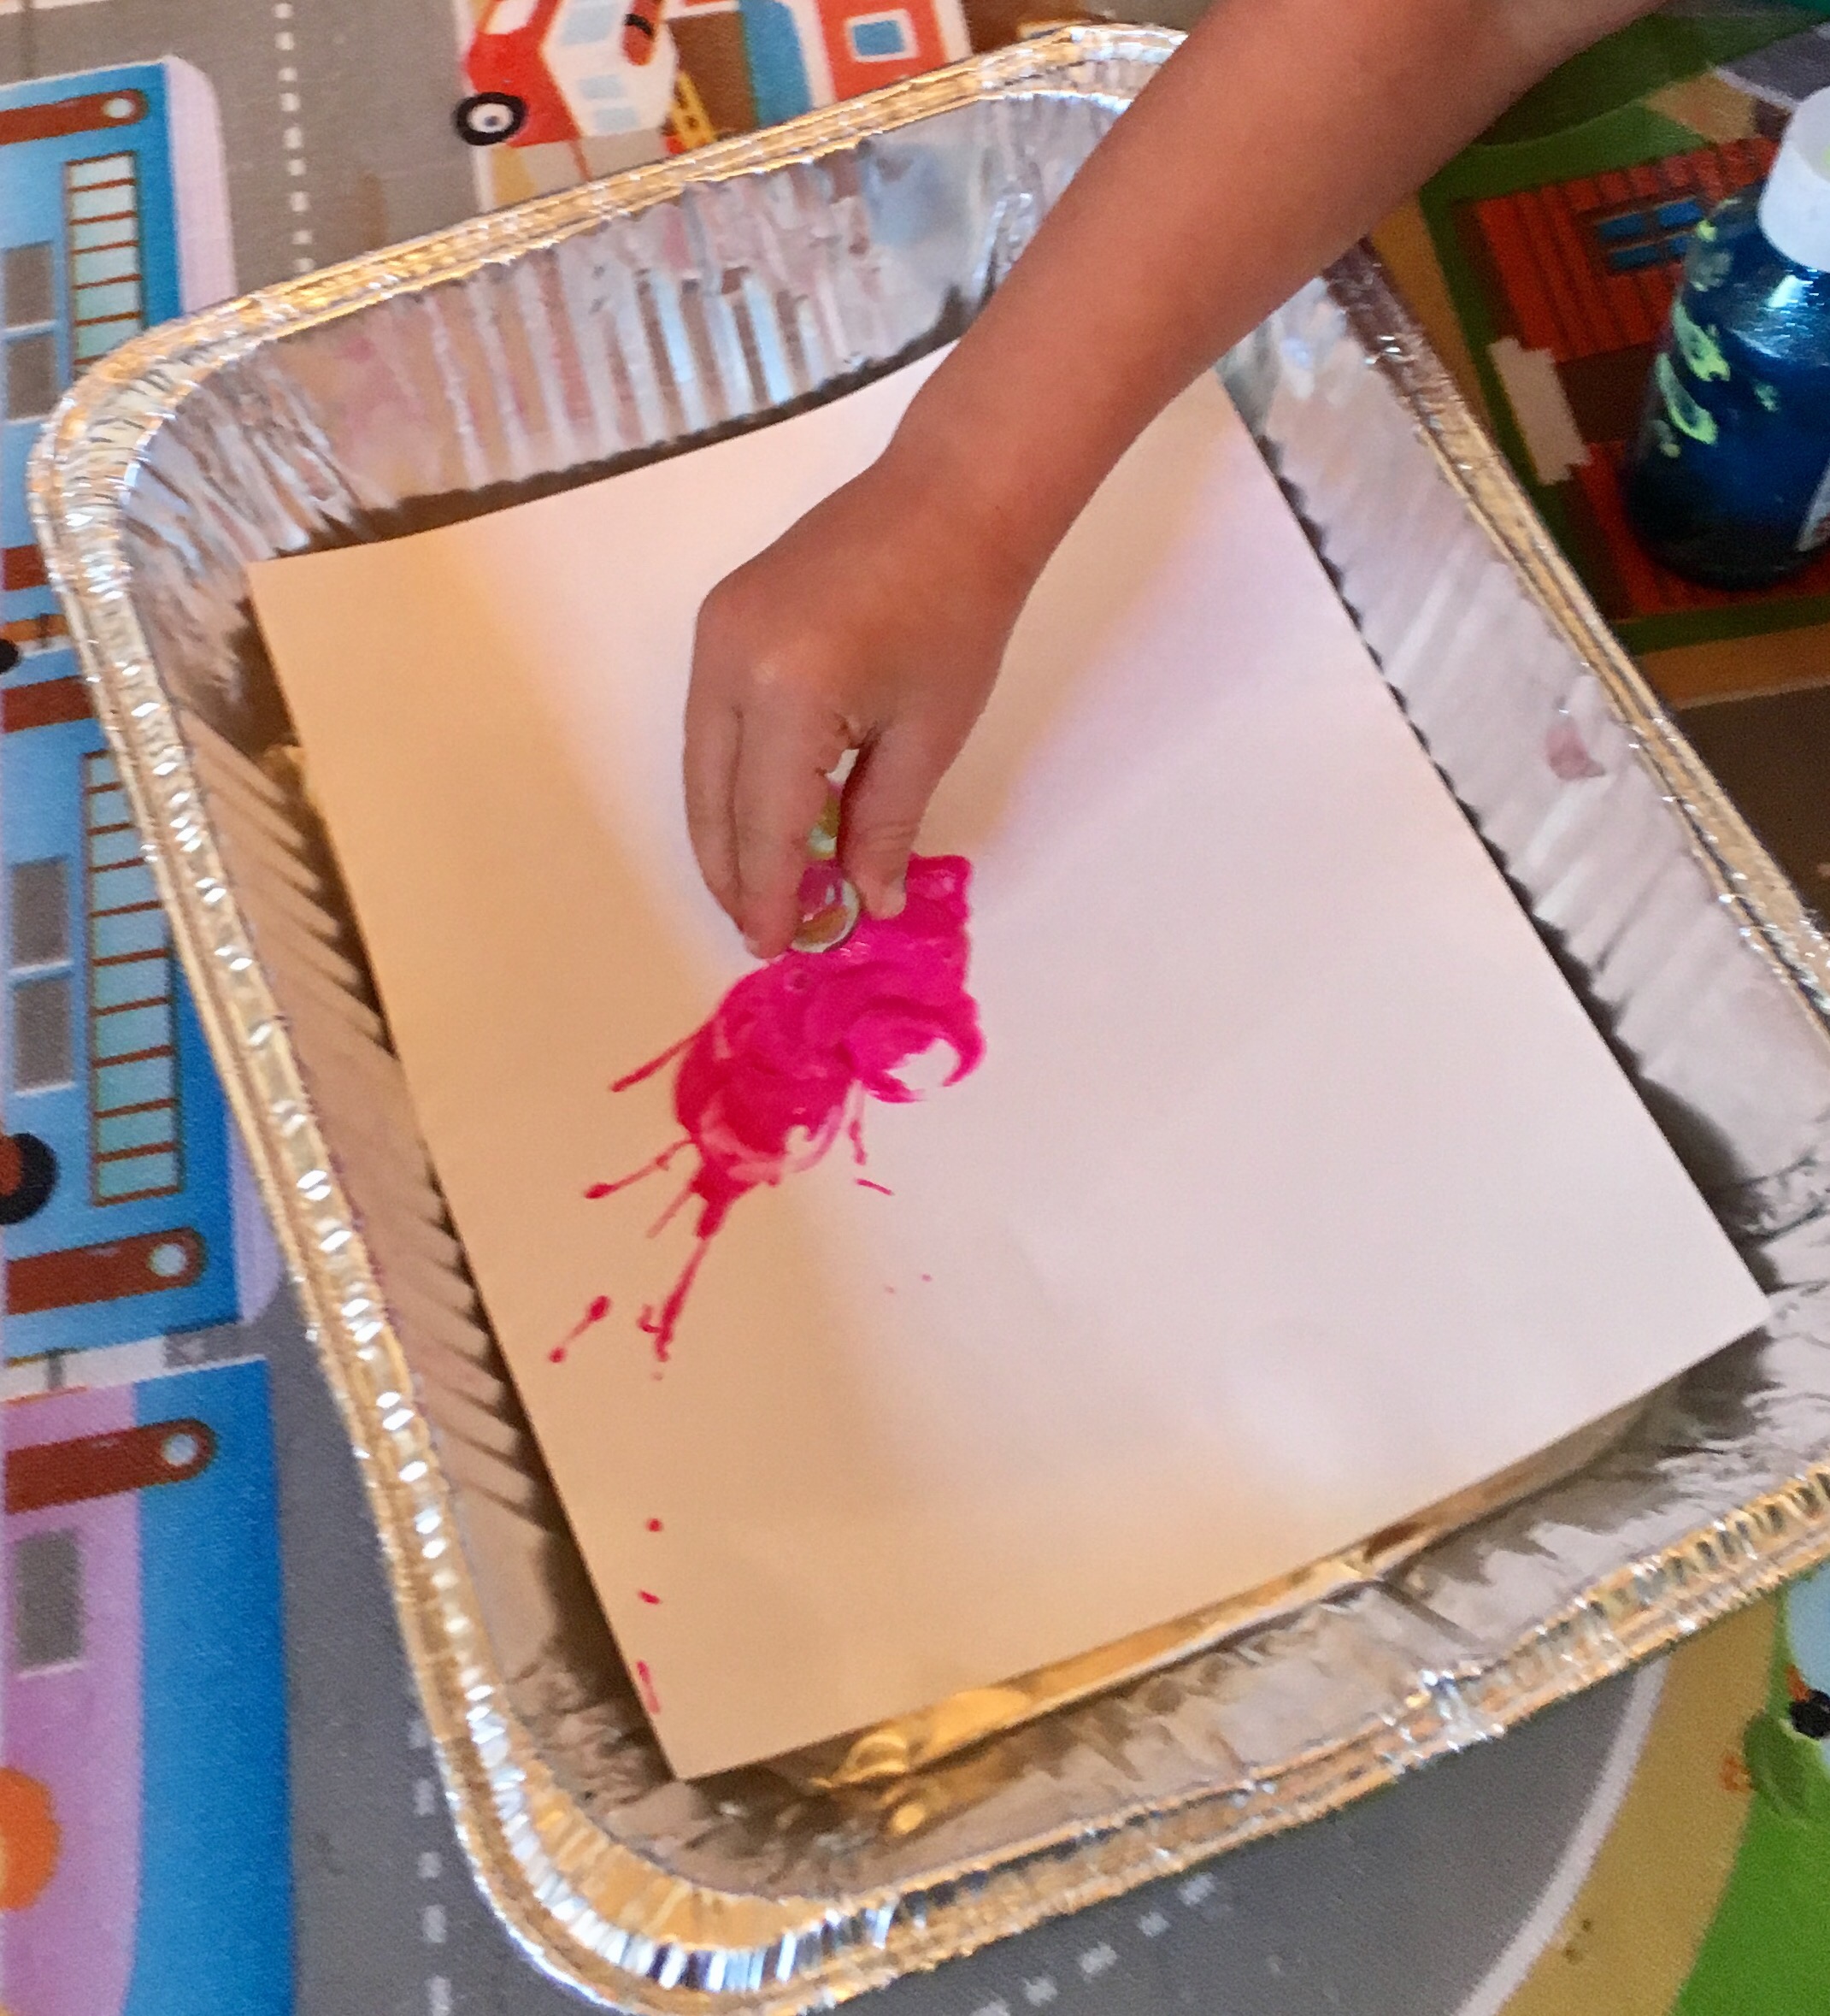
- Cut your paper to fit your tin and place inside
- Pour a few globs of paint onto your paper (use as many colors as you want — we experimented with both monochrome and multi-color painting)
- Toss the marbles in the tin

- Shake
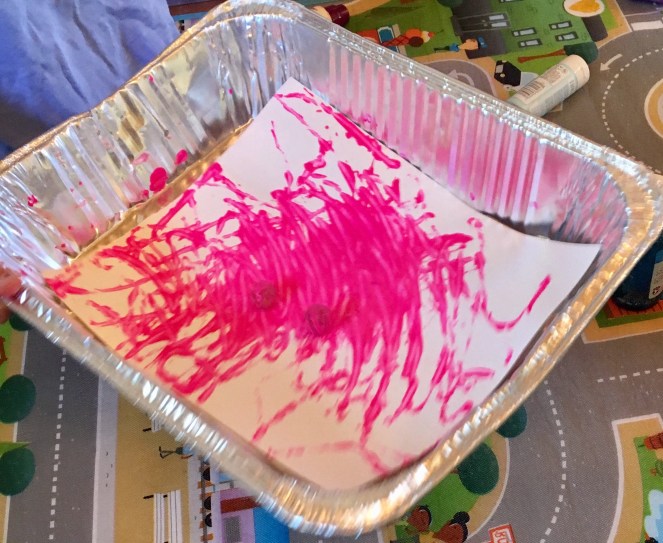

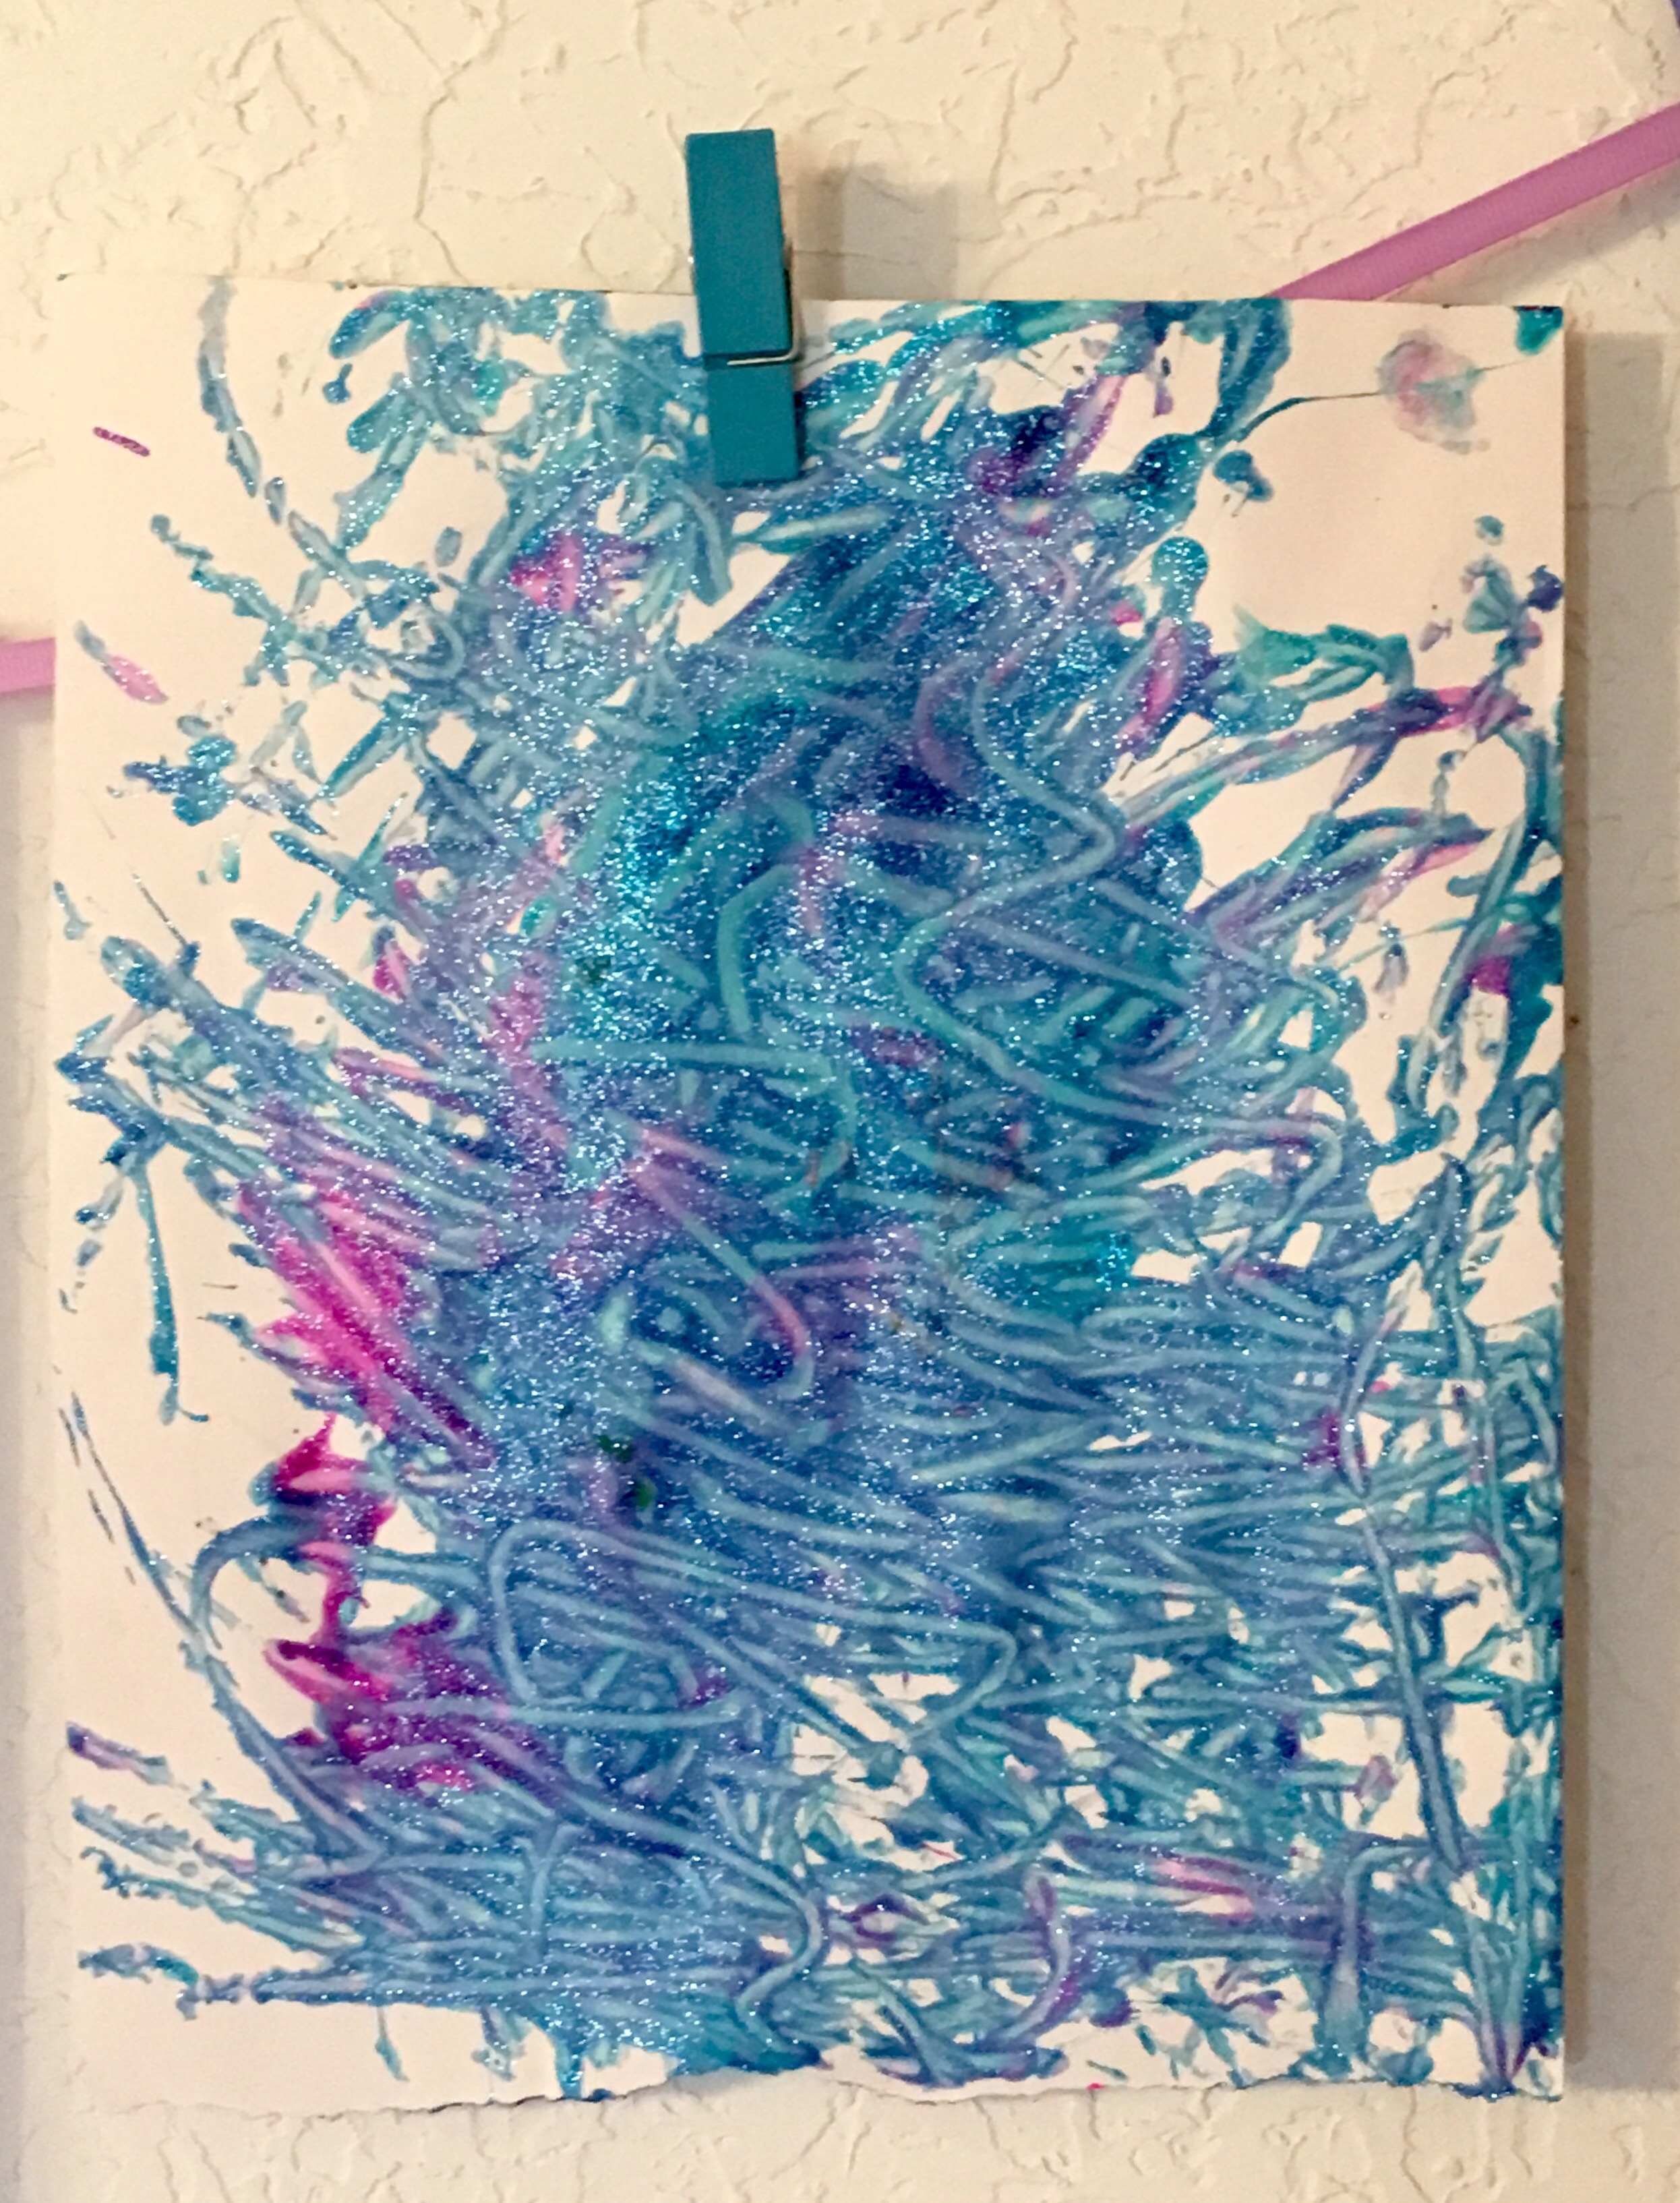
We repeated this process several times, using different color paper and different color paint. 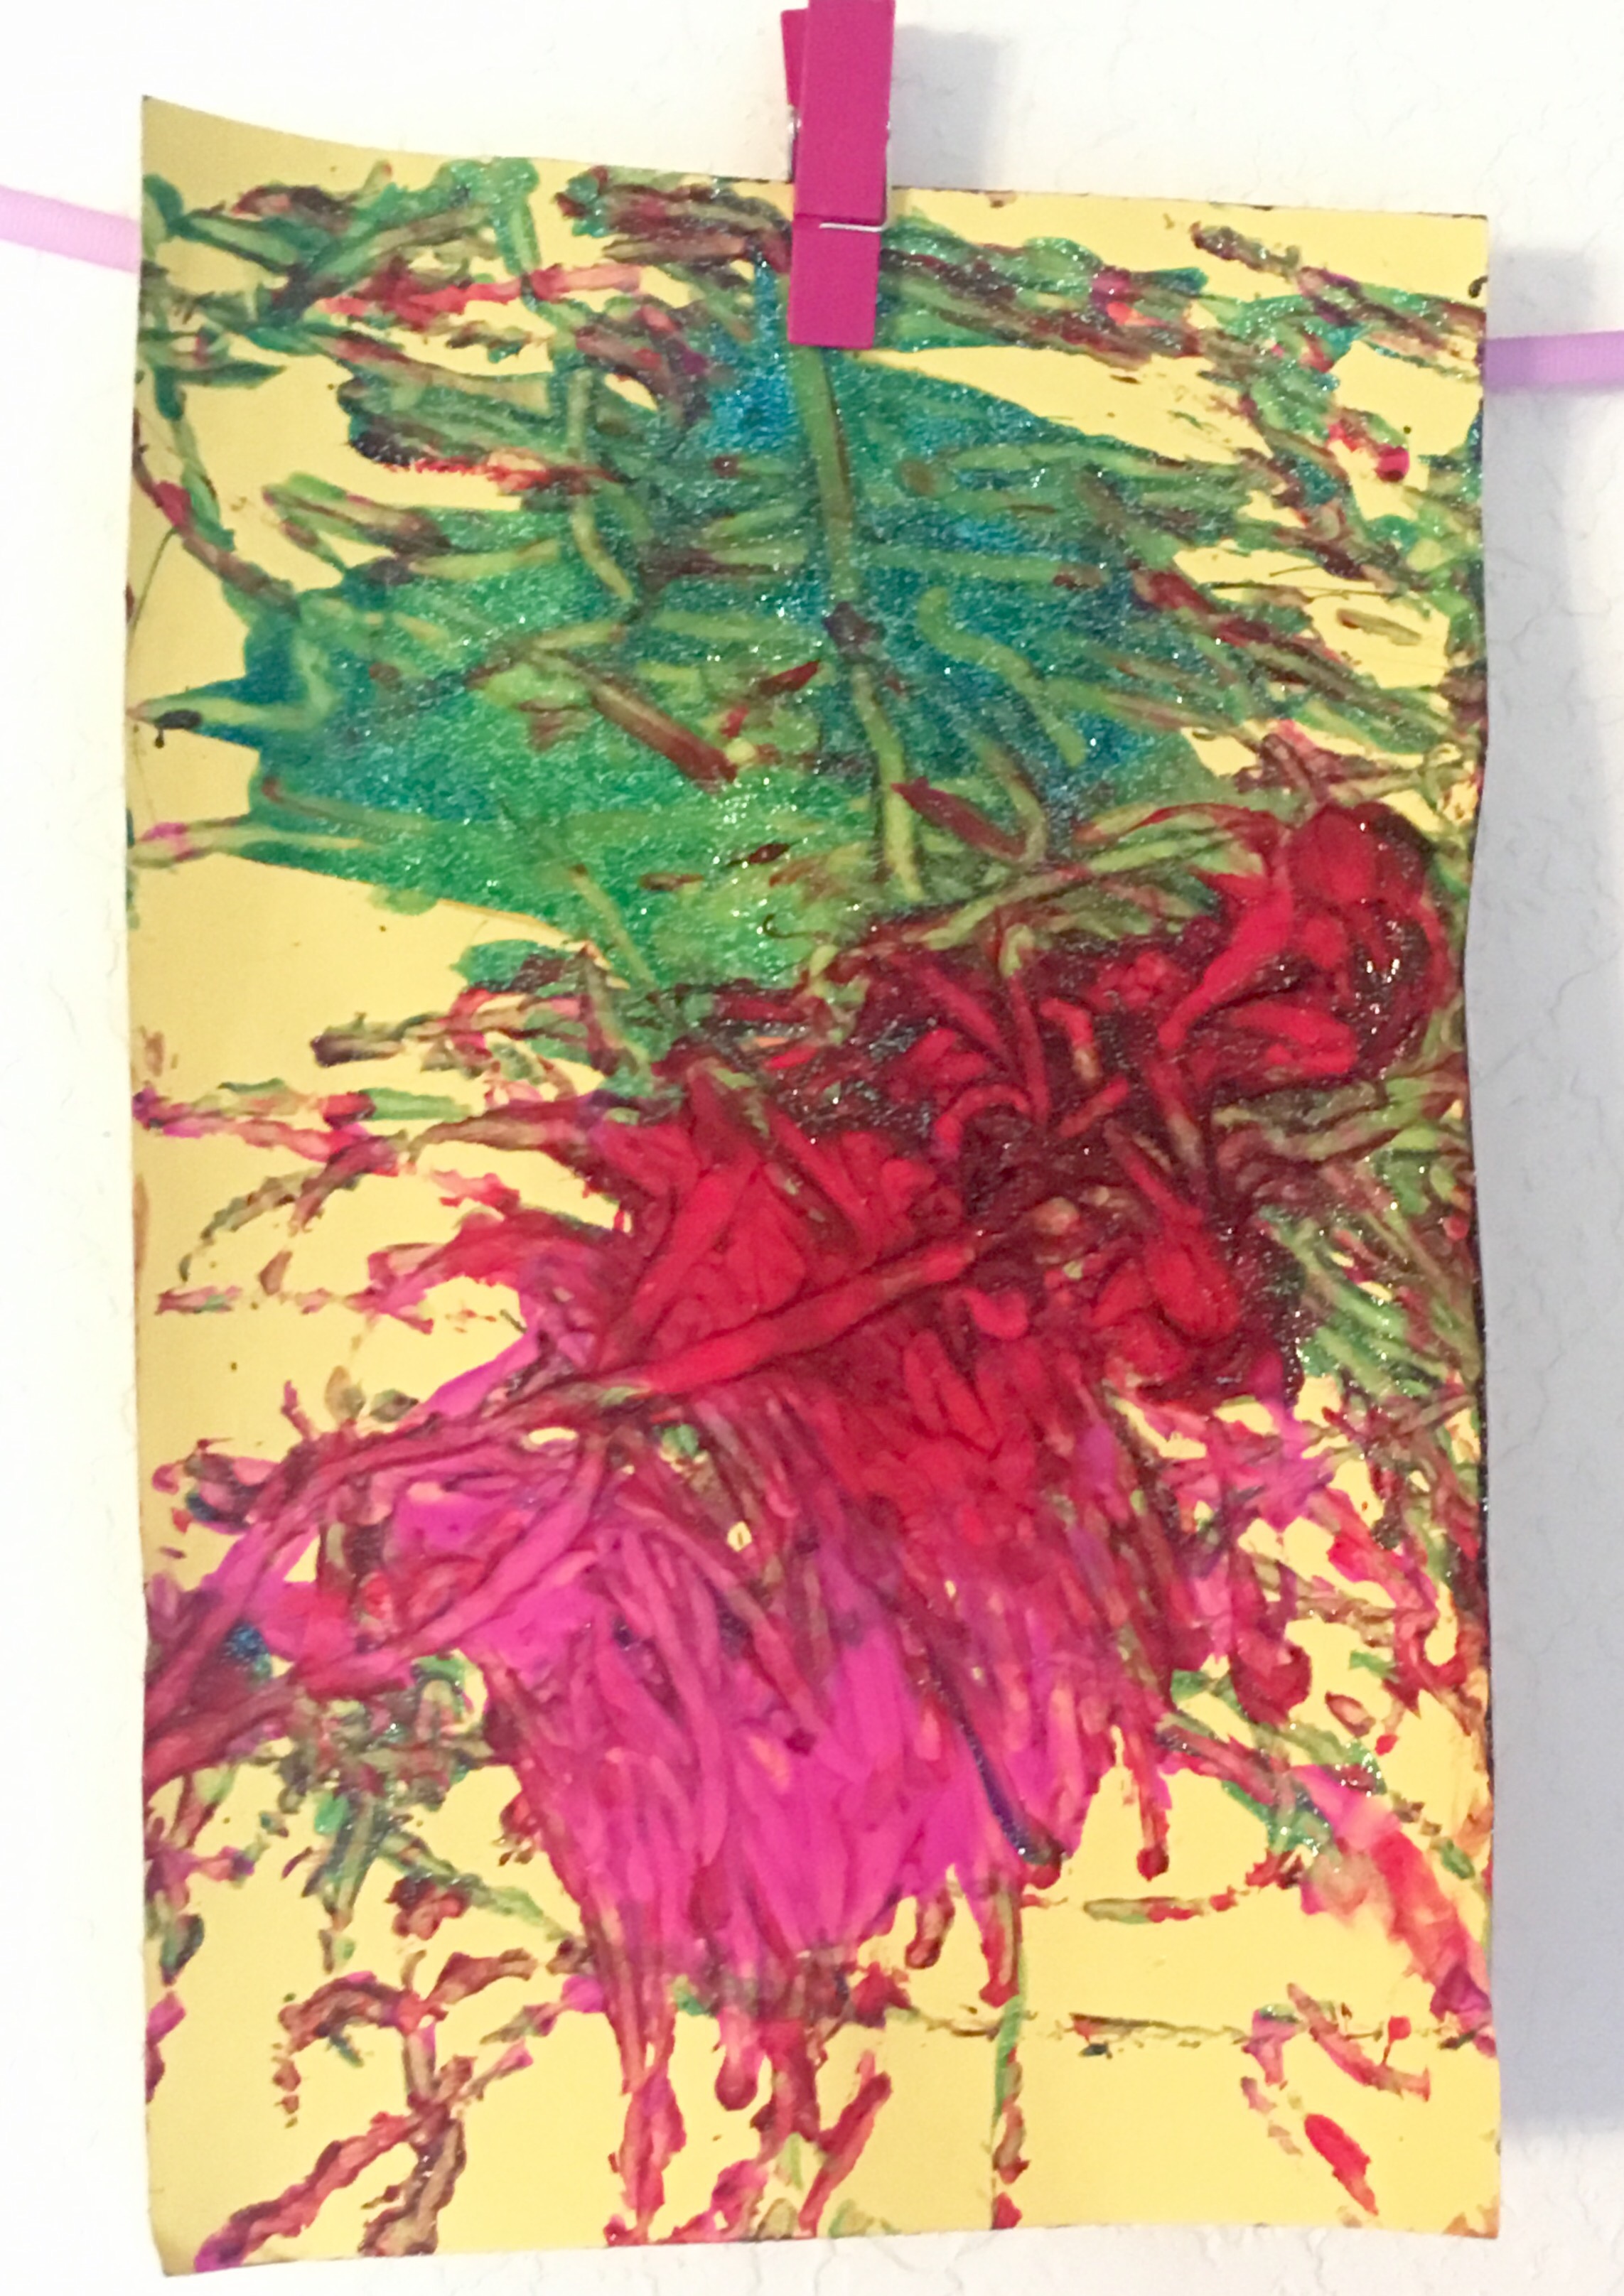

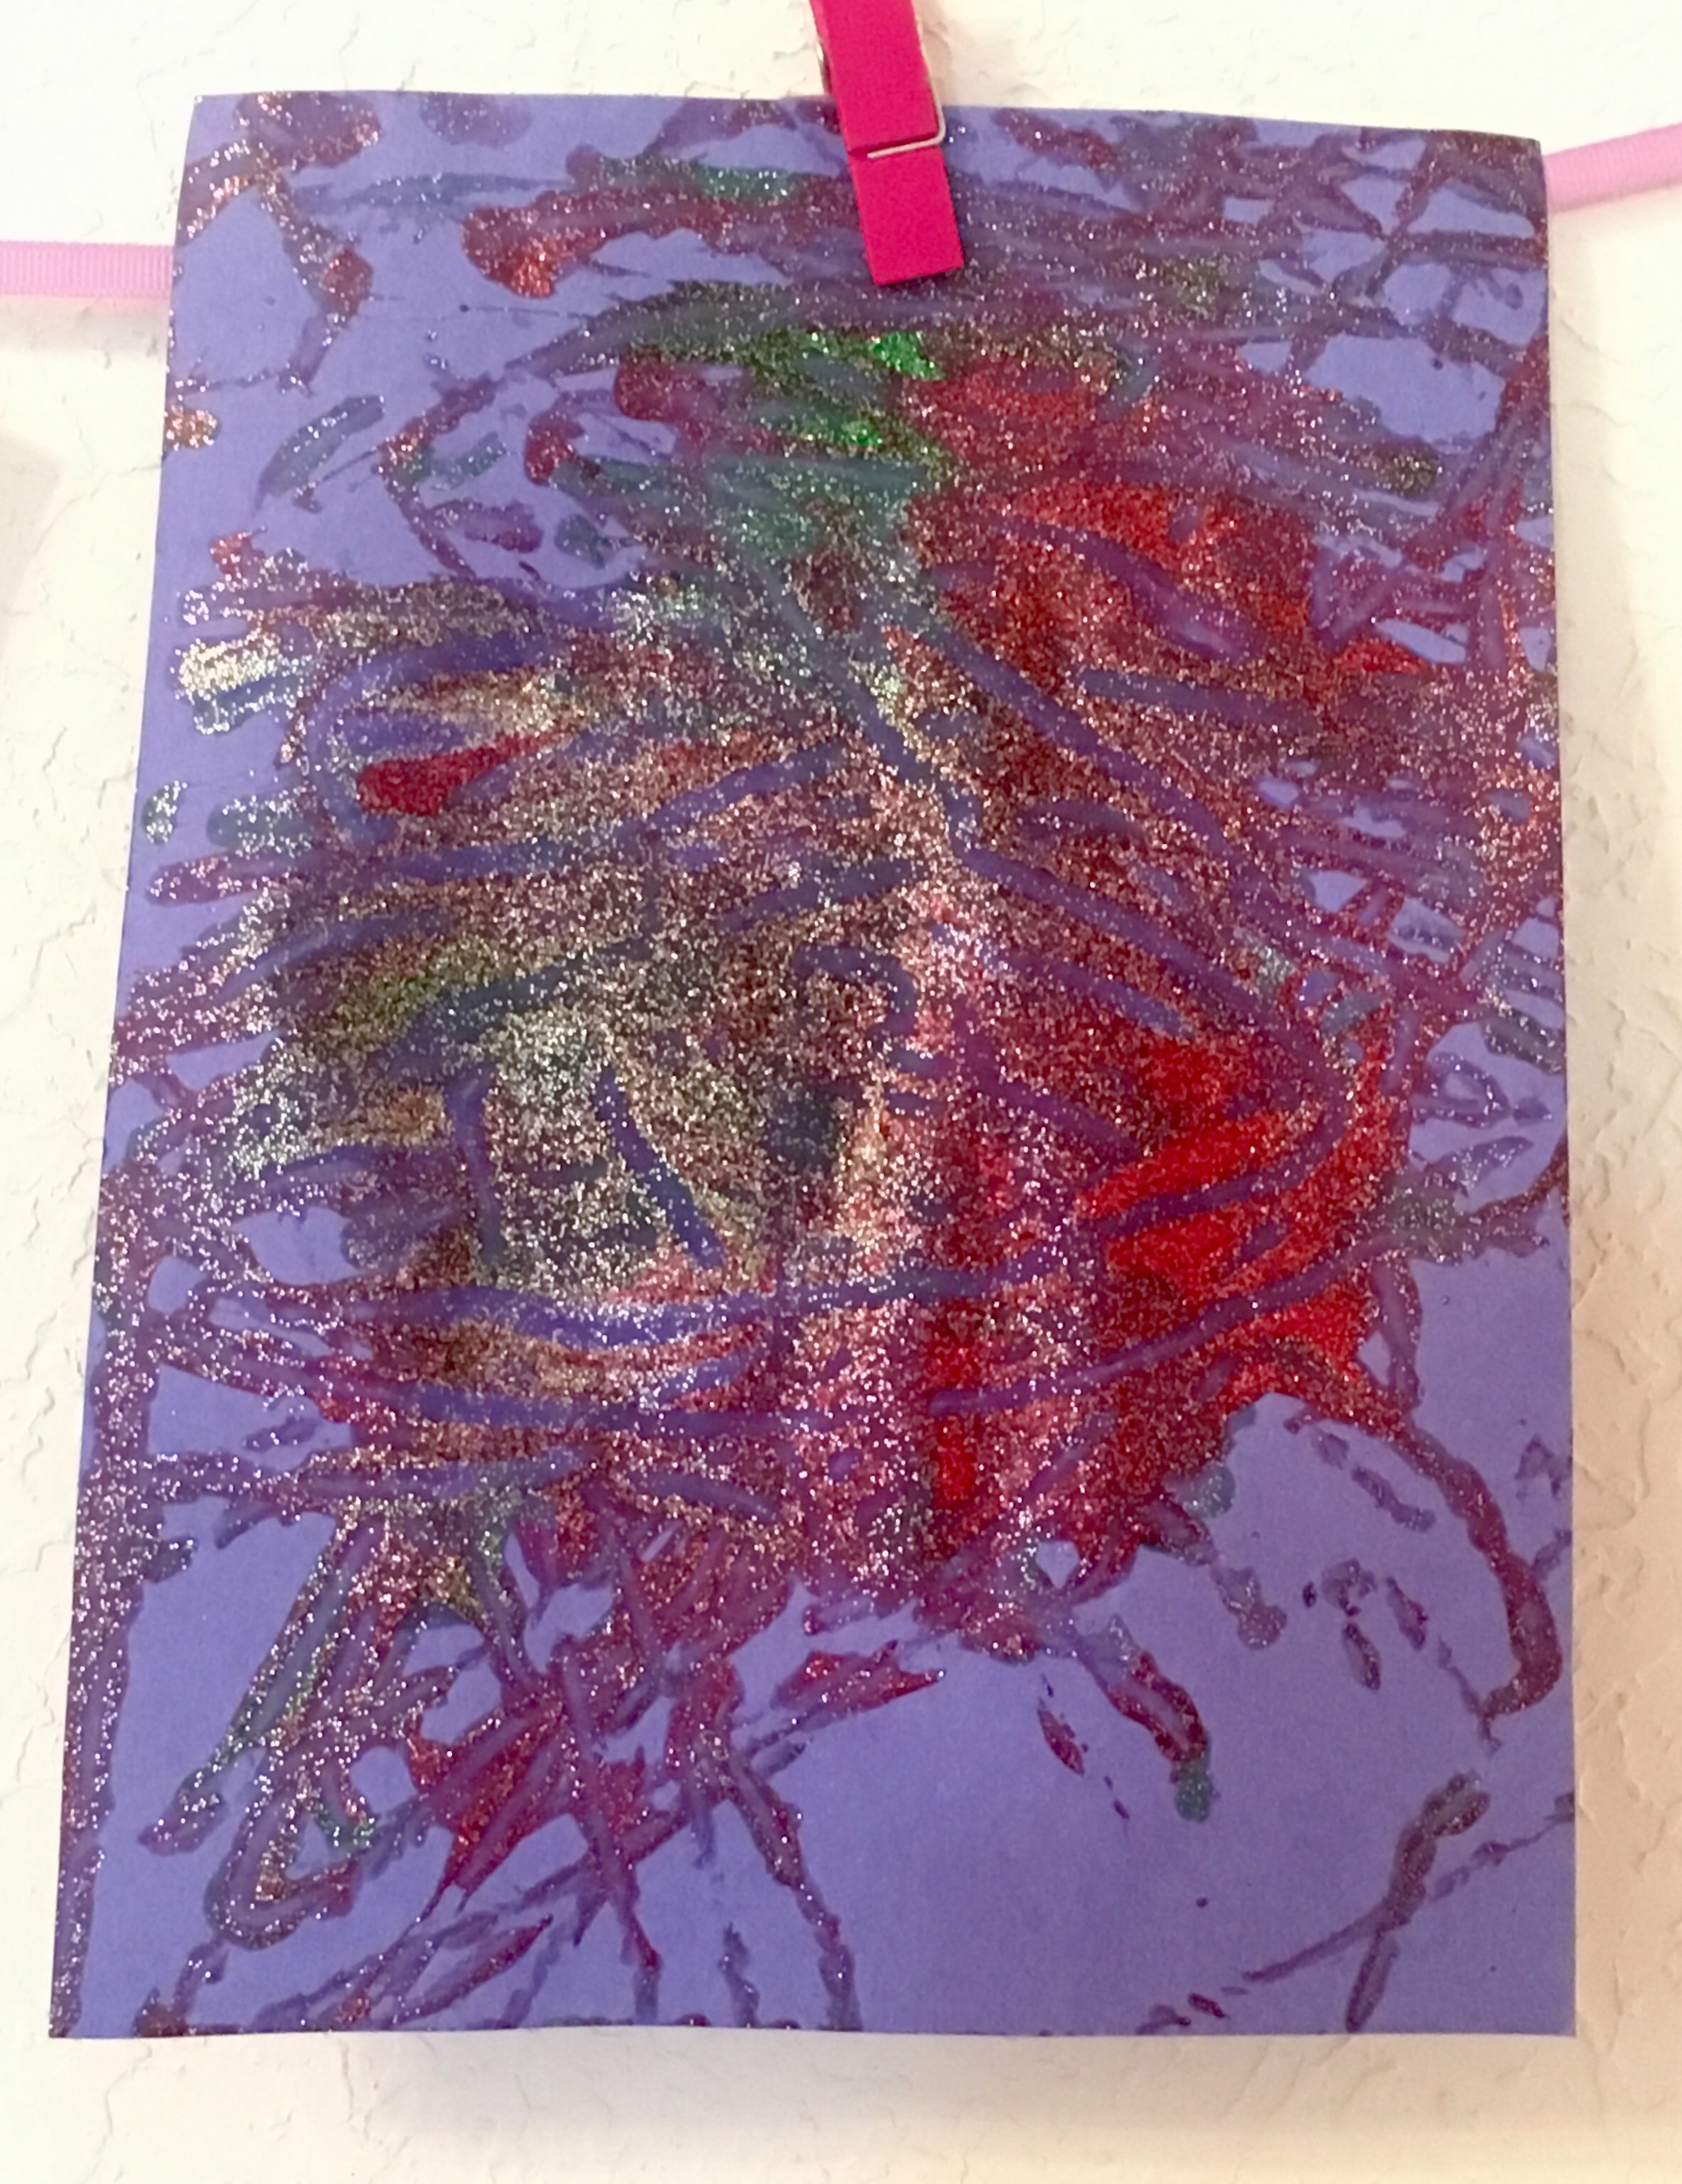
It’s just good, semi-clean, sensory fun! I’m actually in the process of developing an art enrichment course for preschoolers that includes a segment on Abstract Expressionism, and this project will absolutely be included. Marble shake painting and Pollock’s drip painting = a match made in preschool heaven. 

Super colorful and fun!
LikeLiked by 2 people
Yes! I love marble painting. It’s so much fun!
LikeLiked by 1 person
What a cool class you’re developing!!! So great.
I love the paintings. Very cool. We did this in winter, but with a fun twist. I cut a block letter “A” (for my daughter’s name) out of a white sheet of paper, then taped that on top of another white sheet of paper. Then she rolled the marble over that, so it created two paintings in one: a positive and negative! Placed side by side, they look quite cool. It’s something I would like to frame and put in the girls’ rooms.
I bet my toddler would love to do this again with glitter – I love that one!
LikeLike
I love this idea!
LikeLiked by 1 person
Thanks!!
LikeLiked by 1 person
In my classroom, we dip the marbles into the paint. Then we place the marbles onto the paper. This method makes patterns on the paper that are more defined and detailed.
LikeLiked by 1 person
That sounds great too! A different composition entirely — maybe more minimalist? Thanks for sharing!
LikeLike