 Yesterday was Sunday, the day of ‘murca’s venerated Super Bowl. We partook in the pageantry by attending a party at a dear friend’s house, where we all ate lots of yummies and I glanced up at the enormous television for about 2 whole minutes. Prior to the gathering, we had a quiet Sunday with nothing else doing. And as I’m forever reminded, the days of being lazy and cozying up for hours on end have long since bitten the dust. So, R and I did a little putzing around on the internets and found inspiration for a cool painting project with a dash of science.
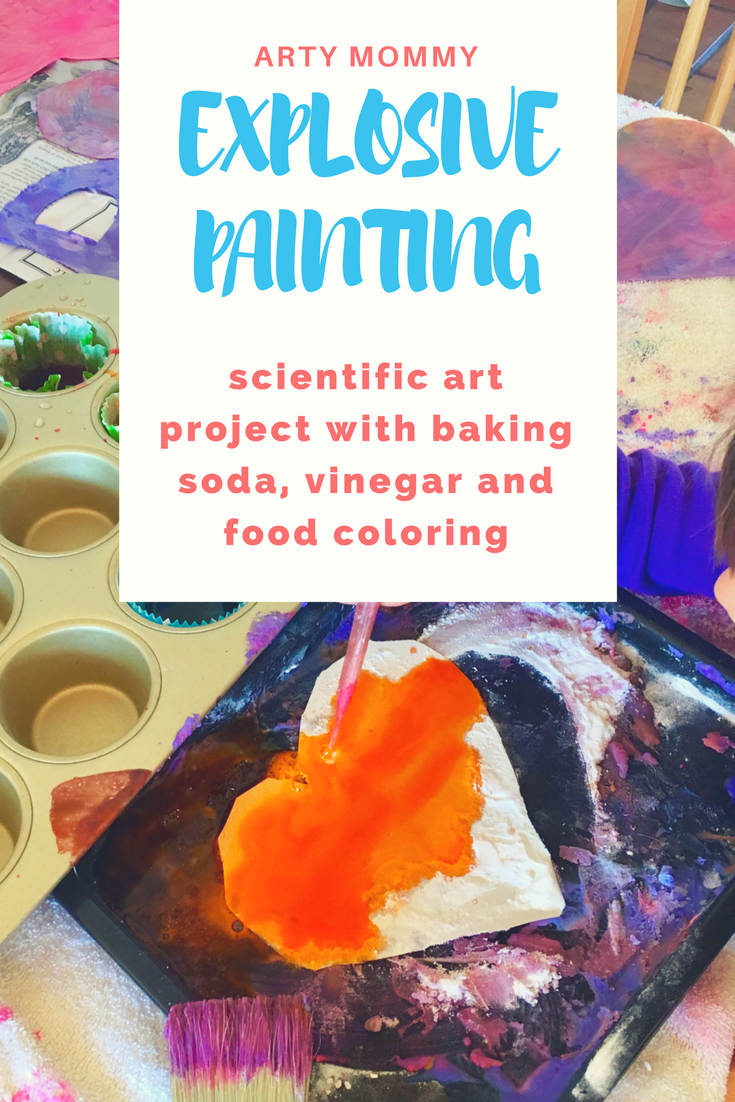
The premise of this craft is the eruptive relationship between vinegar and baking soda. Who wouldn’t get giddy from making paintings that sizzle, bubble and pop? Below are the instructions, but first, here’s a quick vid of my kid’s reaction, if you’re so inclined to spend 3 minutes watching artsy cuteness (I’m biased, yes):
Here’s what you need for these poppin’ paintings:
- Paper
- Scissors
- Baking soda
- Vinegar (preferably white)
- Food coloring
- Dropper
- Baking tin or other protected surface
- Jars or containers for your liquid paint
- Paint brush (optional)
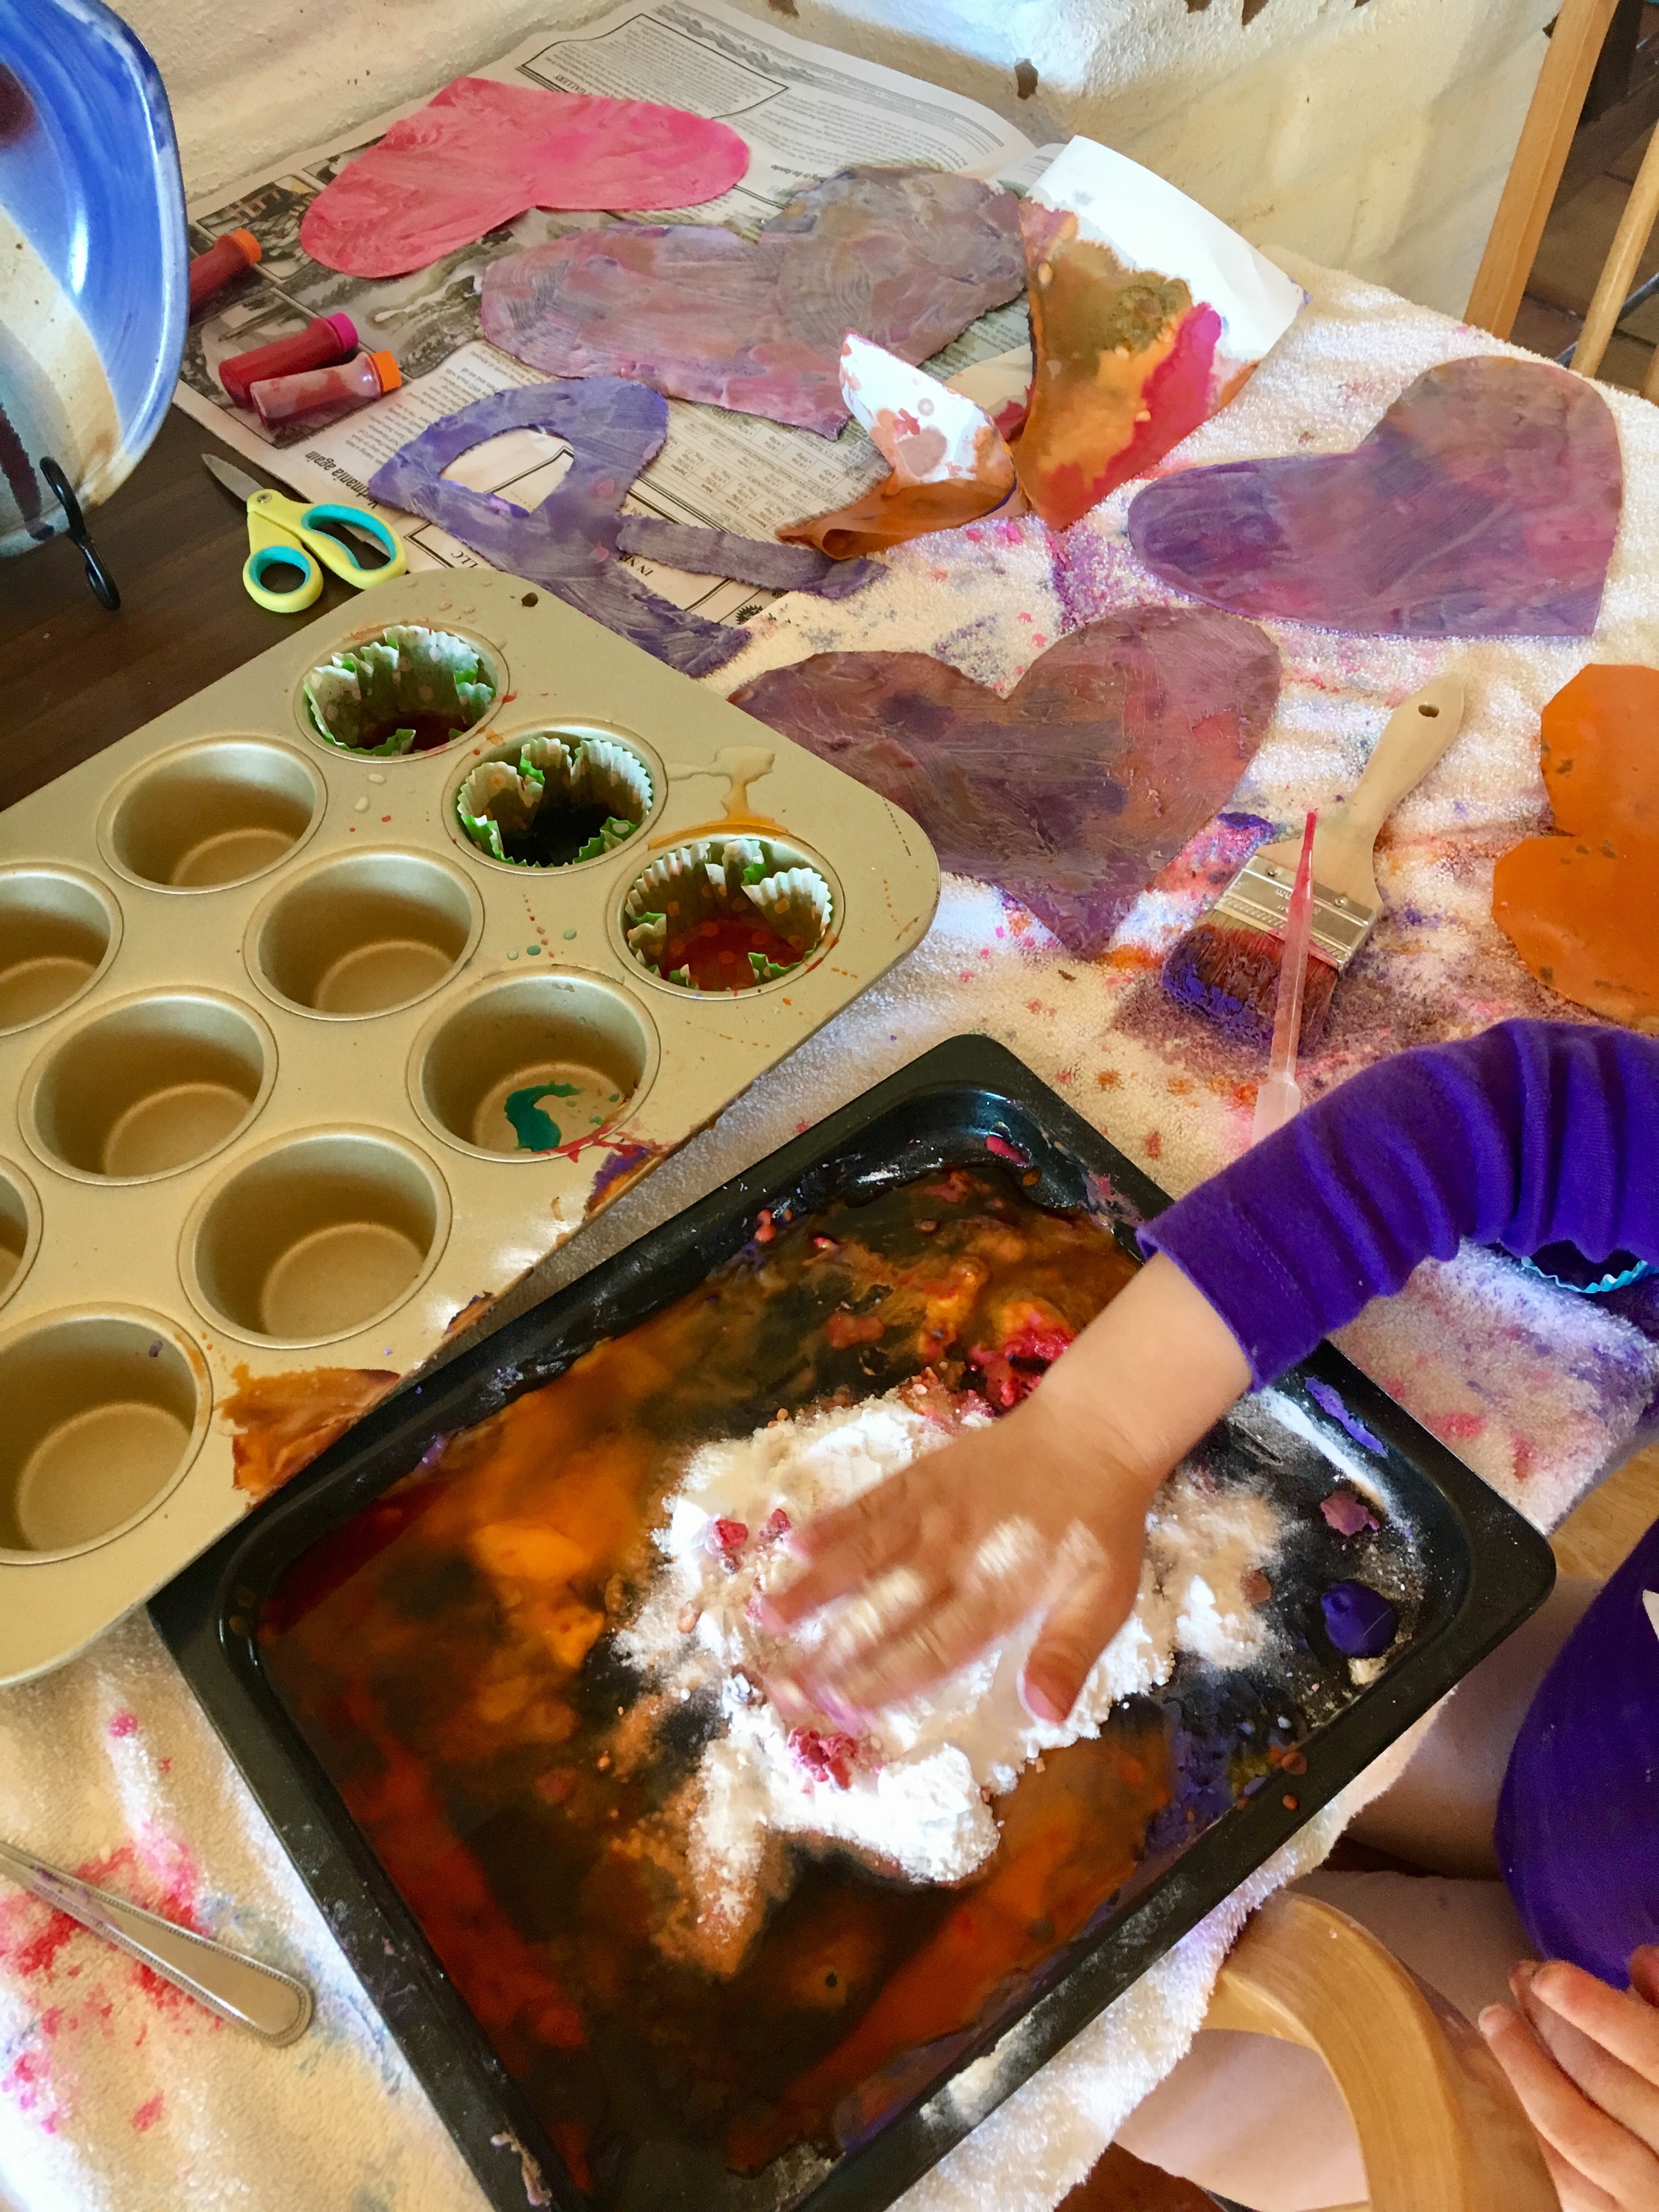
1. I started by drawing hearts on pieces of paper (as well as other shapes of R’s choosing). R was then tasked with putting her scissor skills to work and cutting the shapes out. 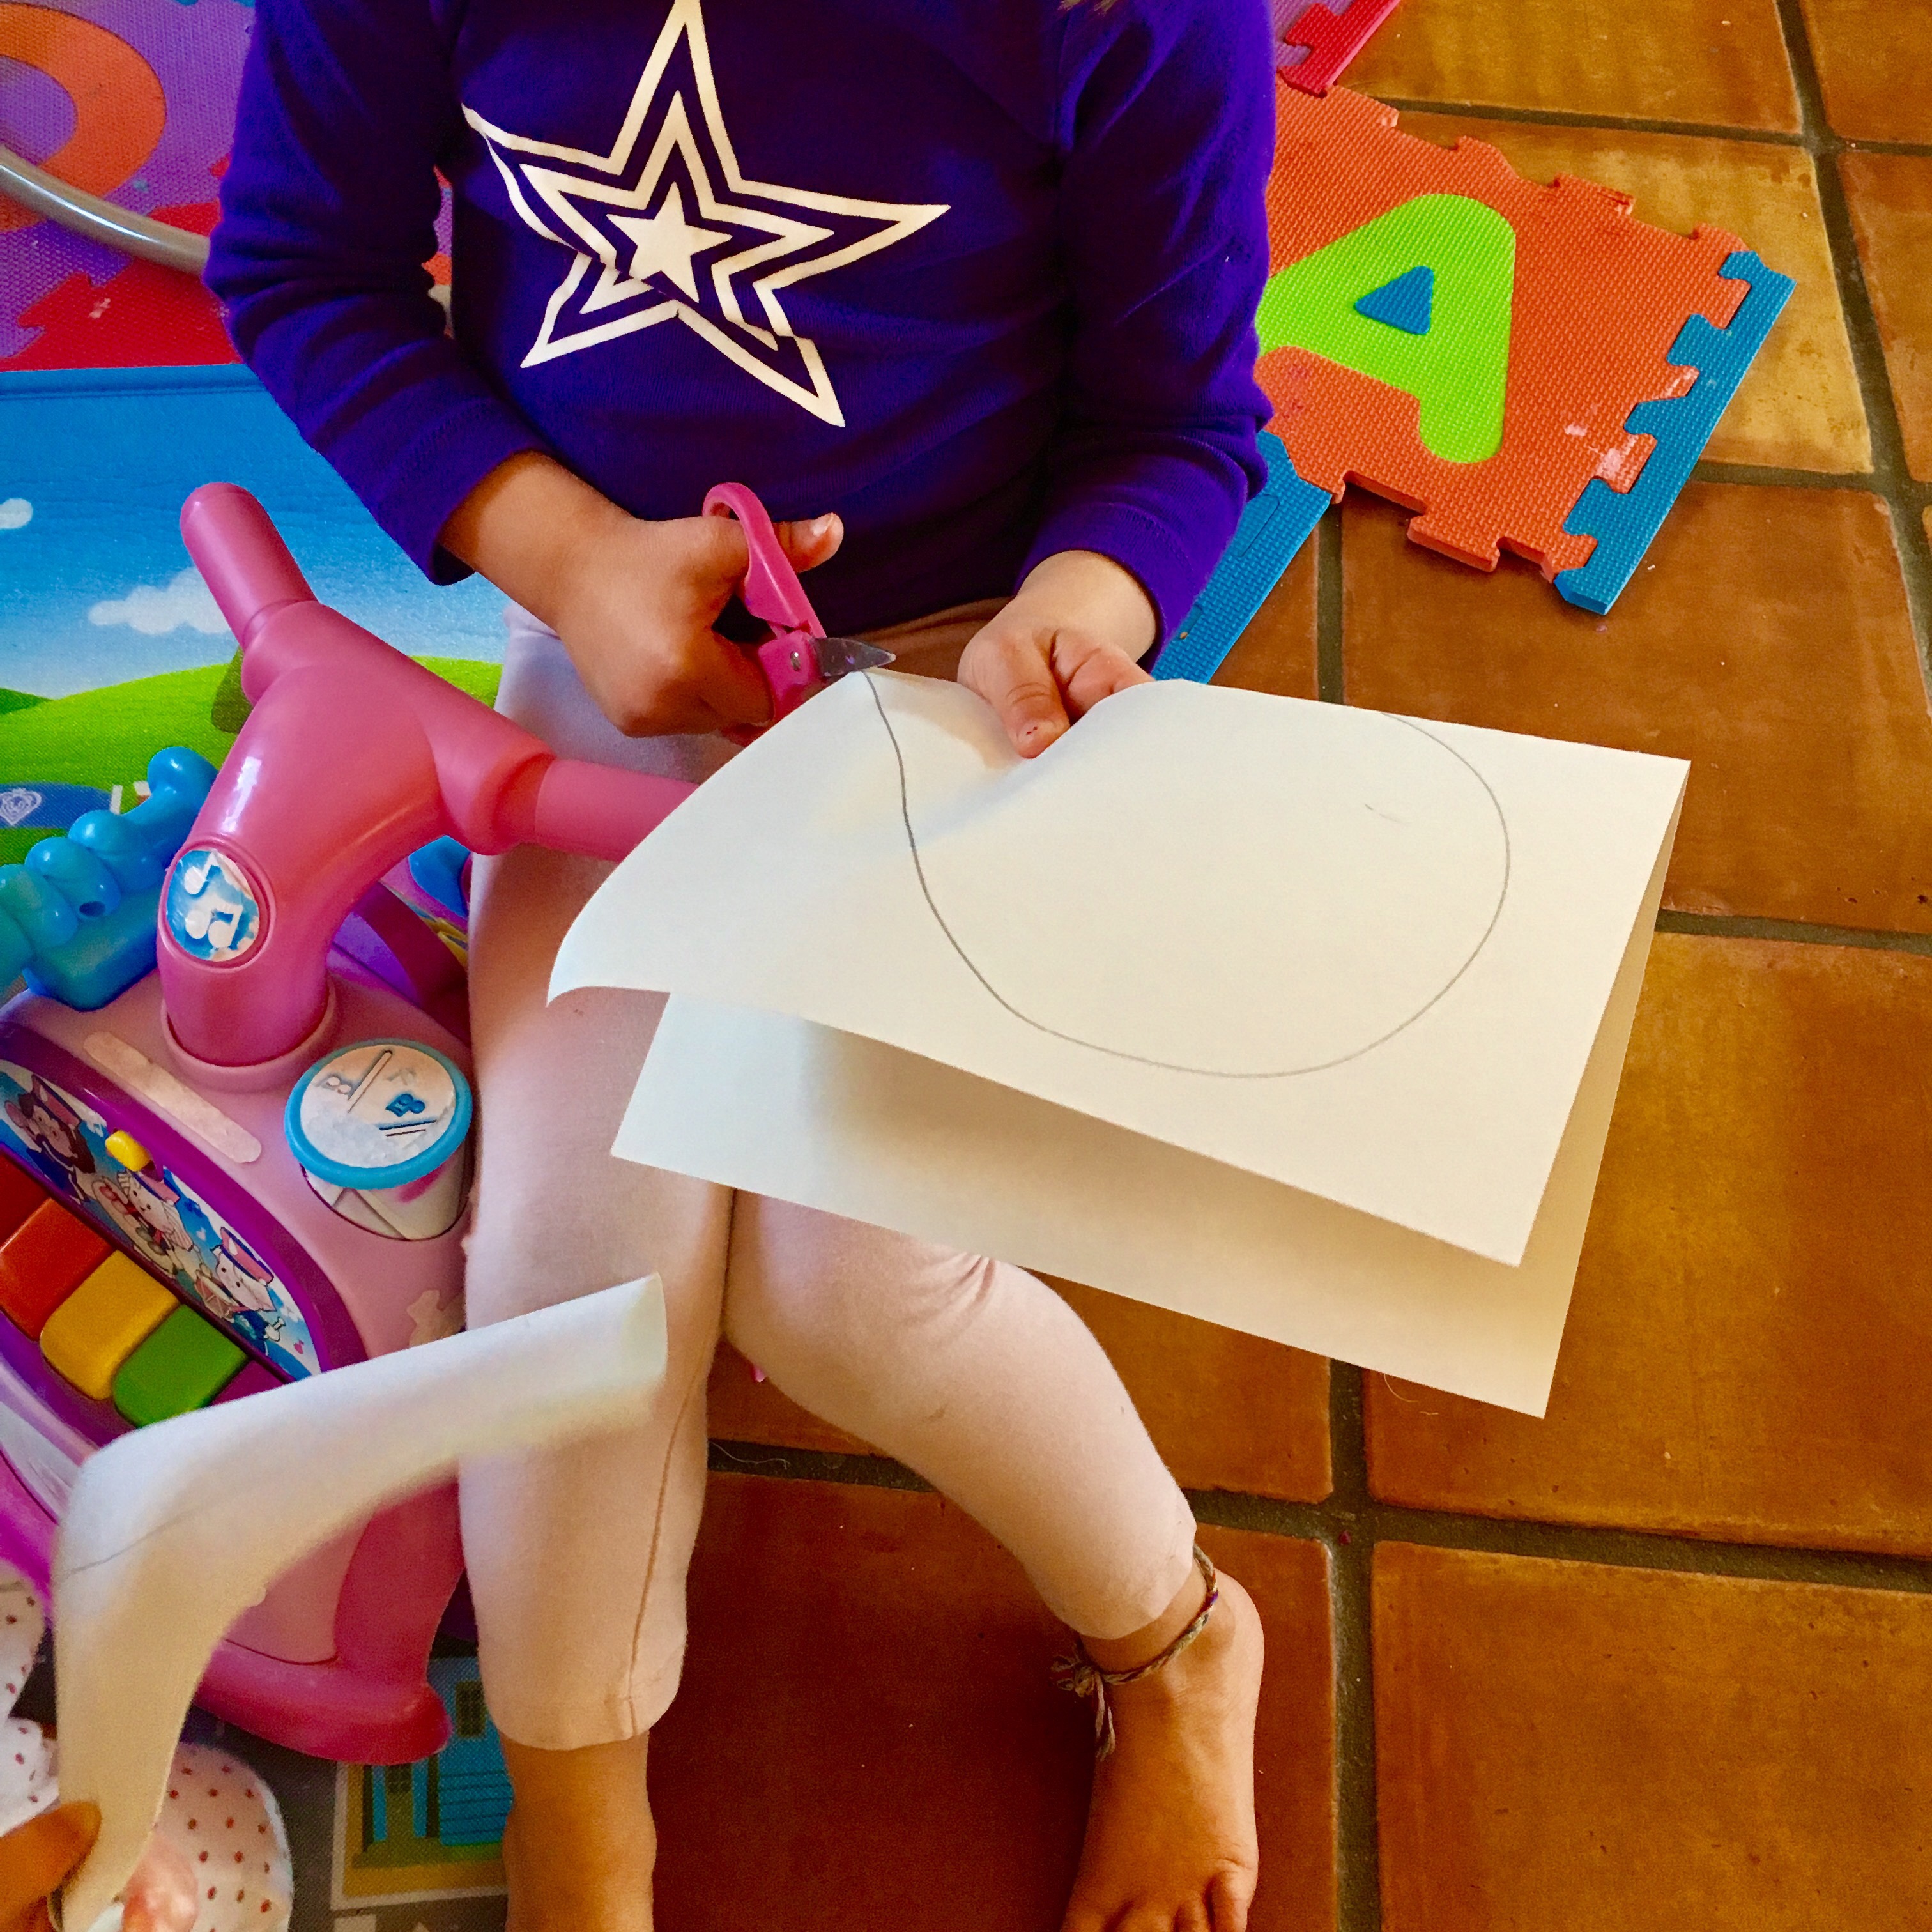

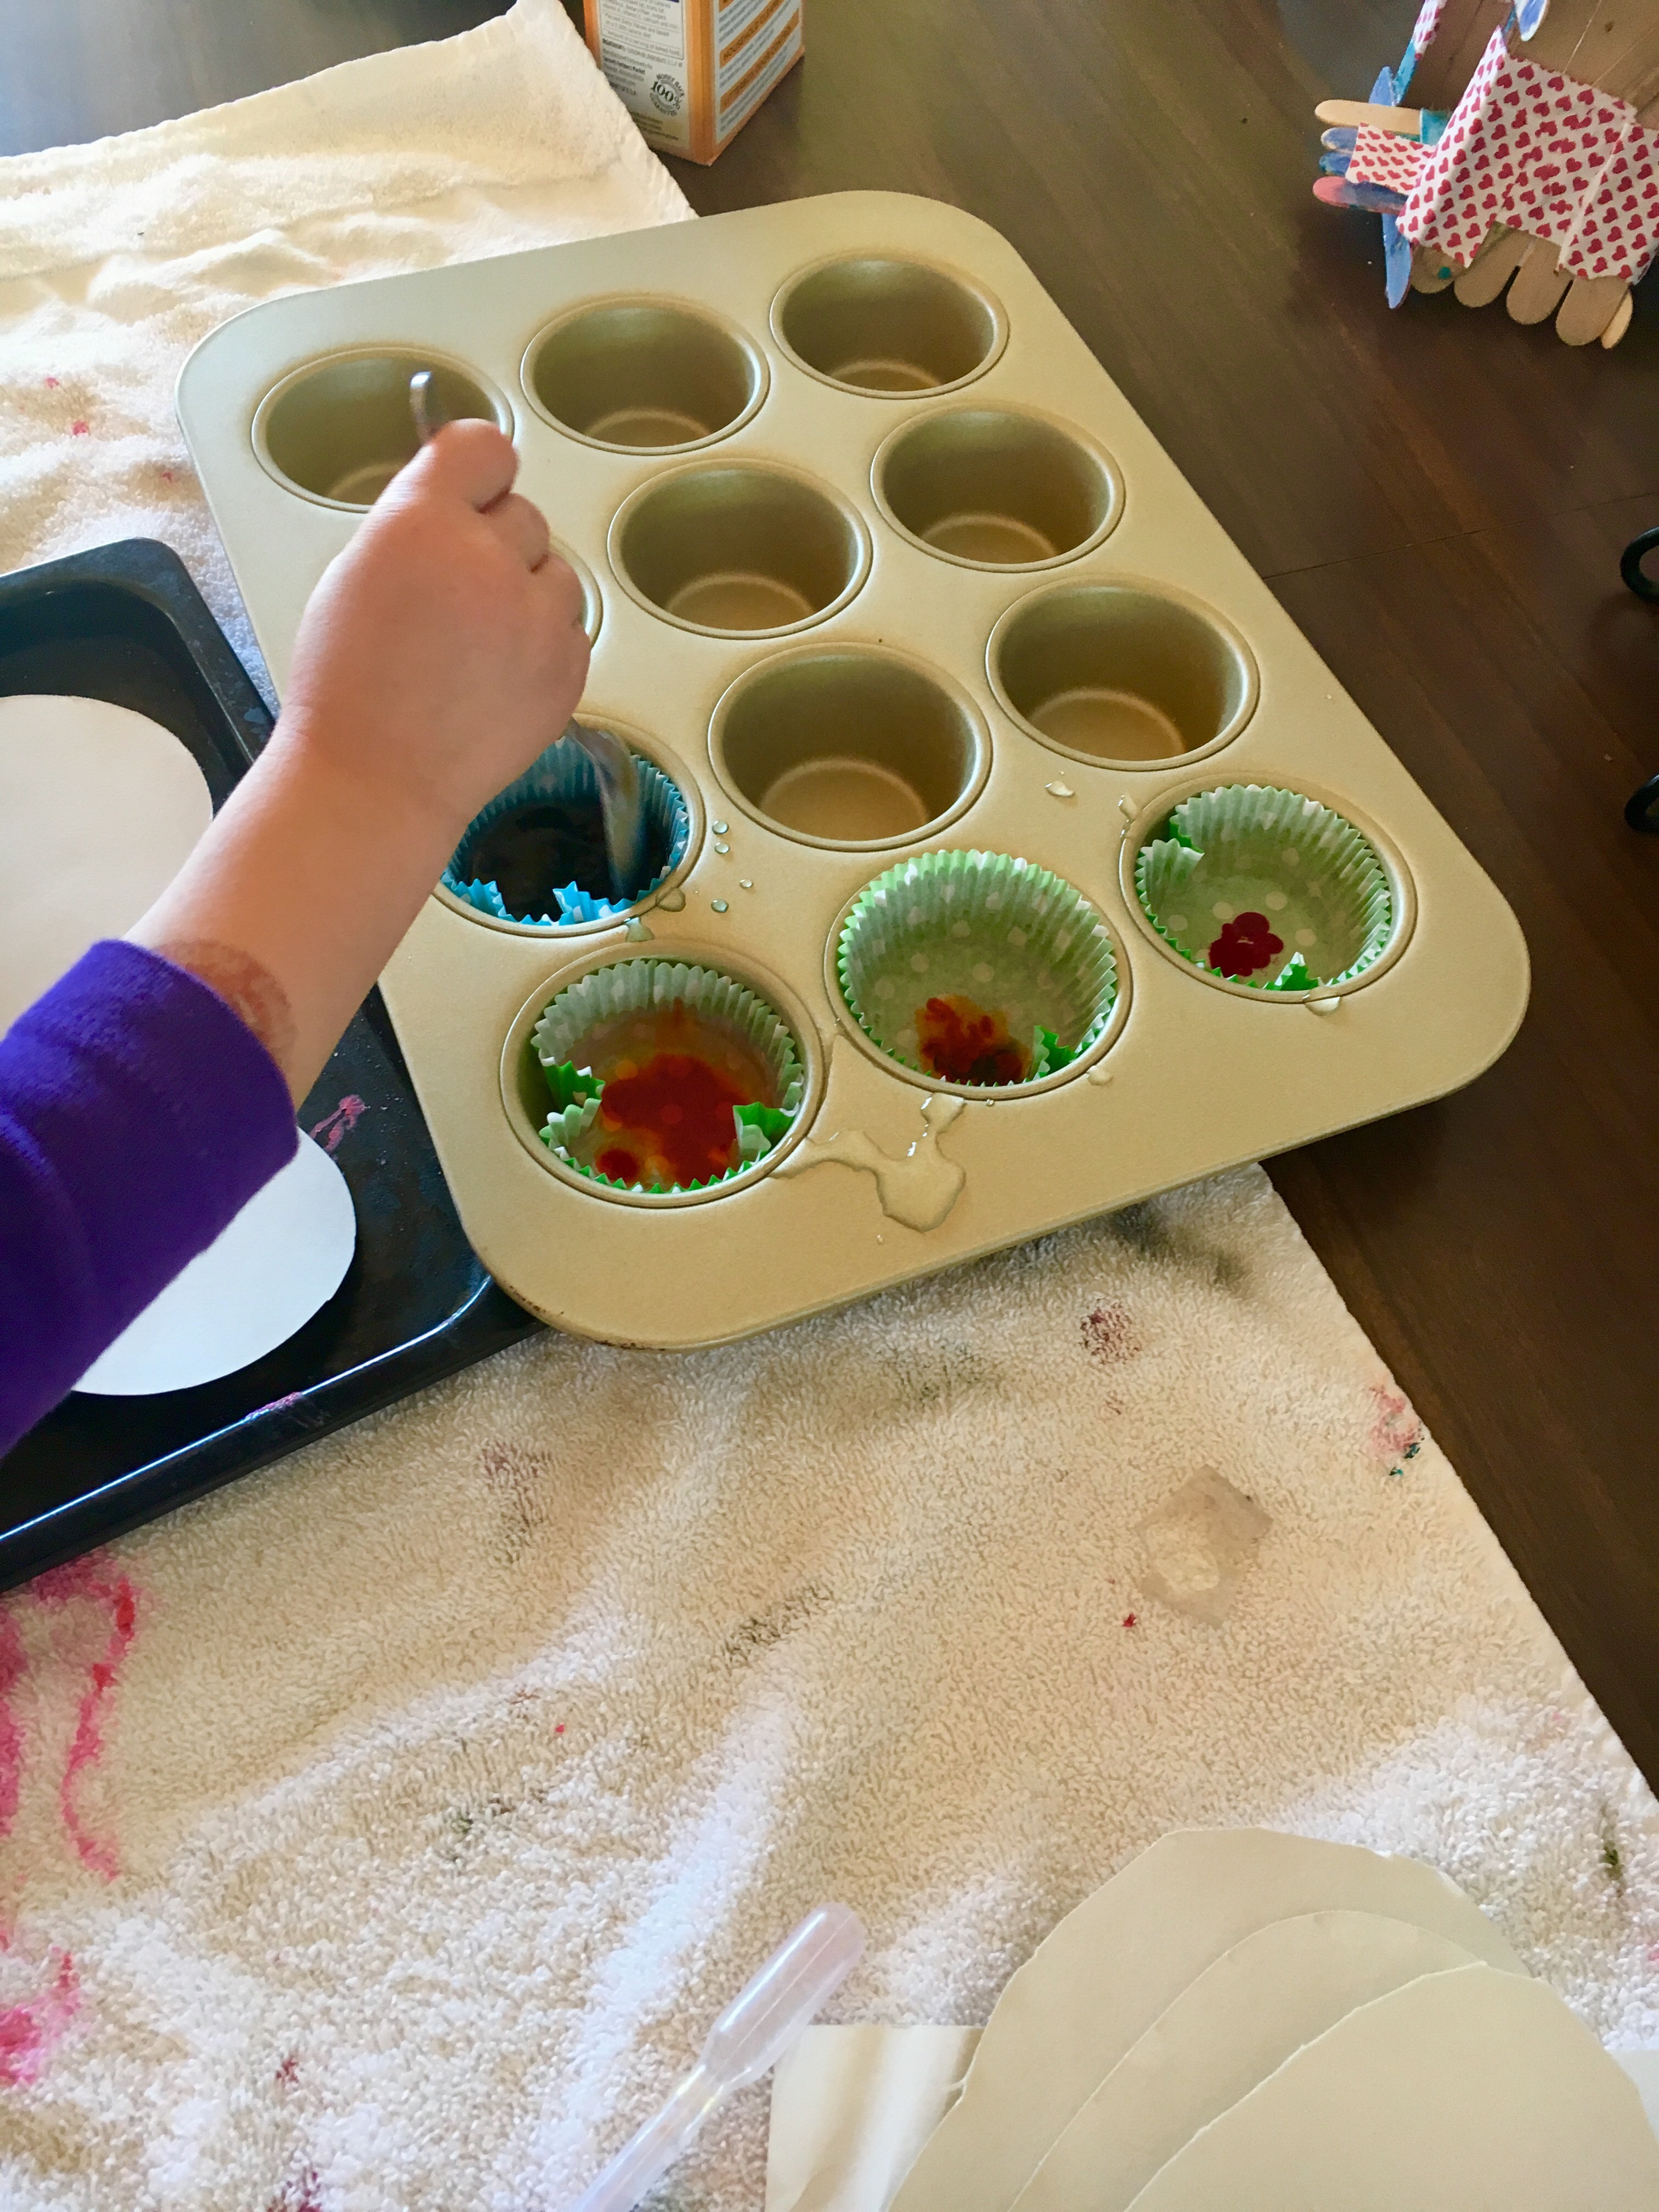
2. We made our liquid paint by pouring vinegar into 4 compartments of a muffin tin, liberally dropping food coloring into the vinegar (one color per muffin hole) and mixing. 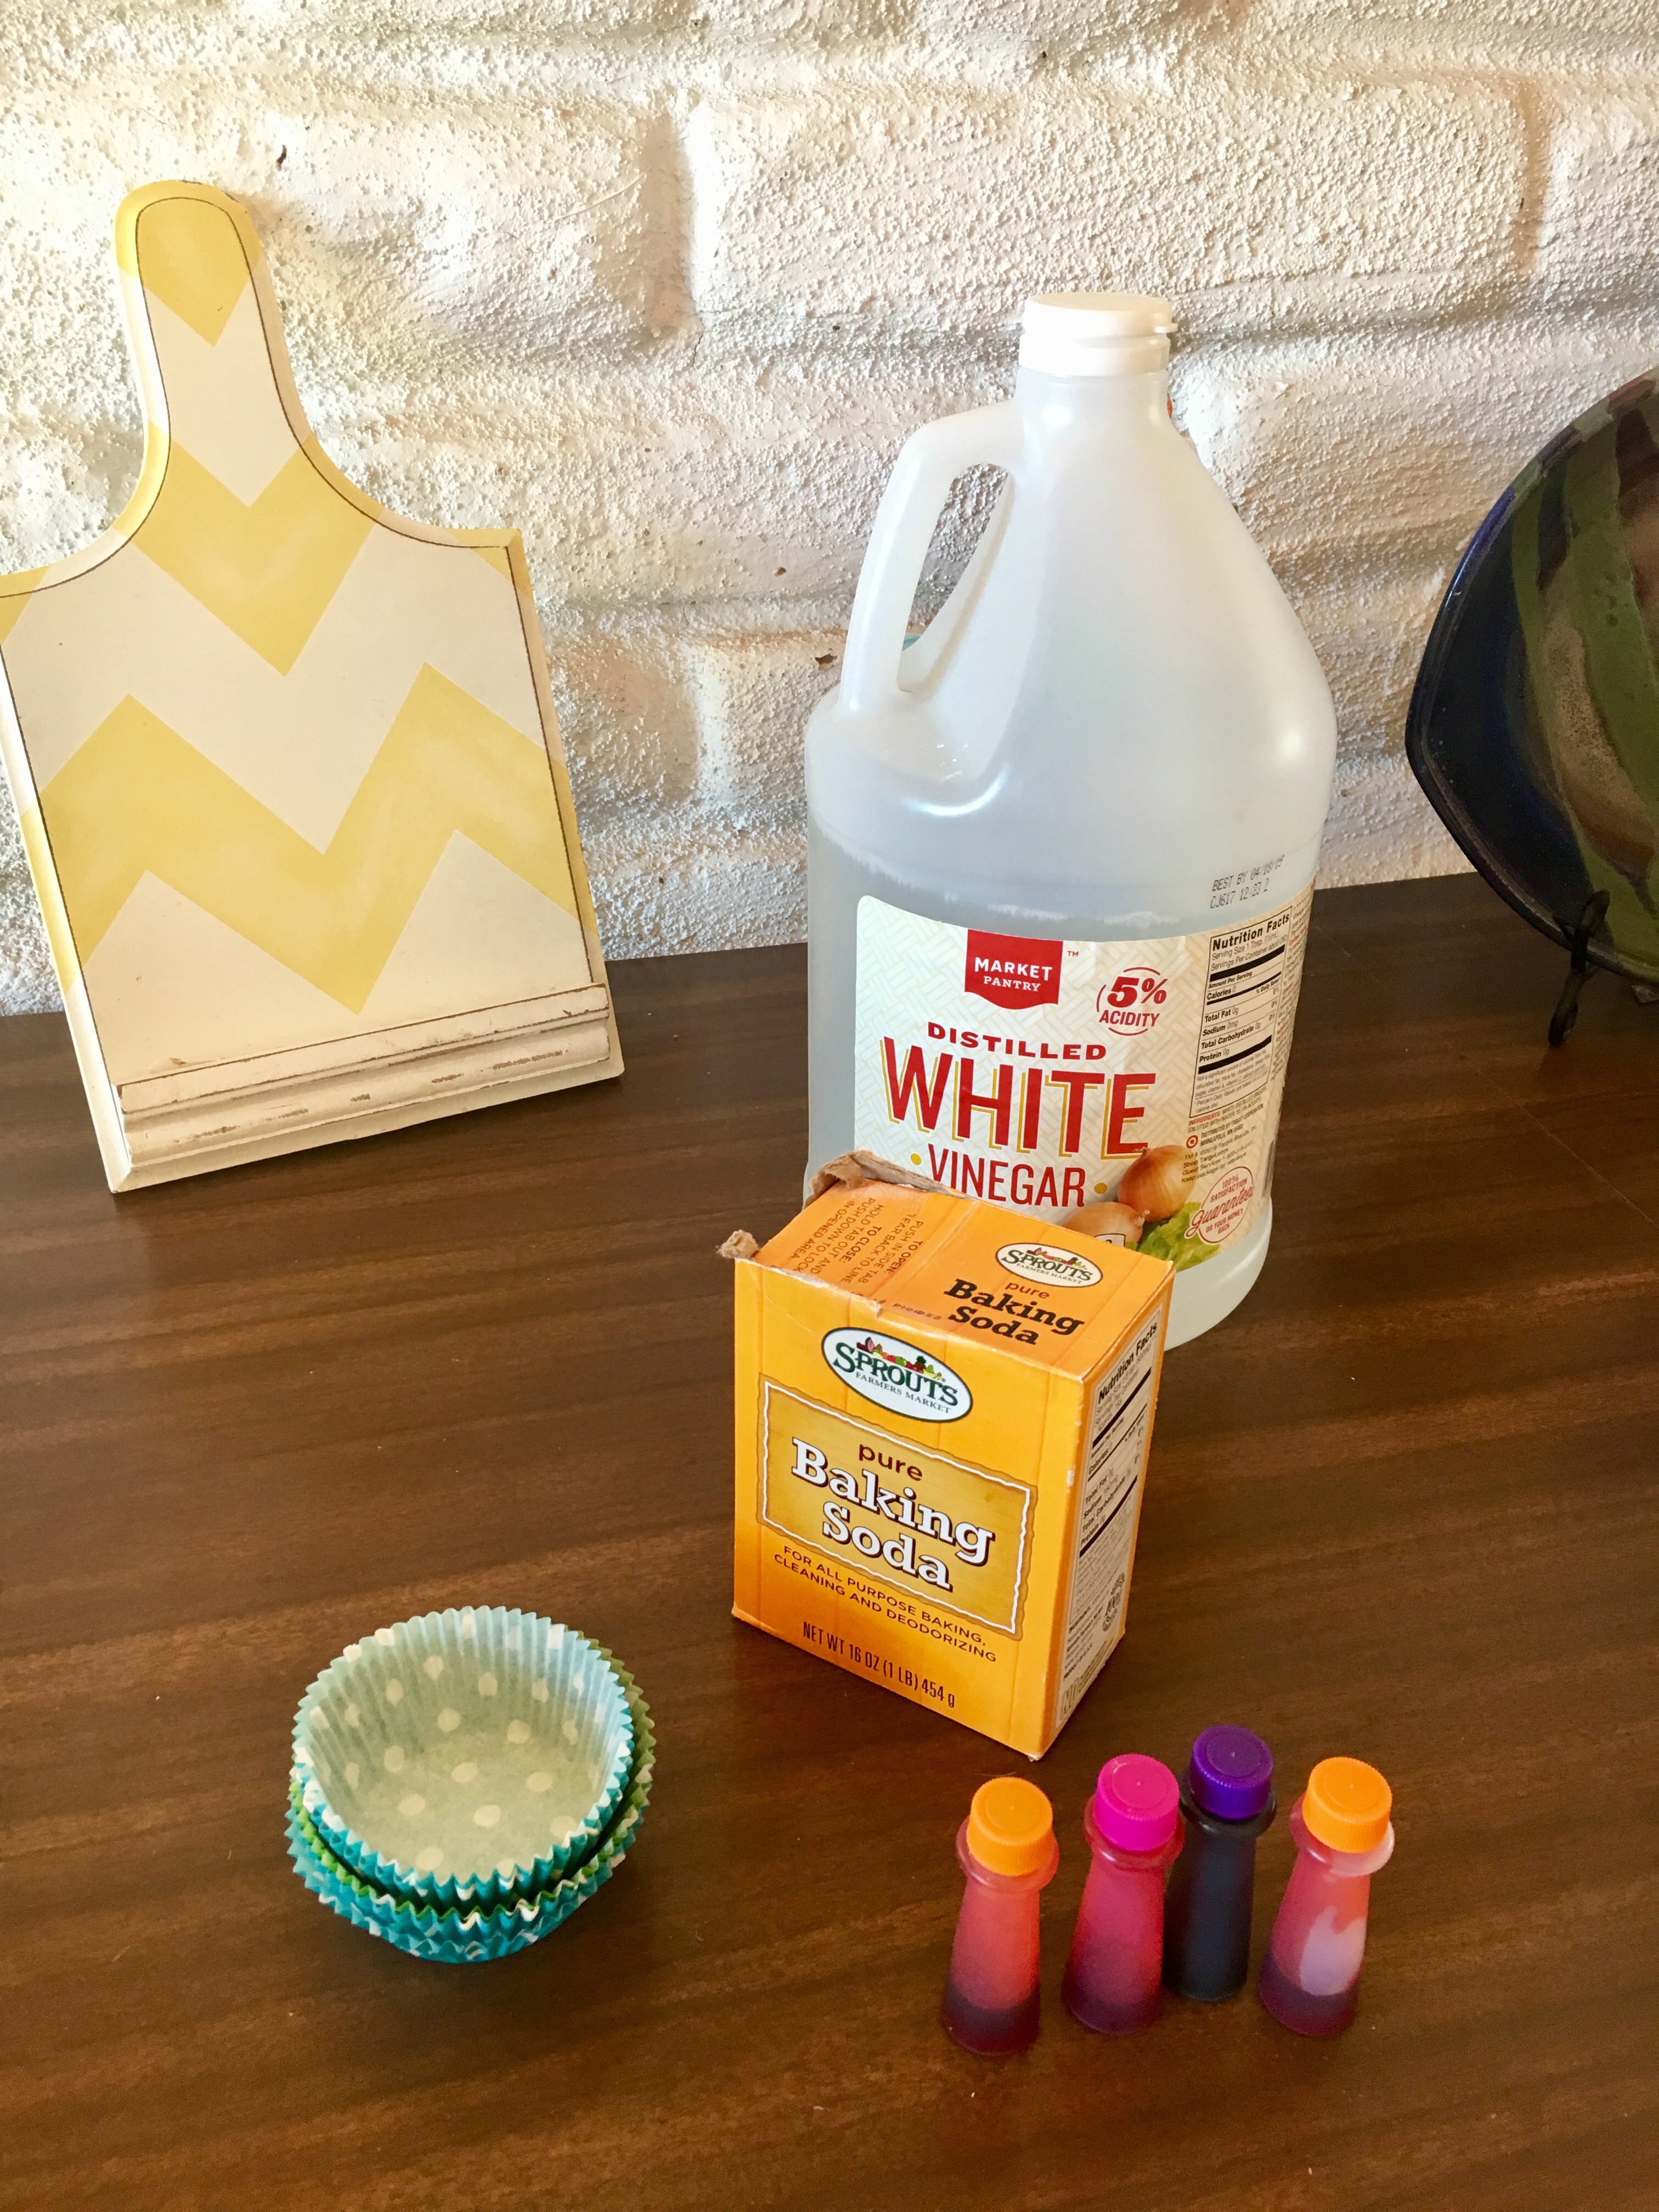
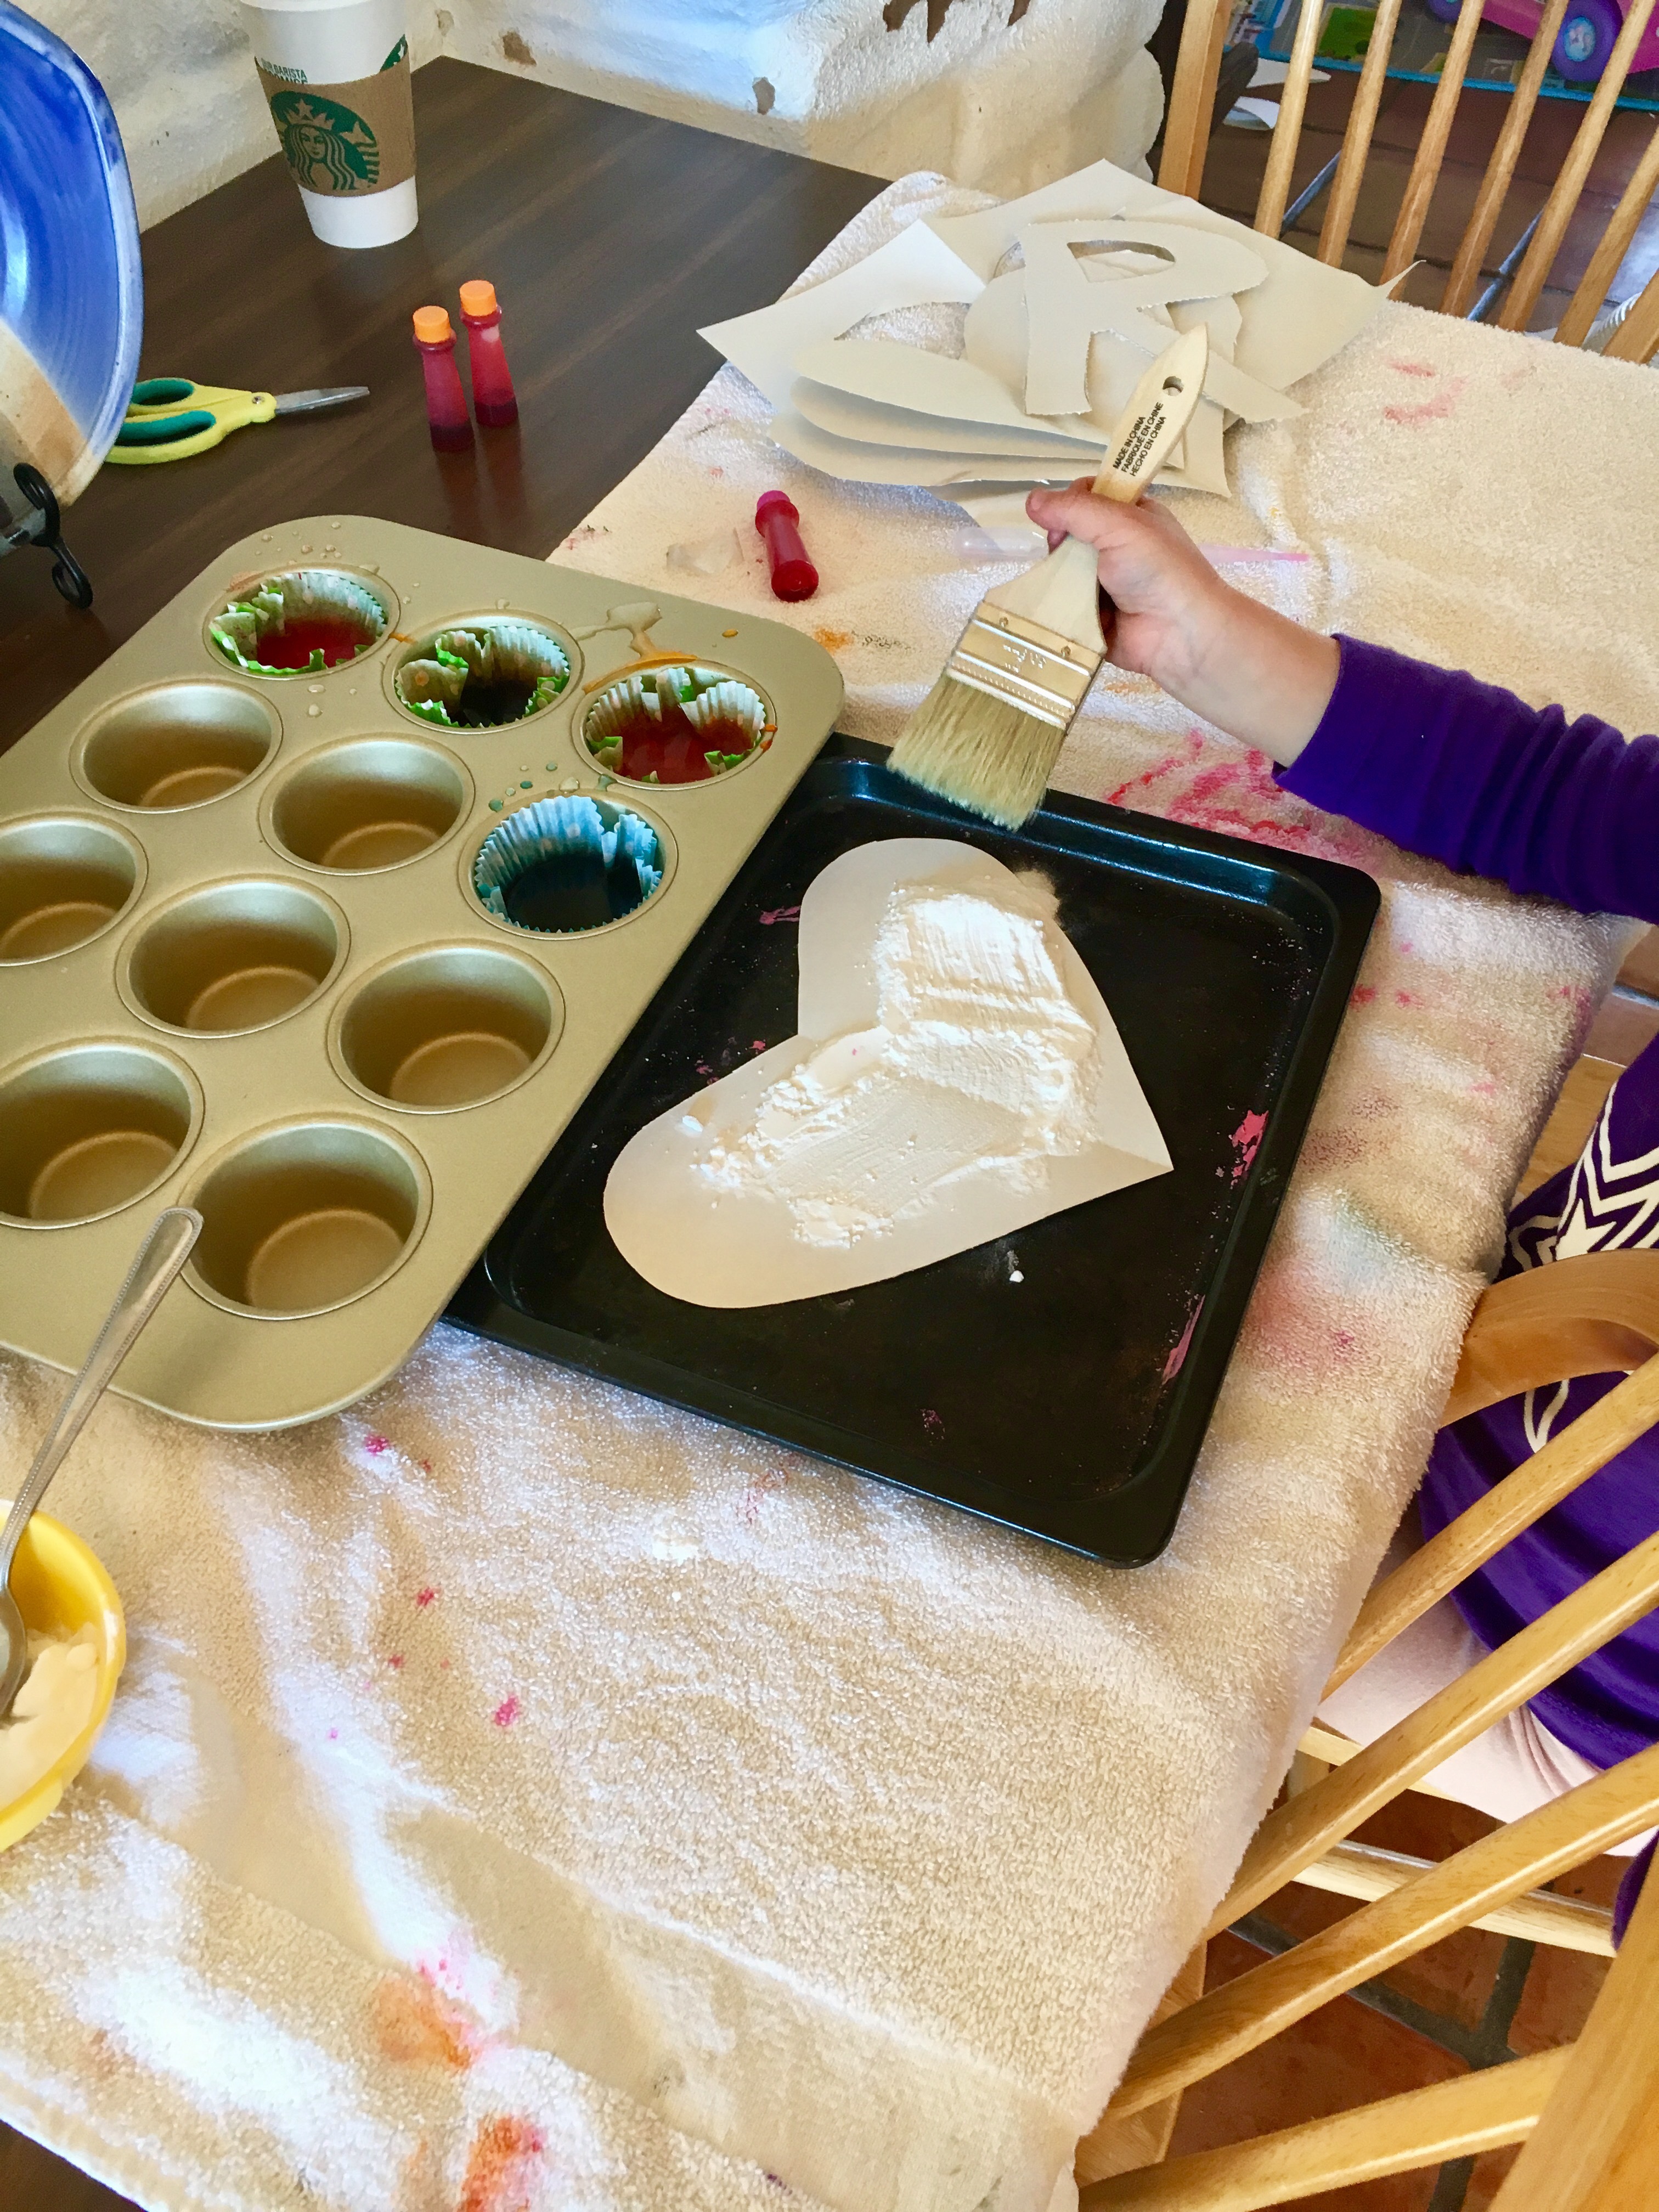
3. We lay the shapes, one at a time, on a baking sheet and covered them with baking soda. R employed a paint brush to create an even layer of soda. 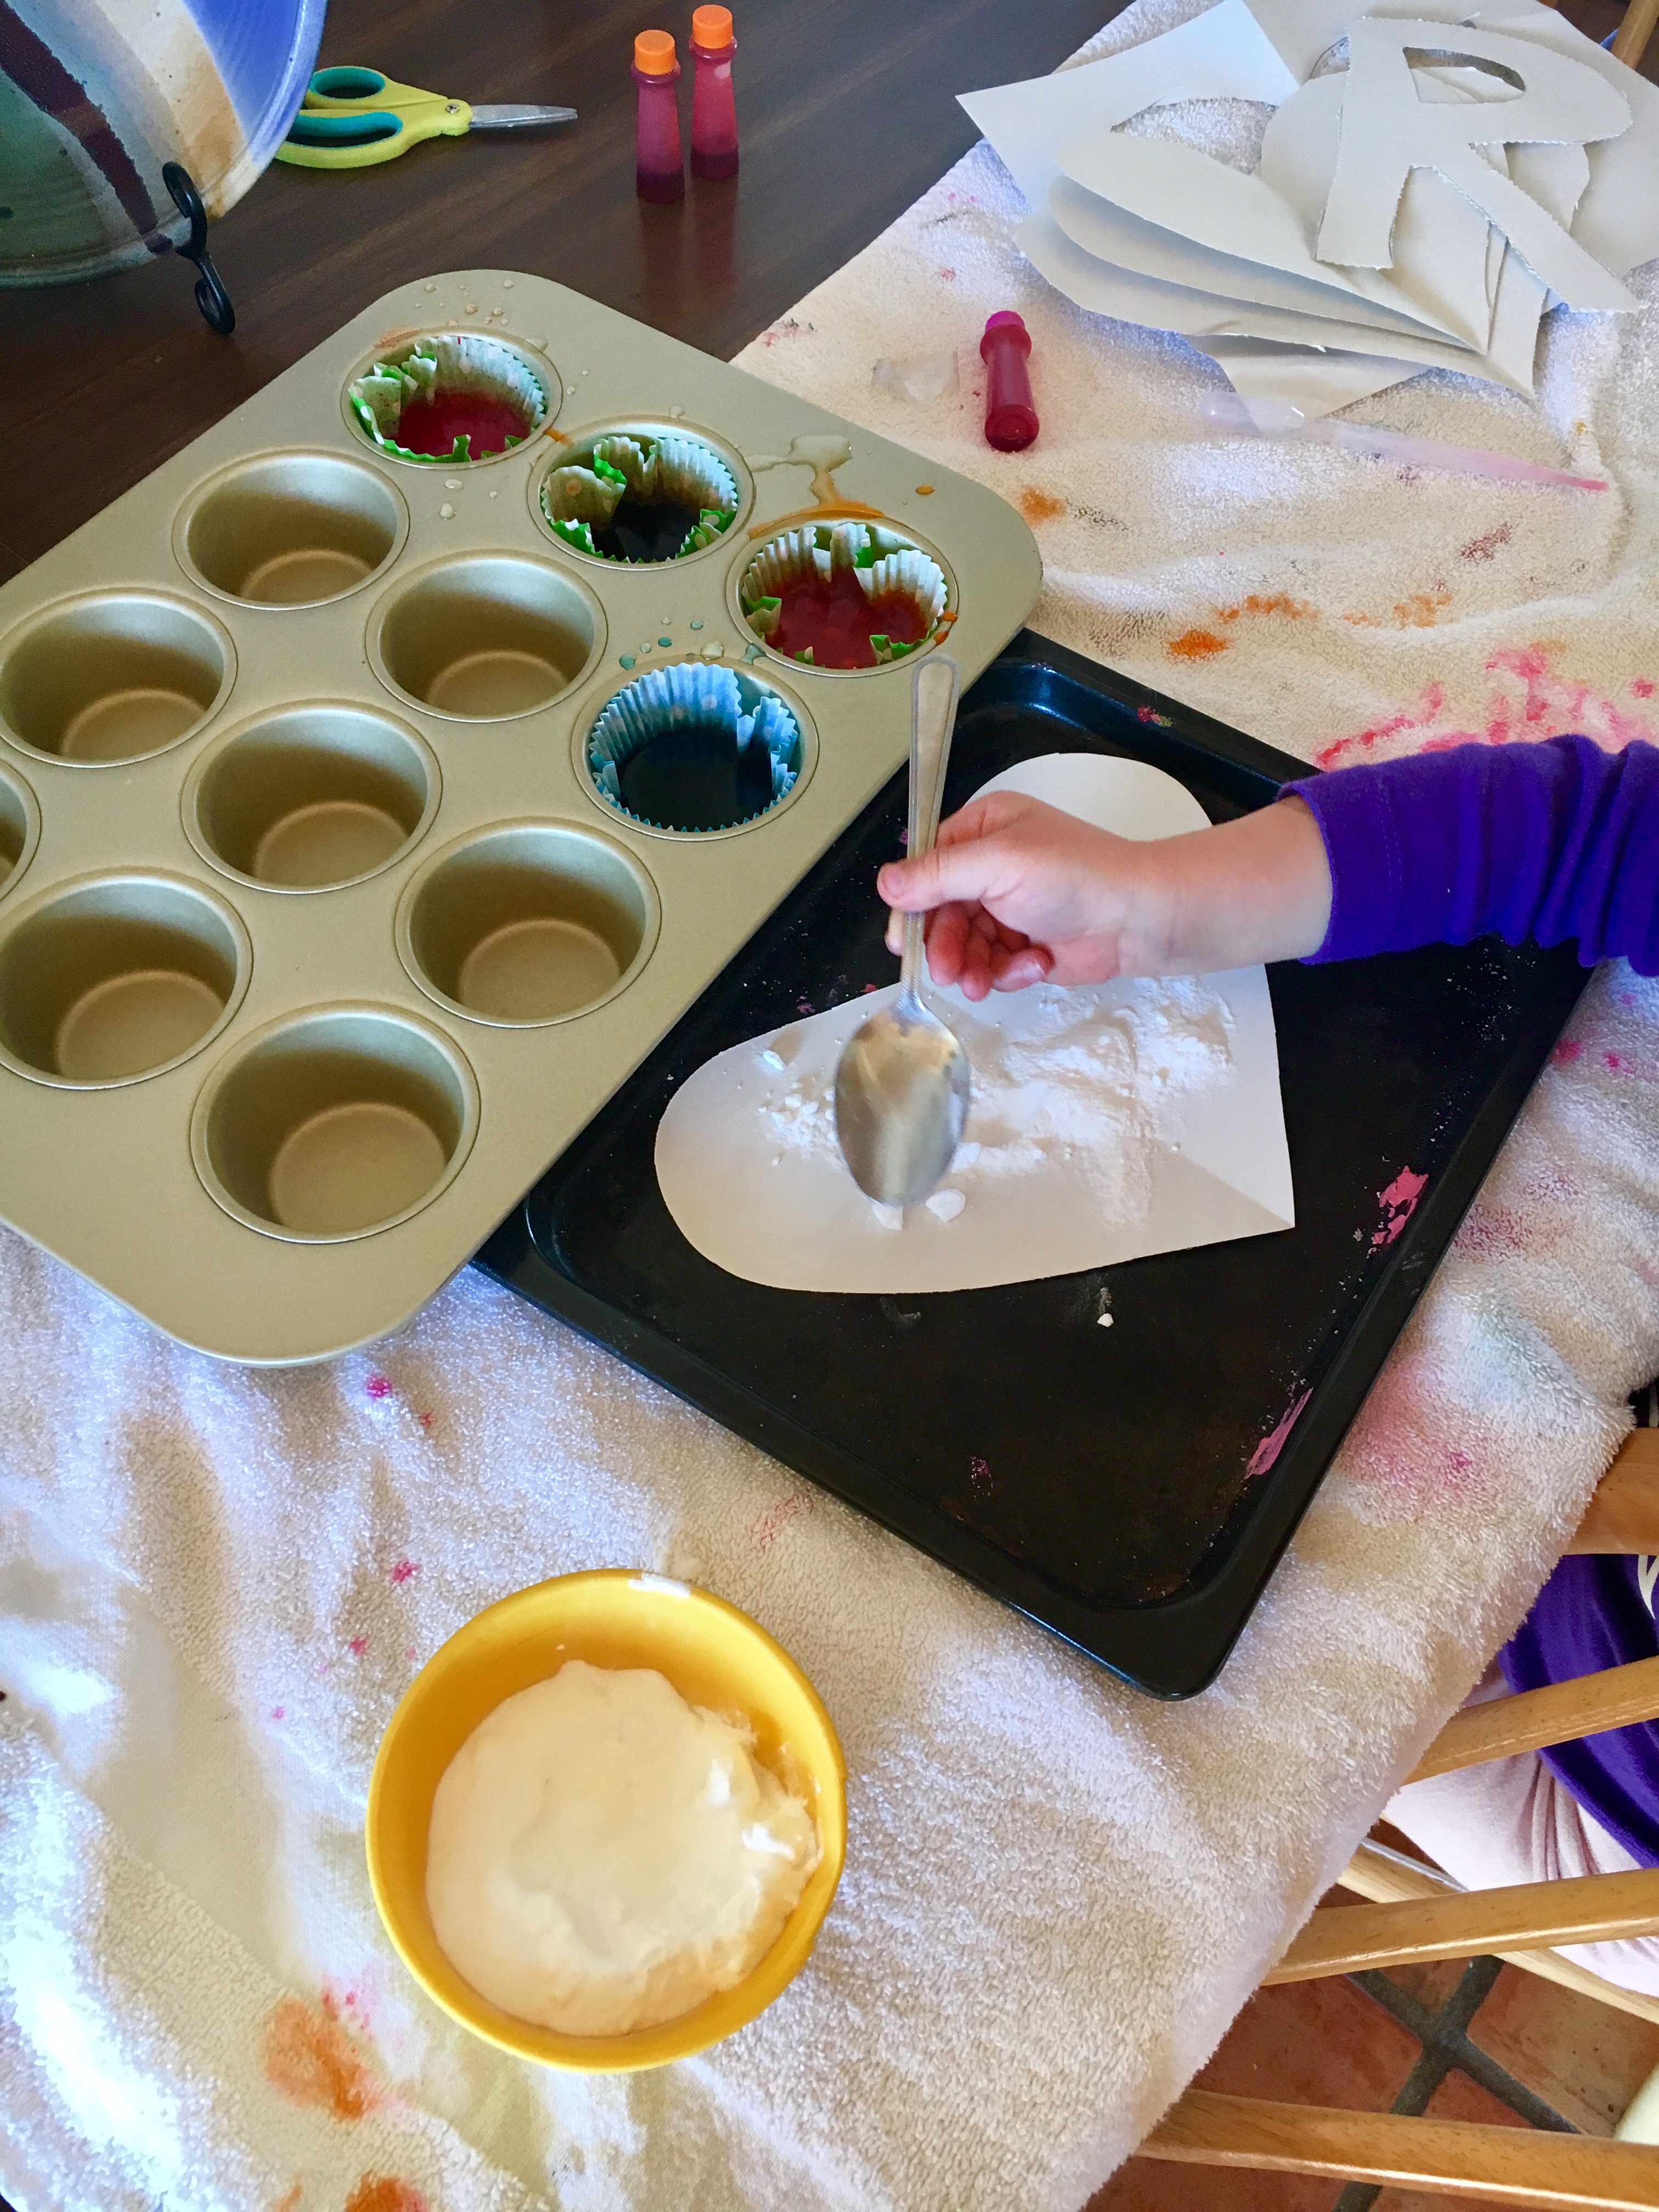
4. We filled our dropper with liquid color and squirted it onto the shapes. R was hesitant about mixing colors until she tried it and found herself overjoyed with the outcome. With every application of vinegary color, she smiled and squealed as she watched the frothy, fizzy chemical reaction that she created. Once the colors settled down, she distributed them around the paper with the paint brush. She didn’t soon tire of the process, and finished coloring every shape she cut.
5. After tapping off excess baking soda, we used a spatula to carefully move each shape to a drying area; the paper was wet and heavy.
You’re done! Unless your kid wants to continue to play with the materials, which mine did. She poured all the spare paint onto a mound of baking soda and then used the spatula to scoot it around and mold interesting forms. 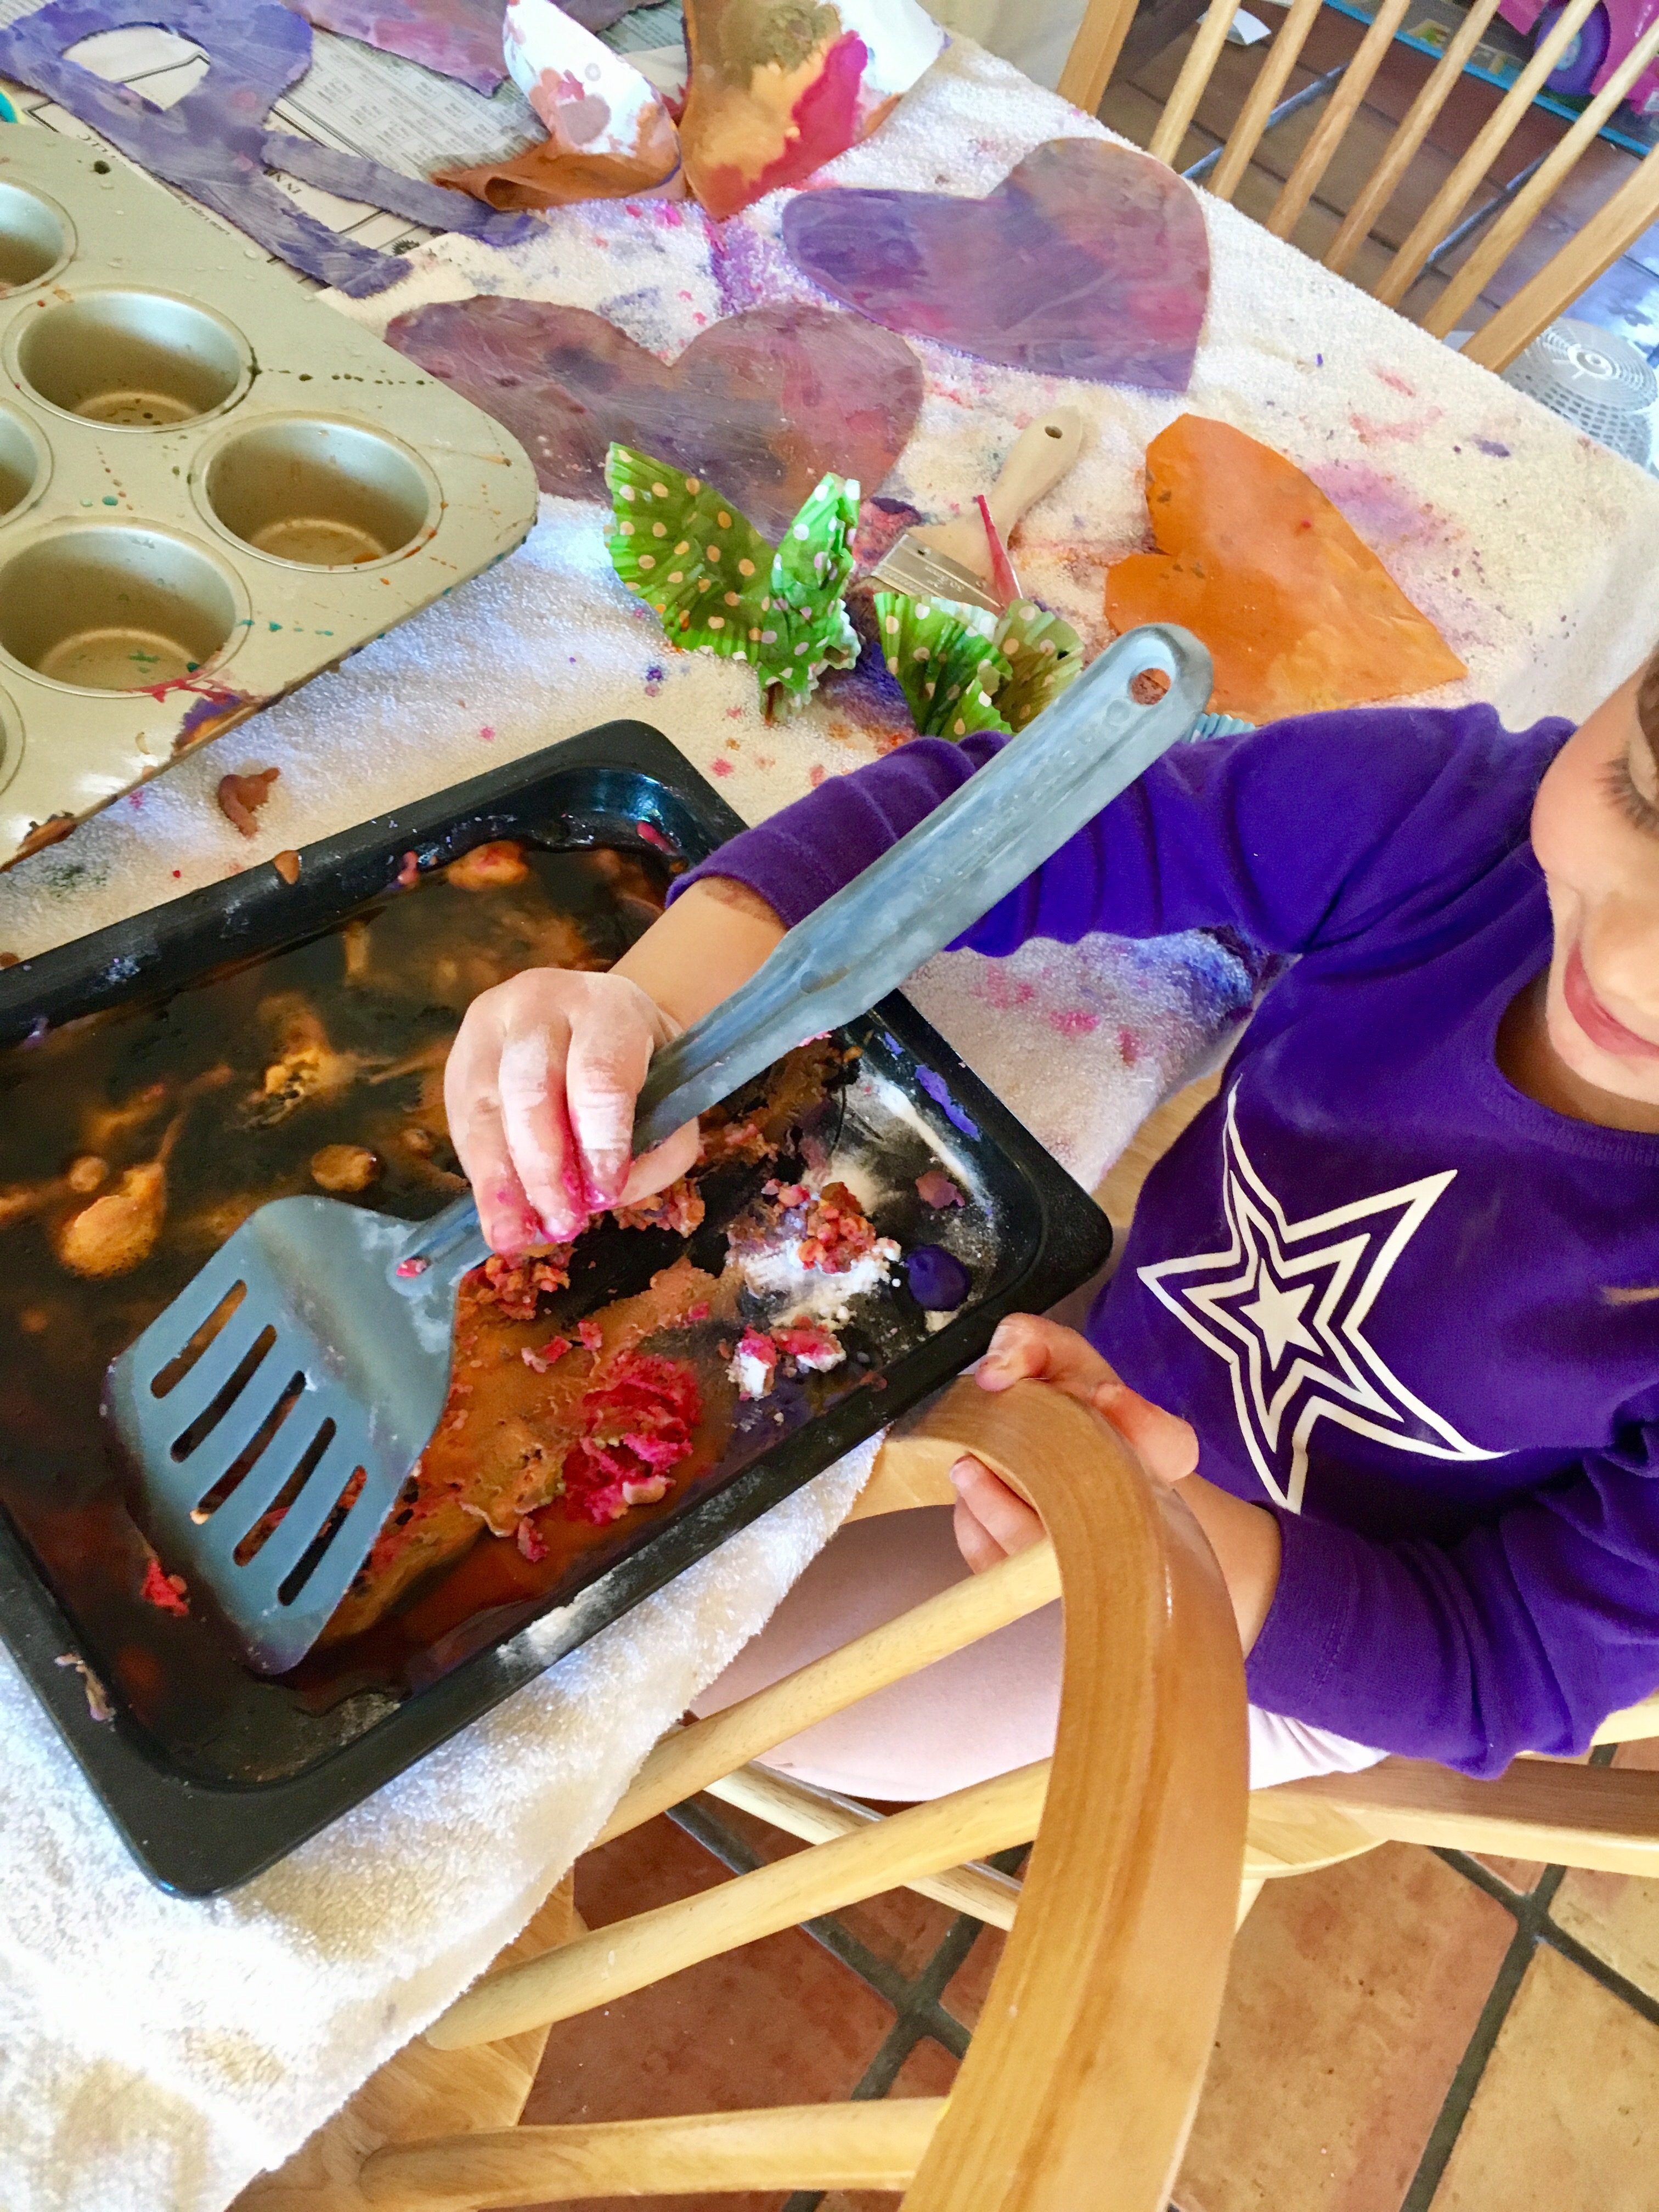
I suggest displaying the finished pieces in a light-filled space. The dyed, thin paper tends to transform light, acting similarly to stained glass. Our natural light was lacking in the pic below, but really, they’re just beautiful against the window. 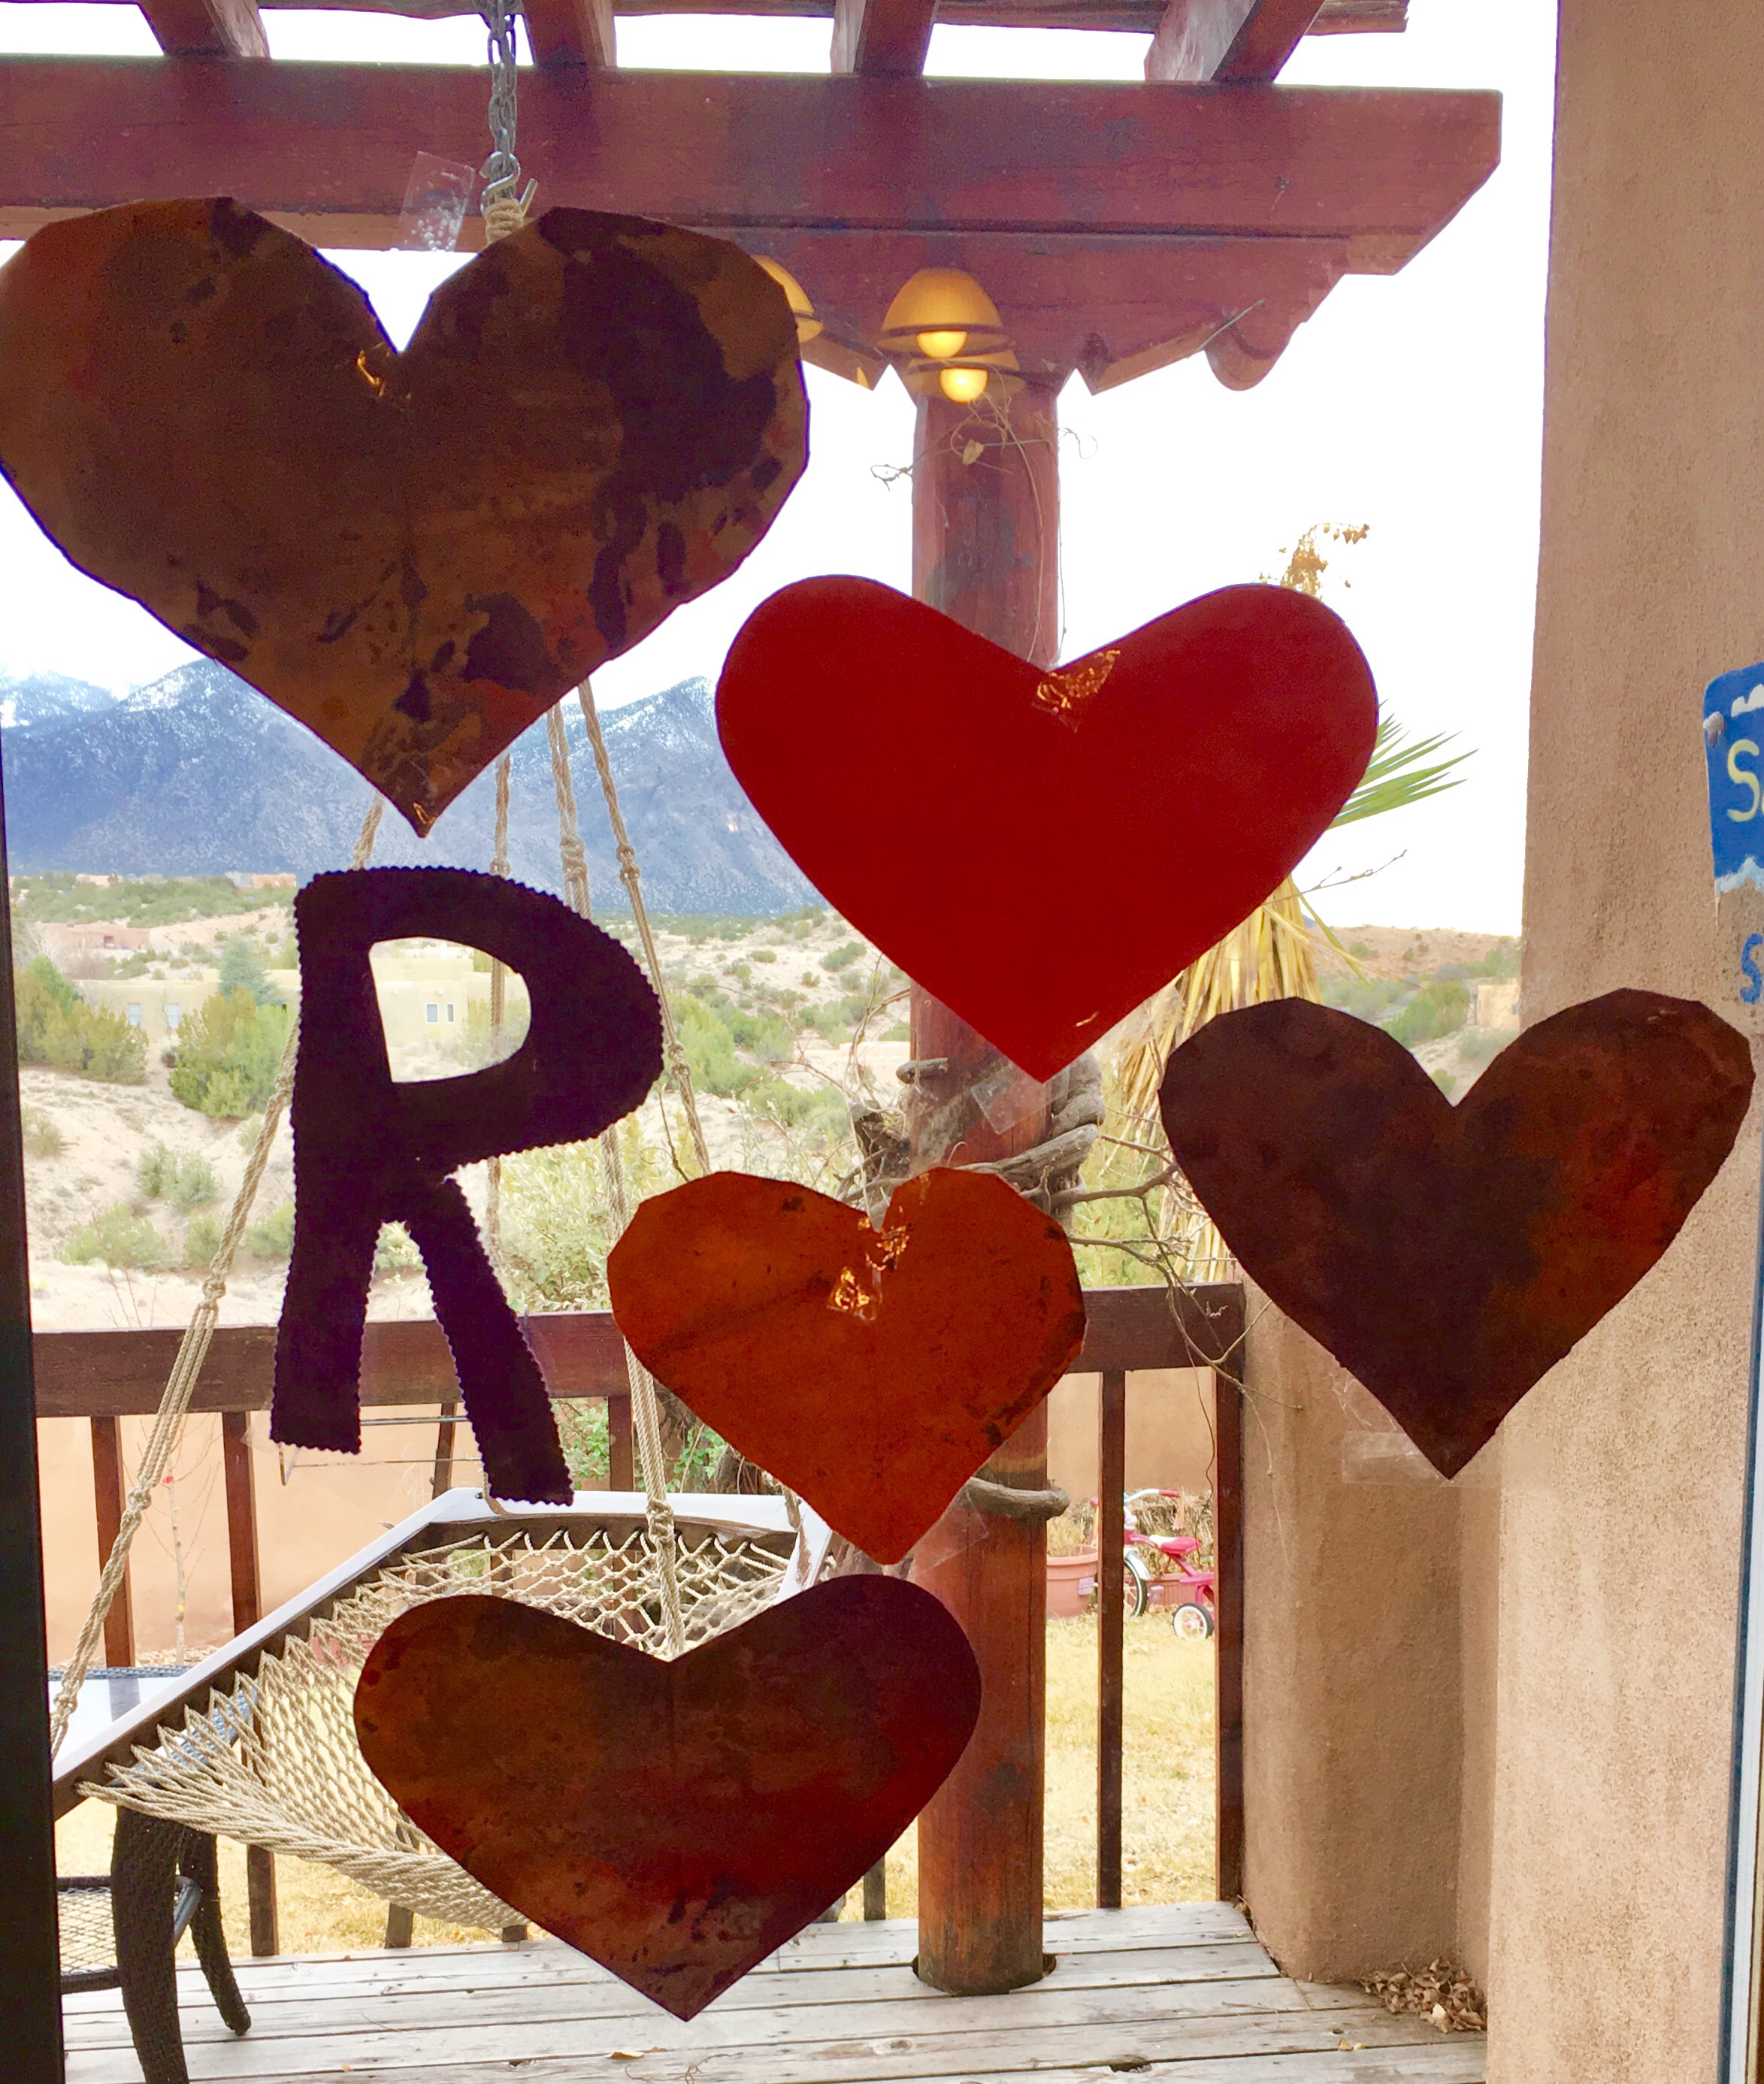
I hope you try this, whether as a prelude to the upcoming Valentine’s holiday, or just for sheer (literally) fun!! 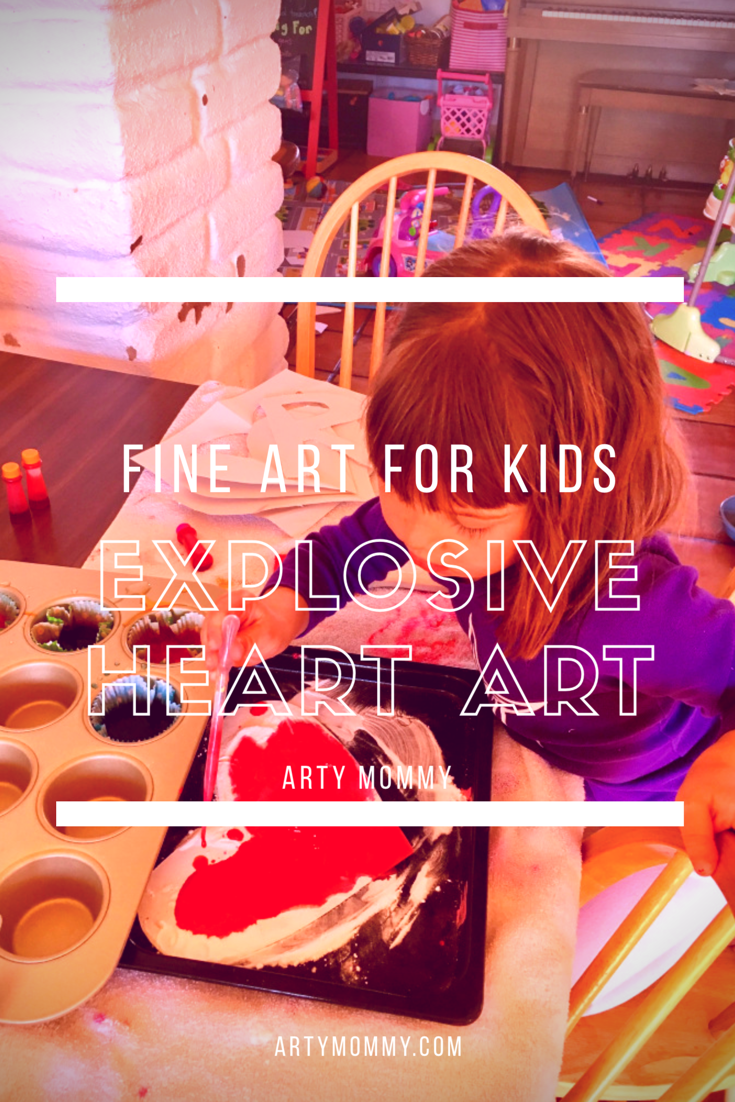
*I must give credit to The Pinterested Parent, whose ideas greatly contributed to our explosive heart art project. Thanks for helping us fill our day with fun!

Great stuff. I read your arty crafty posts with longing. I just don’t know if I can really deal with that kind of mess. lol
I’ve nominated you for a Blogger Recognition Award.
LikeLike
Thanks for the recognition, sweet mama 😘! Going to read on about the fun award now.
LikeLiked by 1 person
My pleasure x
LikeLike