
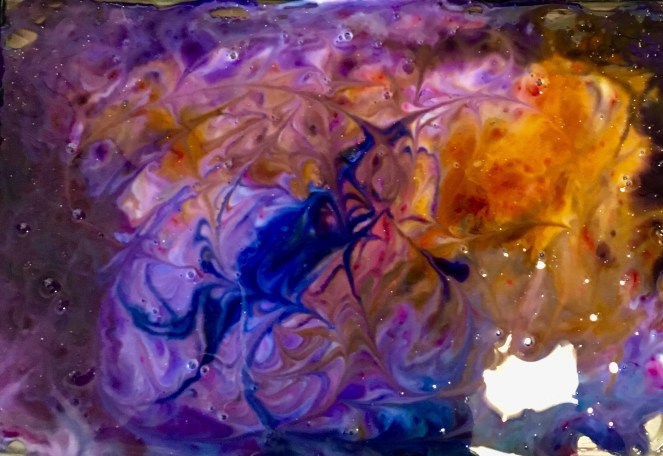
 You guys!! I’m pretty obsessed with the project I’m about to share with you. A couple of months back, I interviewed Steve Palmer, a psychologist-painter, for a featured artist column in a newspaper (you can read that article here). I was quite drawn to his artistic process and glass paintings, which he refers to as “Liquid Color.” His works are vibrant, colorful, textured and are enlivened by light.
I was sleuthing around for a kid-friendly project that would render “similar” results, and ended up culling a couple techniques together to create translucent, stained glass-like paintings. I’m super duper impressed with how well these turned out, and bear in mind that my 4.75-year-old was absolutely the primary artist. BTW, I strongly suggest keeping your supplies out and crafting a Stained Glue Mobile when you’re done. 

According to my aesthetic taste, this stuff is just stunning — among the most visually satisfying projects I’ve ever done with R. And if you’re into simple activities, well, you’ll be hard-pressed to find a more minimalist technique than this.
Supplies 
- Frames (with glass or plastic inside)
- Glue
- Food coloring
- Toothpick or skewer
- Glitter glue (optional)
- Glass cleaner (optional)
Process
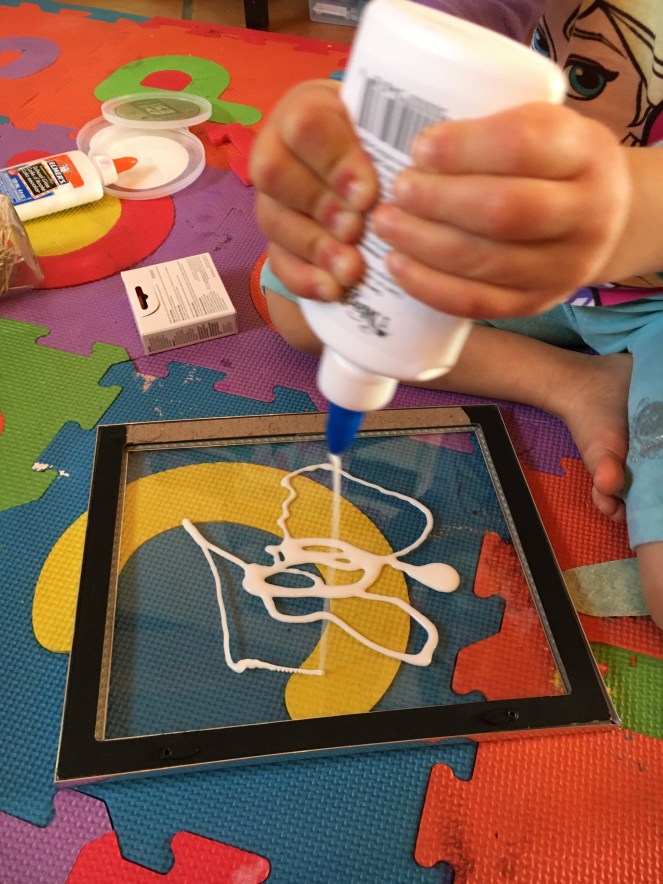
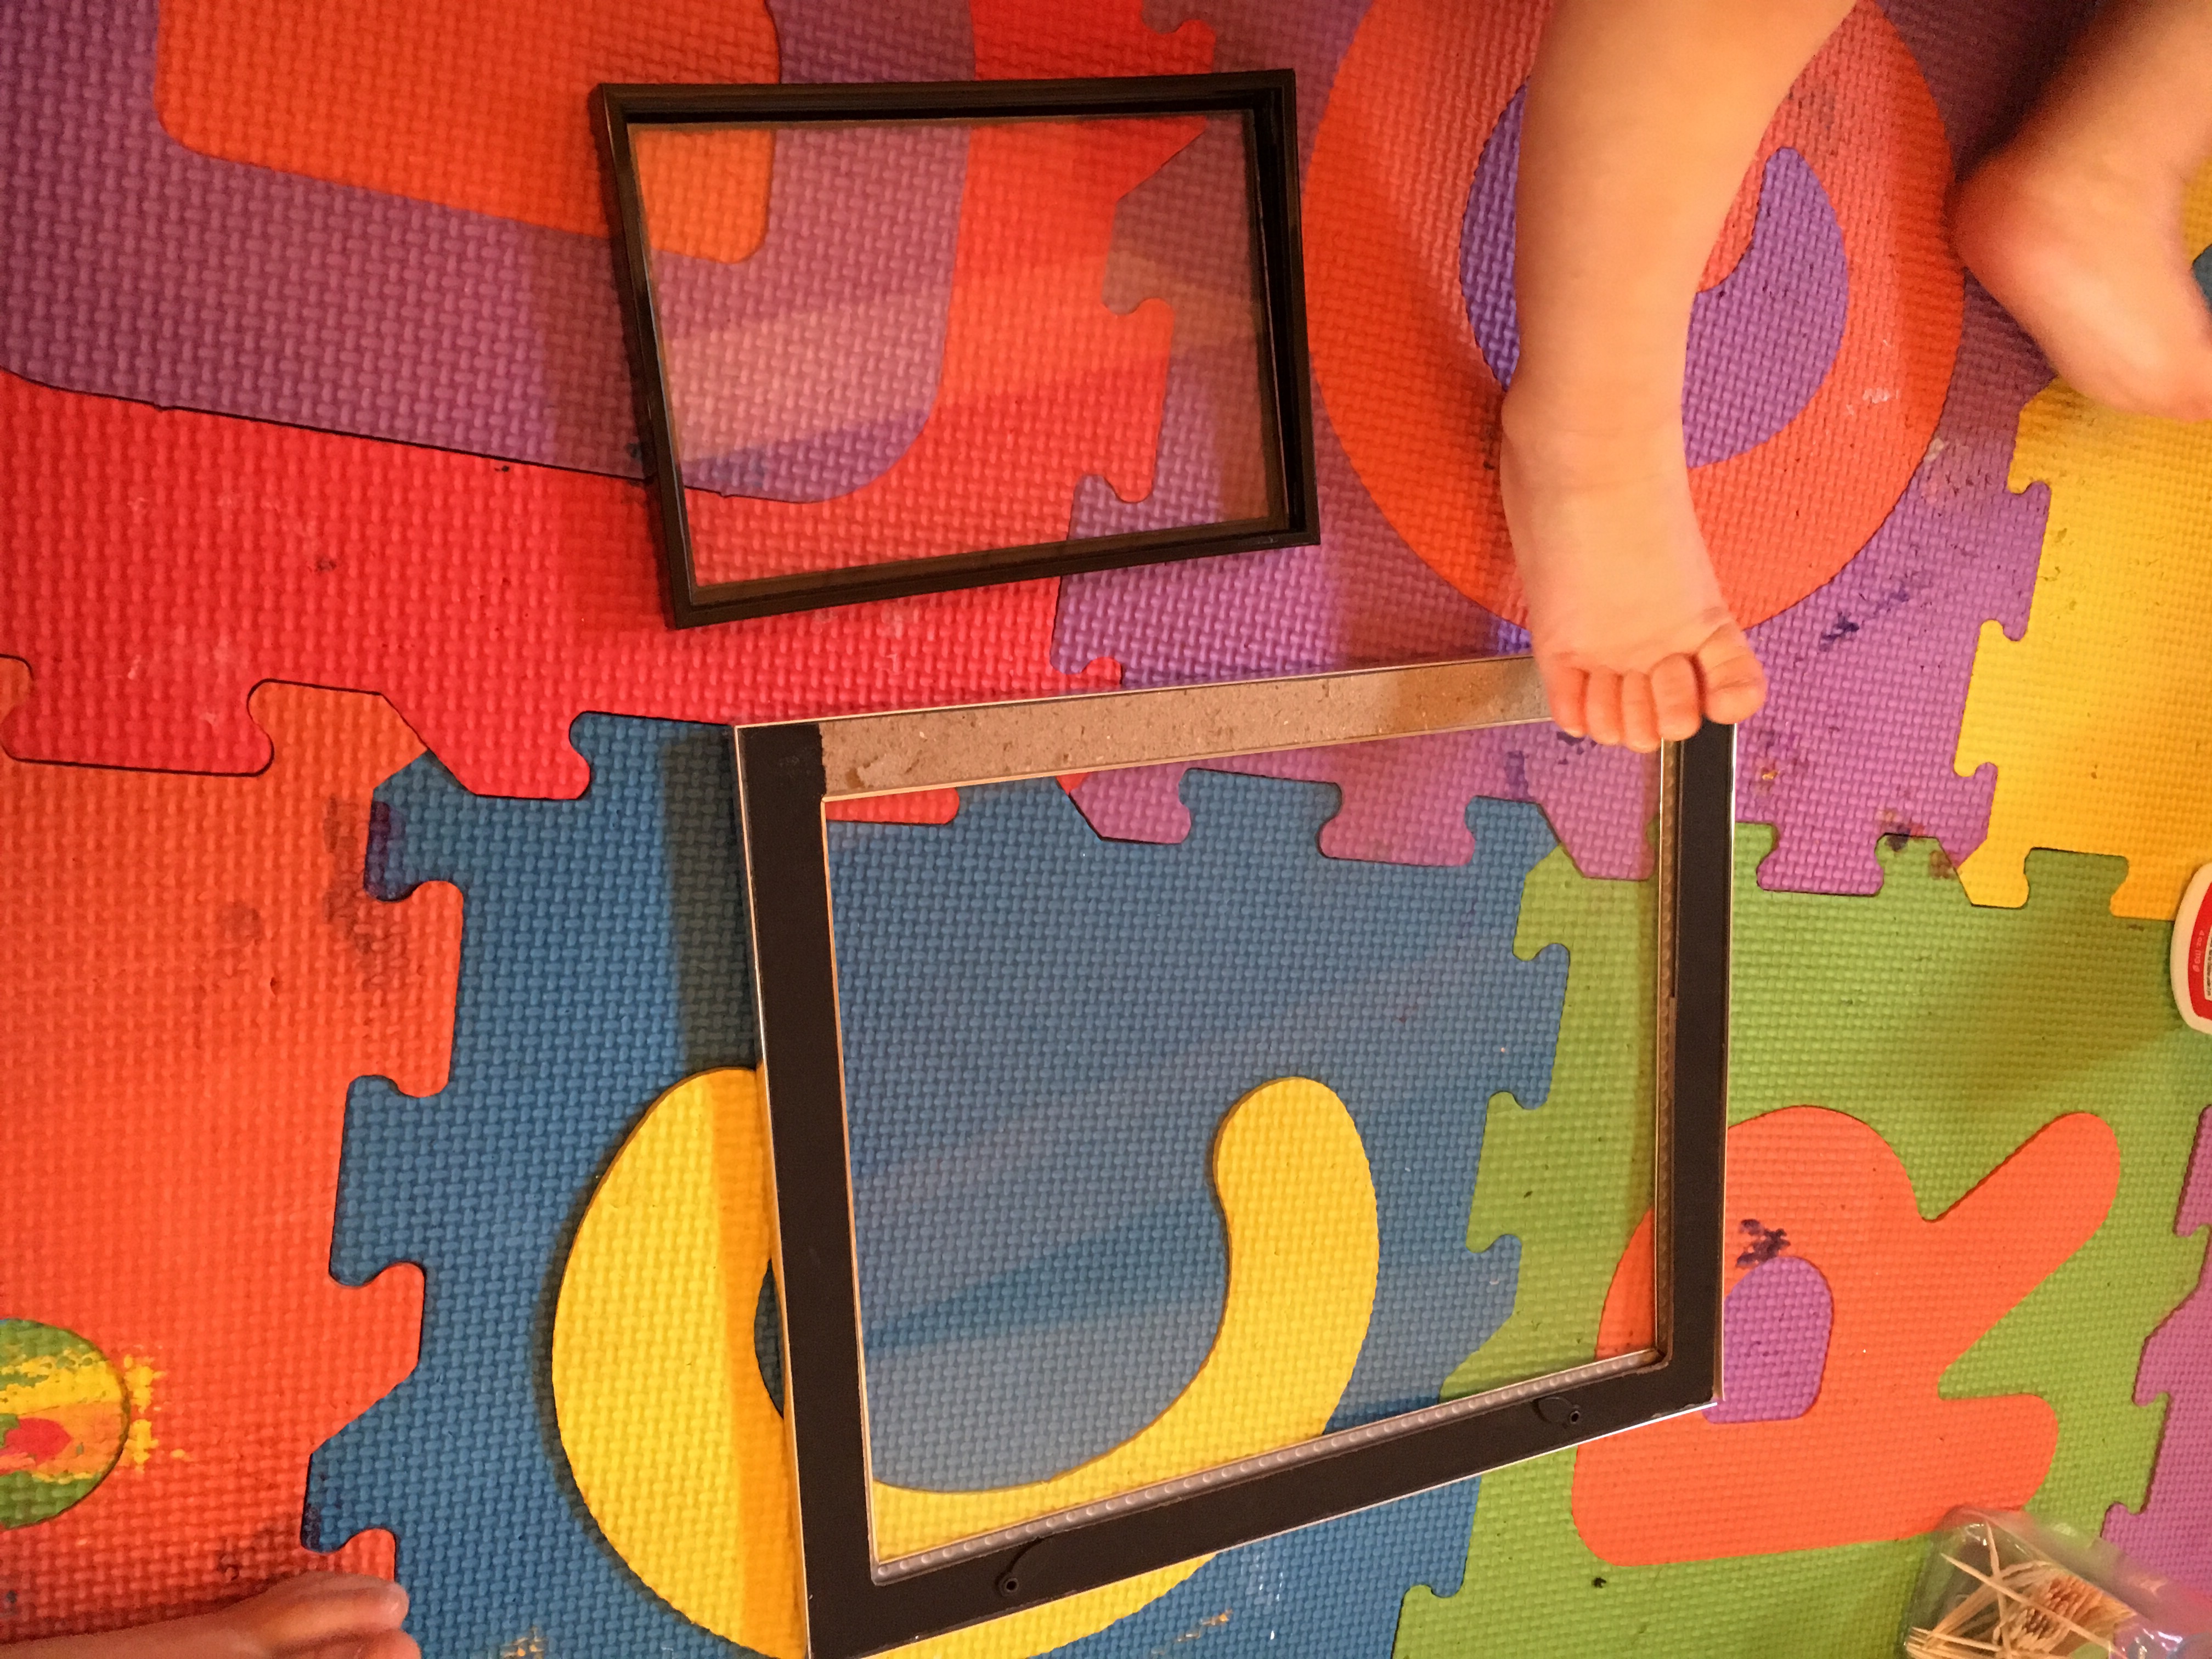
- Open up frame to remove backing and/or paper image. You’ll be working on bare, clean glass. Clean glass if it’s dirty or smudged.

- Pour glue generously and creatively on glass. Use glitter glue if you prefer a glittery glam look (R, obviously, did).
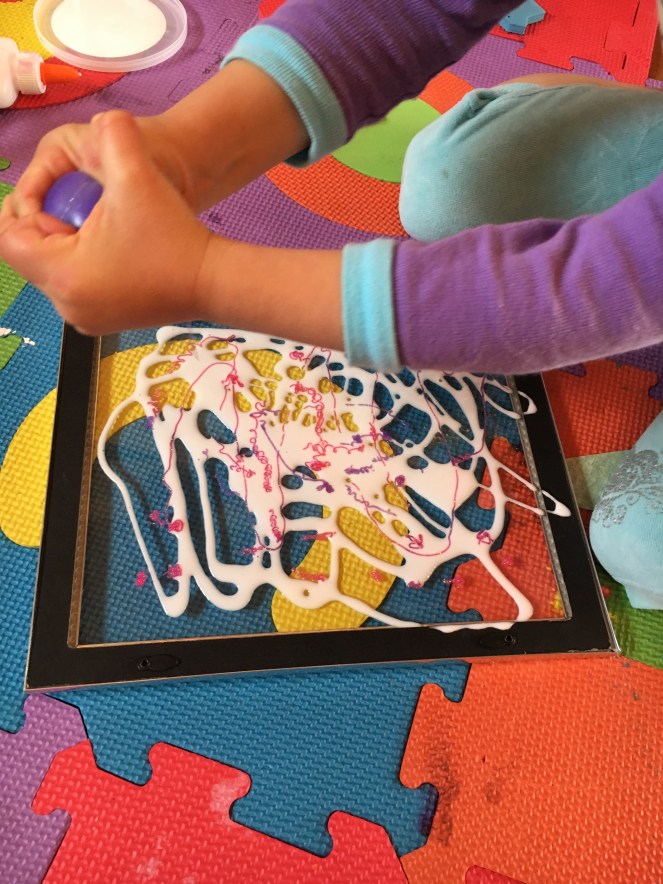
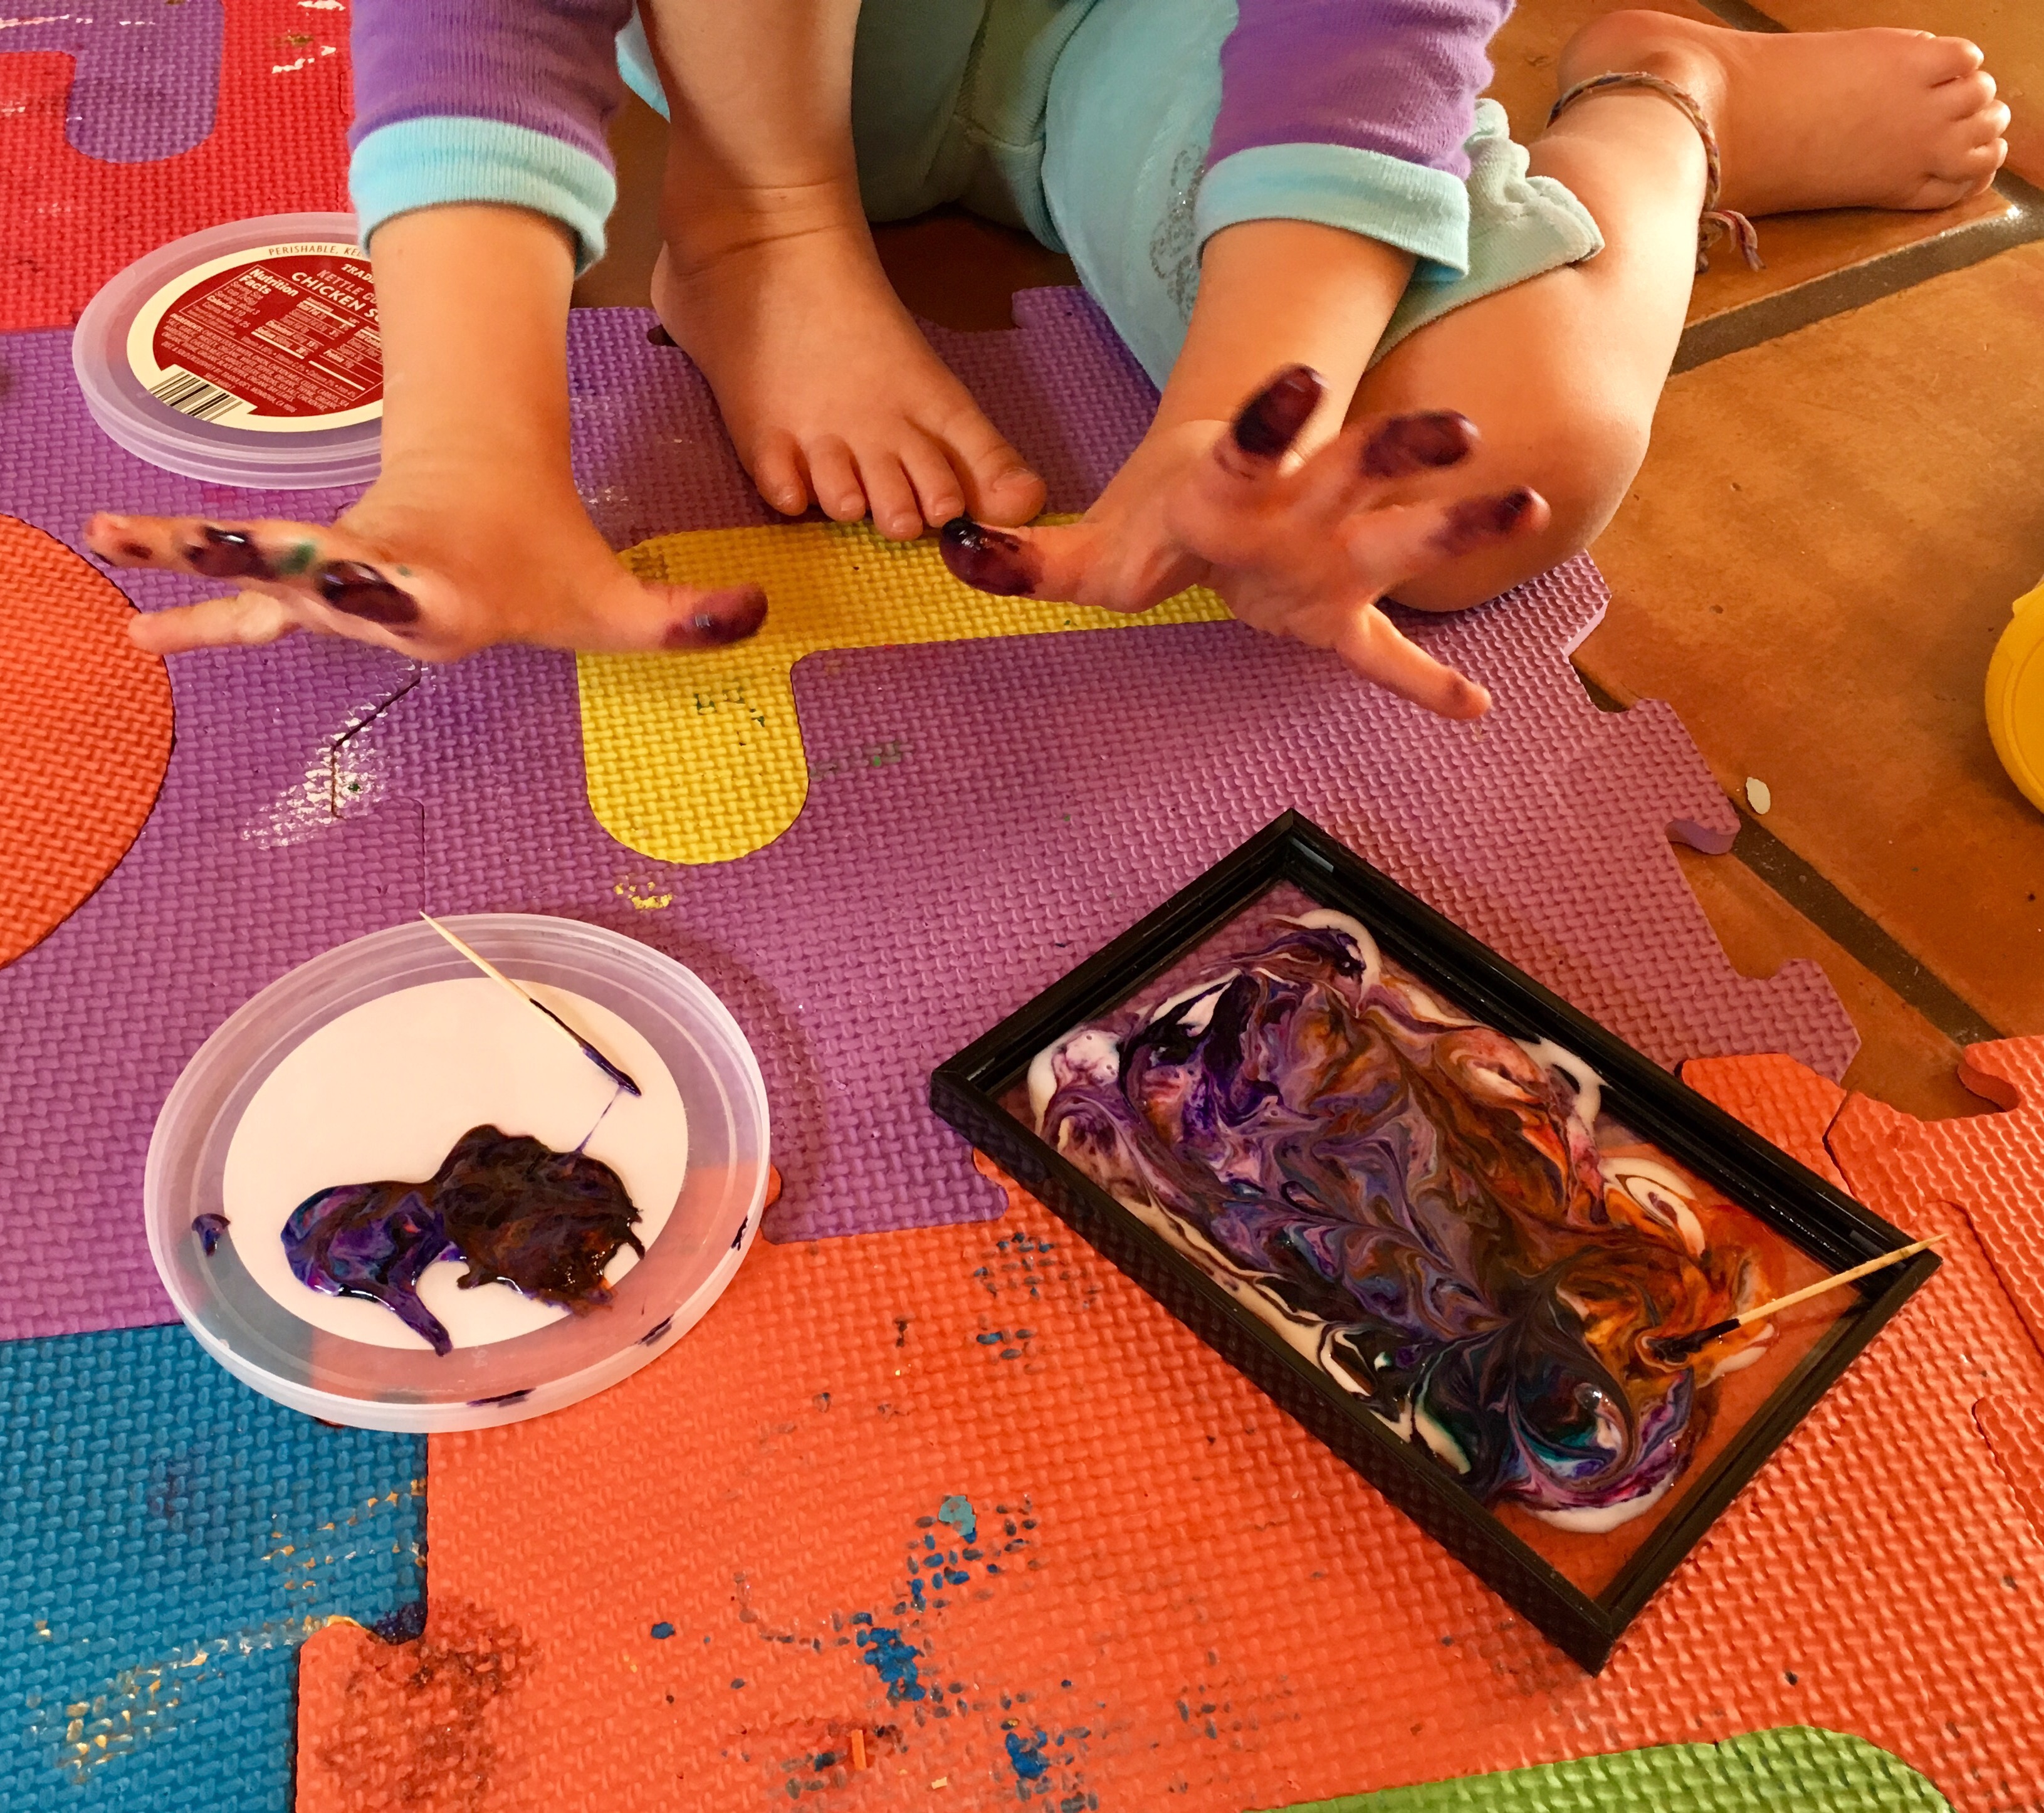
- Squirt a few drops of food coloring on different areas of the glass (2-5 drops in each color, depending upon size of frame). It’s up to you what colors you want to use. We used 3 pastel colors on one piece and 3 neon colors on another. The lighter your colors, the more translucent your finished painting.

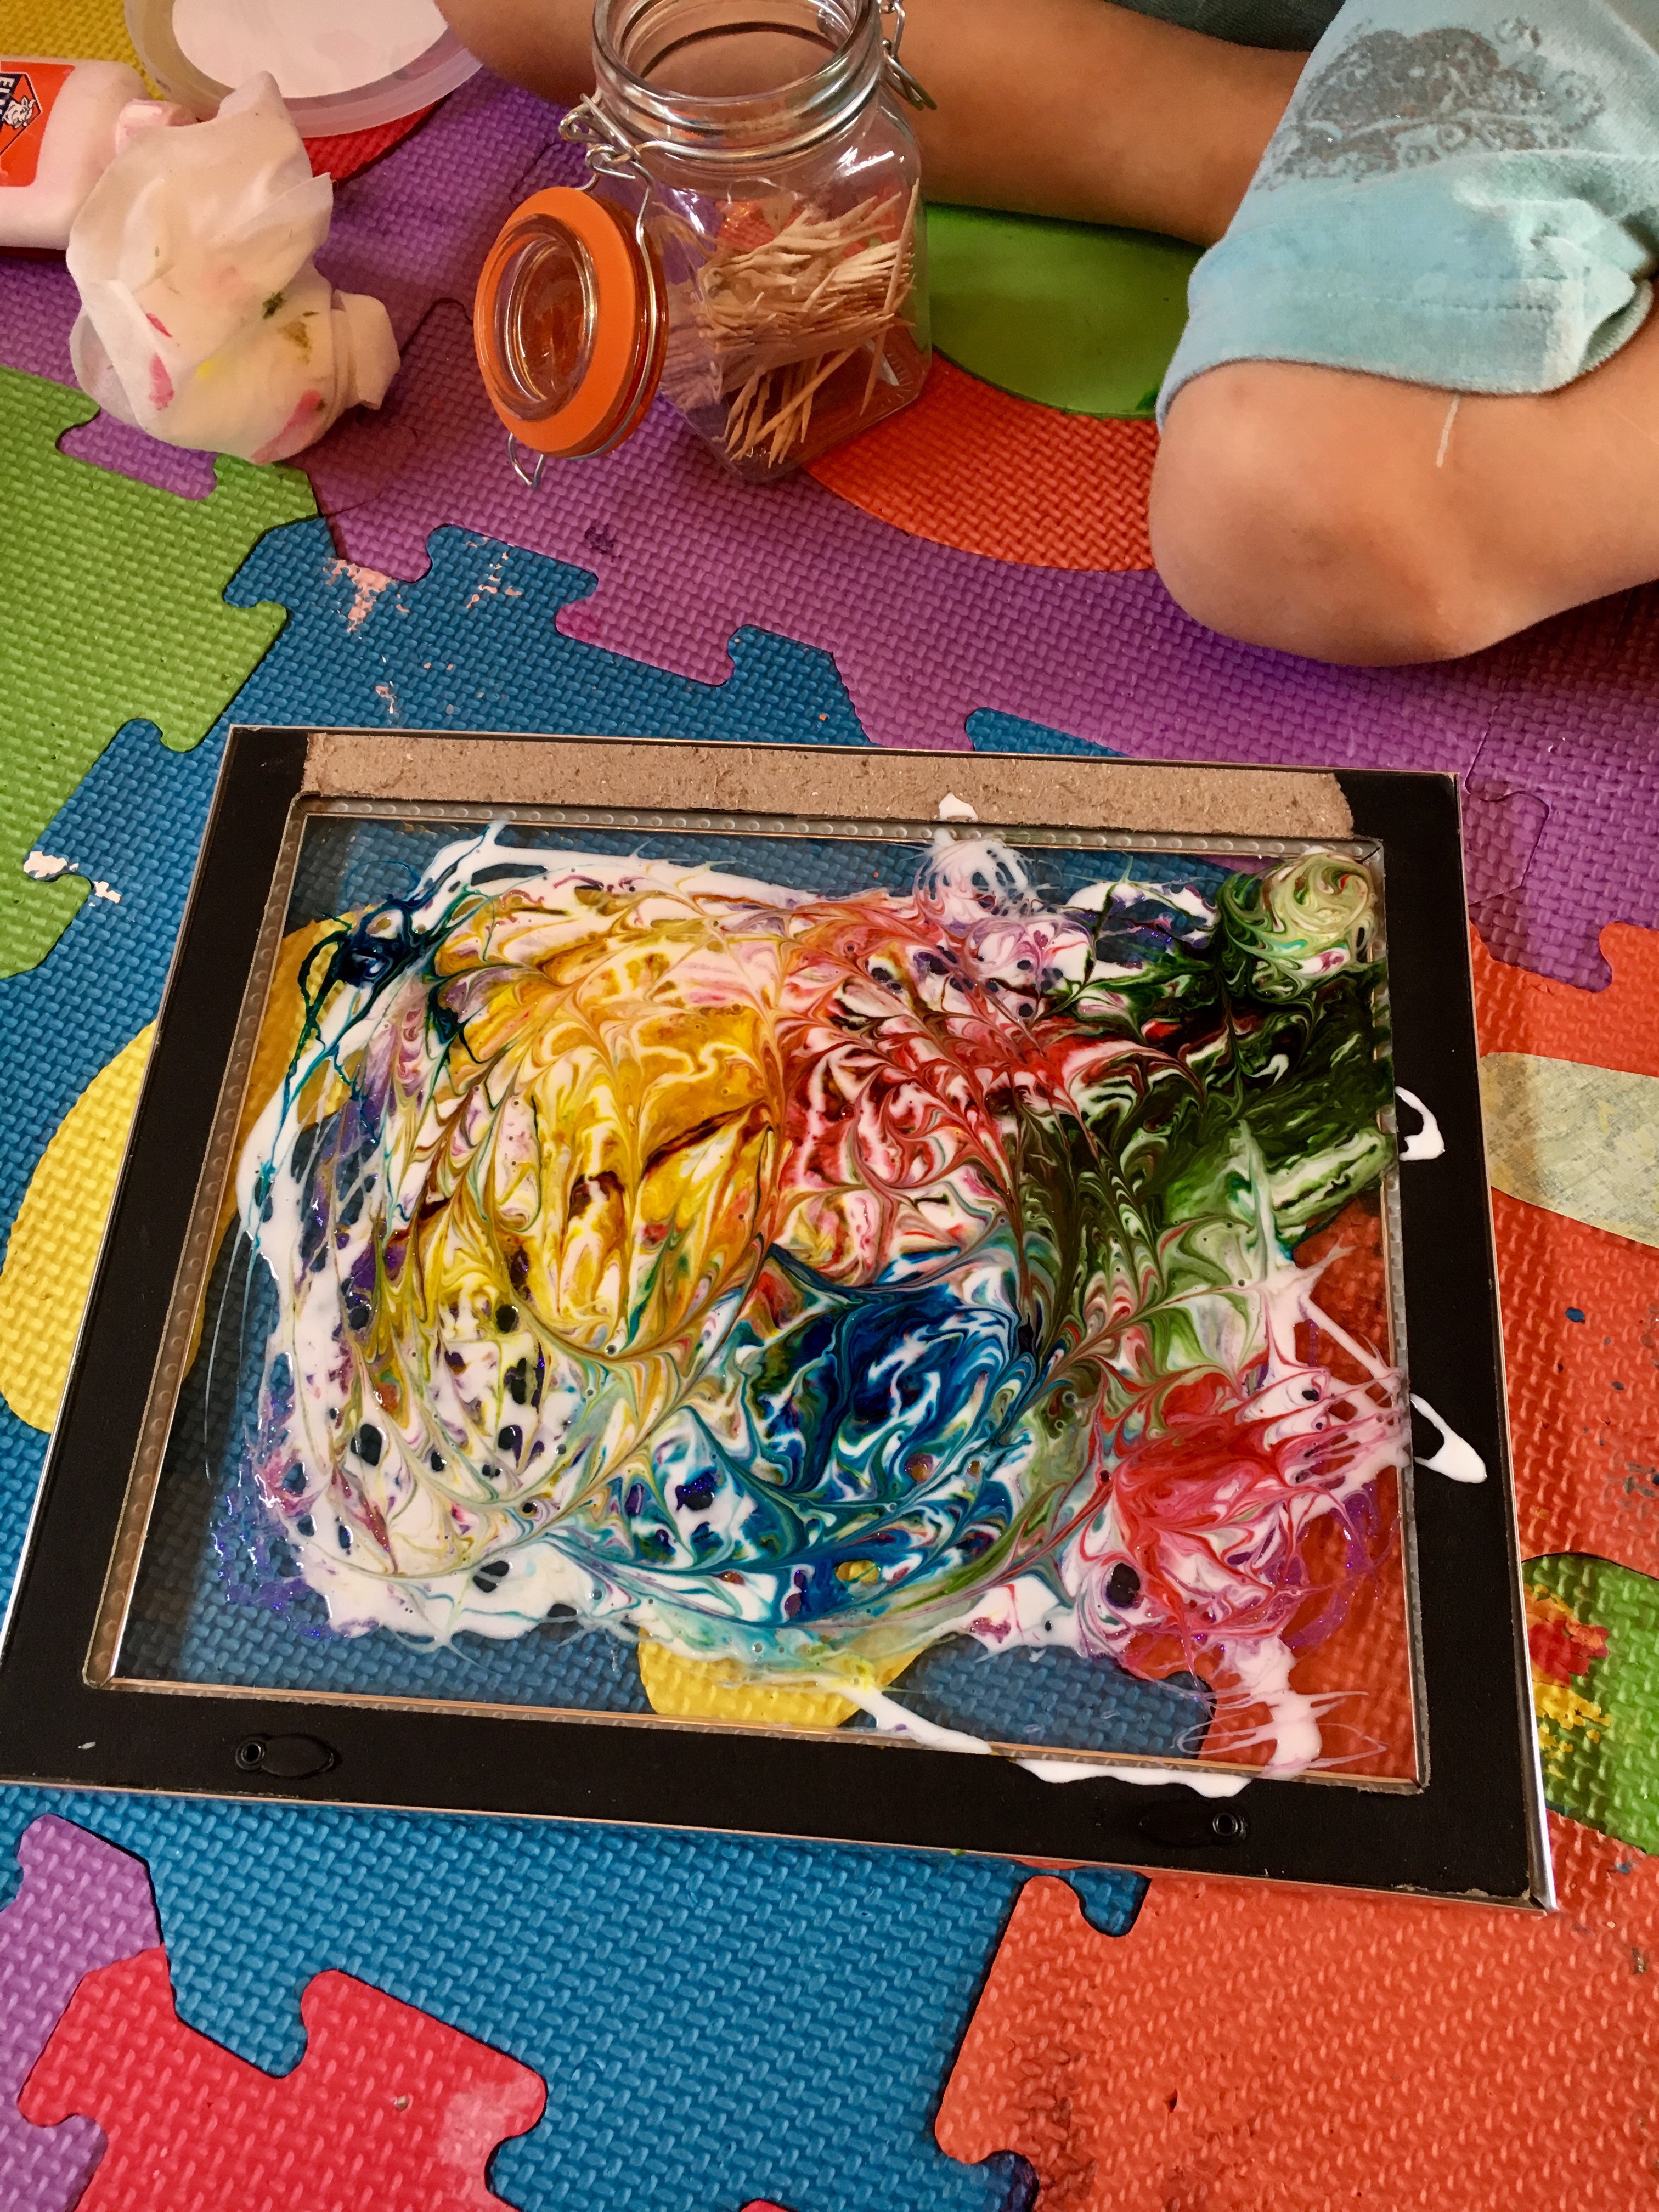
- With a toothpick or skewer or any pointy utensil (inkless pen?), swirl the glue and coloring. Move the colors and glue all over the surface. You may prefer to keep your colors separated, or you might squeal with glee from the gorgeous marbled patterns that arise from swirling the colors into one another.


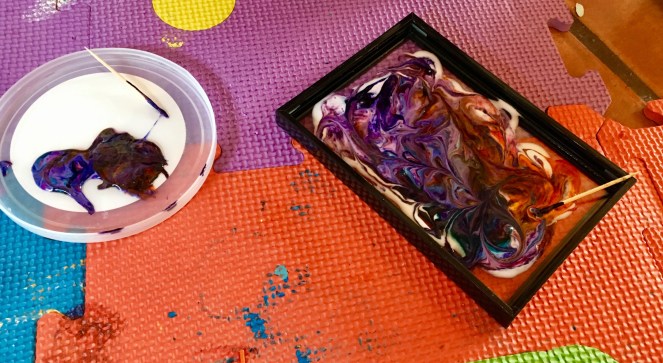
- Add more glue and food coloring if necessary. At times, I used the toothpick to pull off some excess gluey-color that was muddying up the surface (it’s pictured in that lid below). So use restraint in your applications at first and then build up if necessary.

- Allow to dry!!


- If you worked with the glass outside of the frame and want to reframe it, go for it. I hot glued the frame to the glass in discreet places.
- Attach a suction cup hook and hang on a window, or prop it in a display stand. You’ll notice that the painting’s appearance is fluid — it changes according to location and lighting. I suggest making sure that you position it close to light (natural or artificial) because the radiant transformation is just, well, brilliant!


NOW GO DO A TRANSLUCENT TWIST UP!! 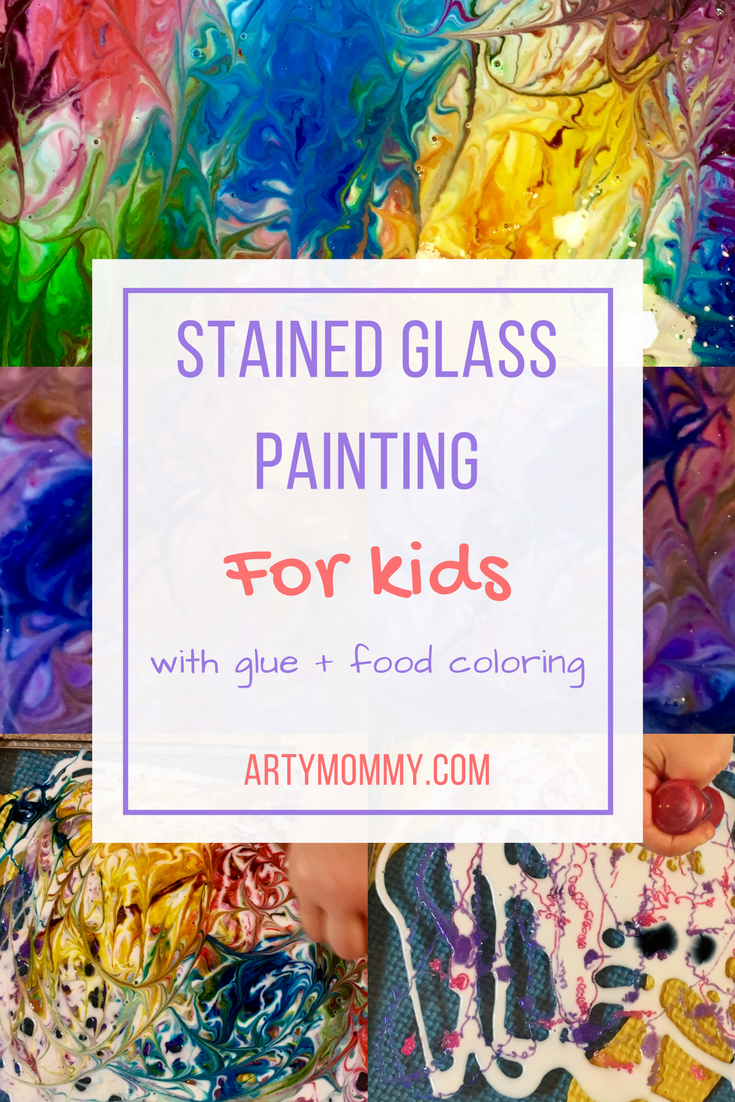
And while you’re at it, please take 10 minutes to try a Stained Glue Mobile — you already have every material out and ready to go 🙂. 

Very cool!
Sent from my iPad
>
LikeLike
Wow!so beautiful. Can’t wait to hang ours!
LikeLike
I love it! I bet Daphne and I will make one tomorrow 🙂
LikeLike
This is so cool!! I LOVE art projects…
Thanks for stopping by my blog! 🙂 I’m enjoying yours.
LikeLike
Thank you! I appreciate the visit, too! And Calder is an iconic classic — I love developing crafts inspired by art historical kinetic art!
LikeLike
These look amazing! How long ago did you make them? Has the color held up well to sunlight or have they faded at all?
LikeLiked by 1 person
Thanks! Honestly color hasn’t faded at all, surprisingly. Some are by windows and others not.
LikeLike
Very pretty!!!
LikeLike