 Marshmallows and summer — they just go together, right? The promise of s’mores is one of the main reasons my kiddo wants to go camping this month! And ever since our Carnival Corral party, miss R has been requesting marshmallows every time she spies our leftover bags in the depths of the pantry. Even baby K is passionately curious about those soft and fluffy squares, and she’s managed to get her darling little hands on them more than once. I was desperate to rid my home of those particular (and quickly aging) temptations. Since our minds oft wander to arty land, R and I discussed what we could make with our left-over mallows. Last year, we had lots of fun making edible playdoh with marshmallows — watch the silly video below!
But we wanted to experiment with something new — and perhaps even more artistic. So we brainstormed on how best to incorporate the sugary treats into an art project. Here’s what we came up with: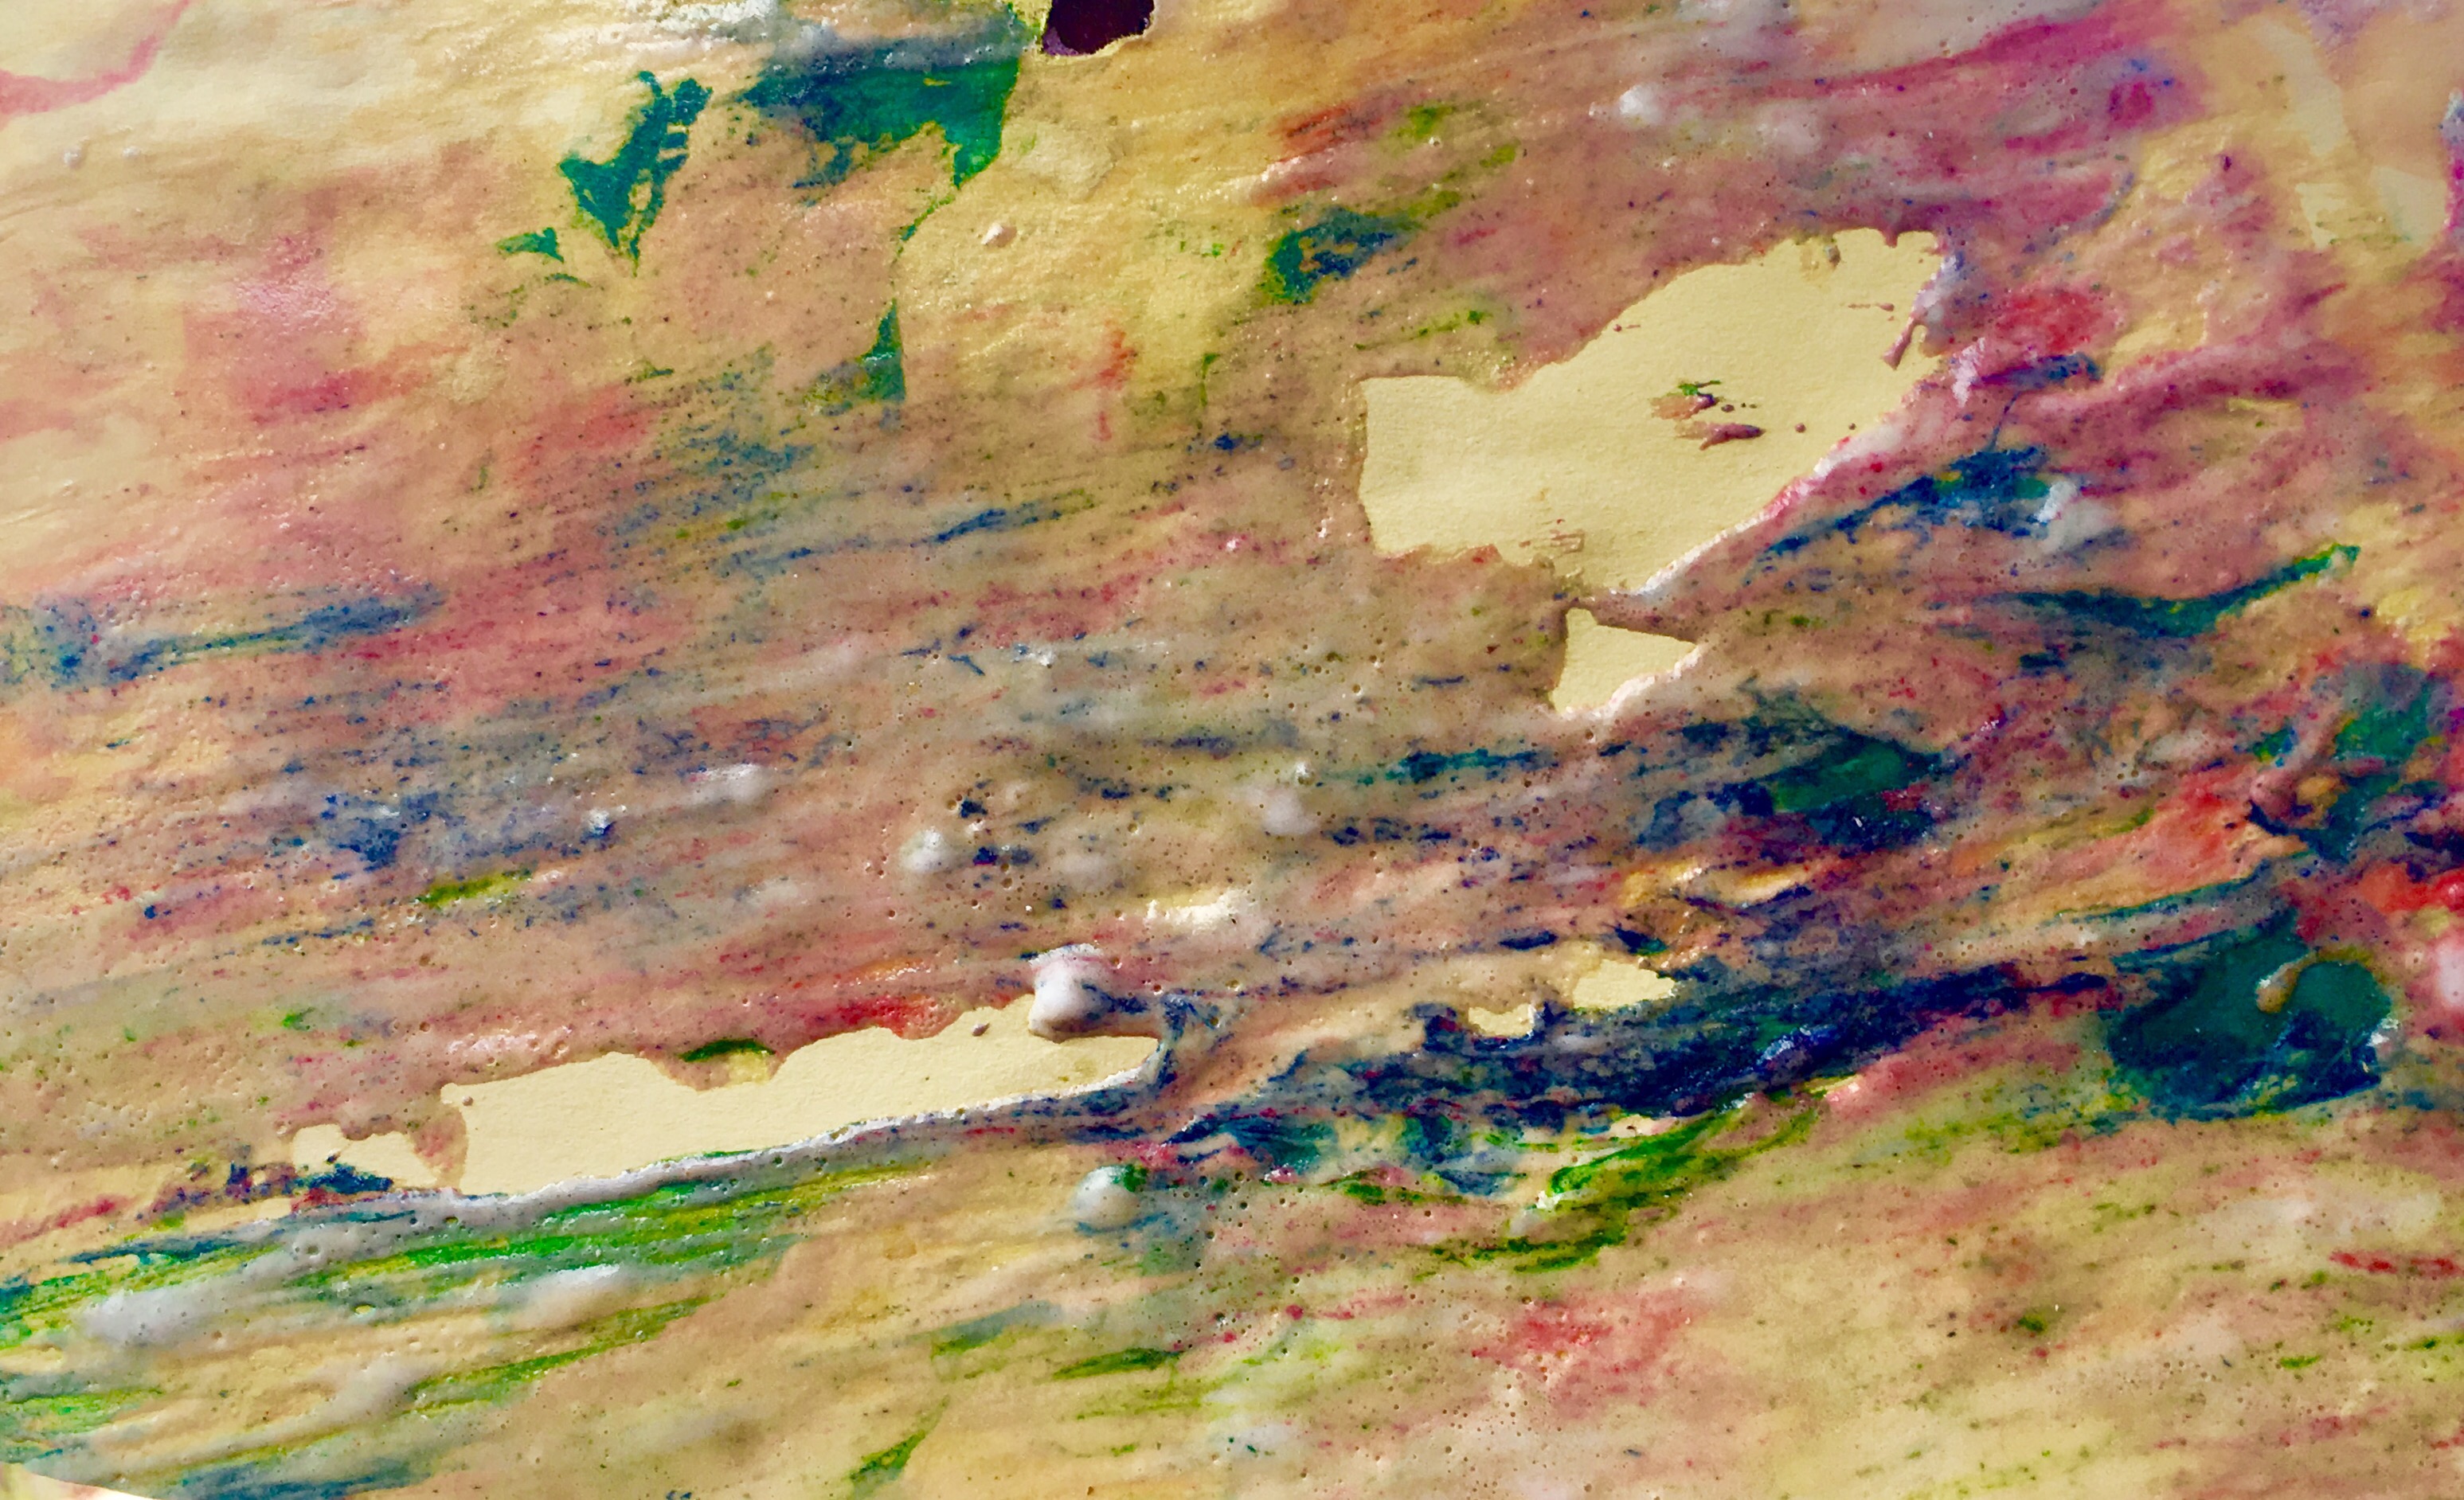

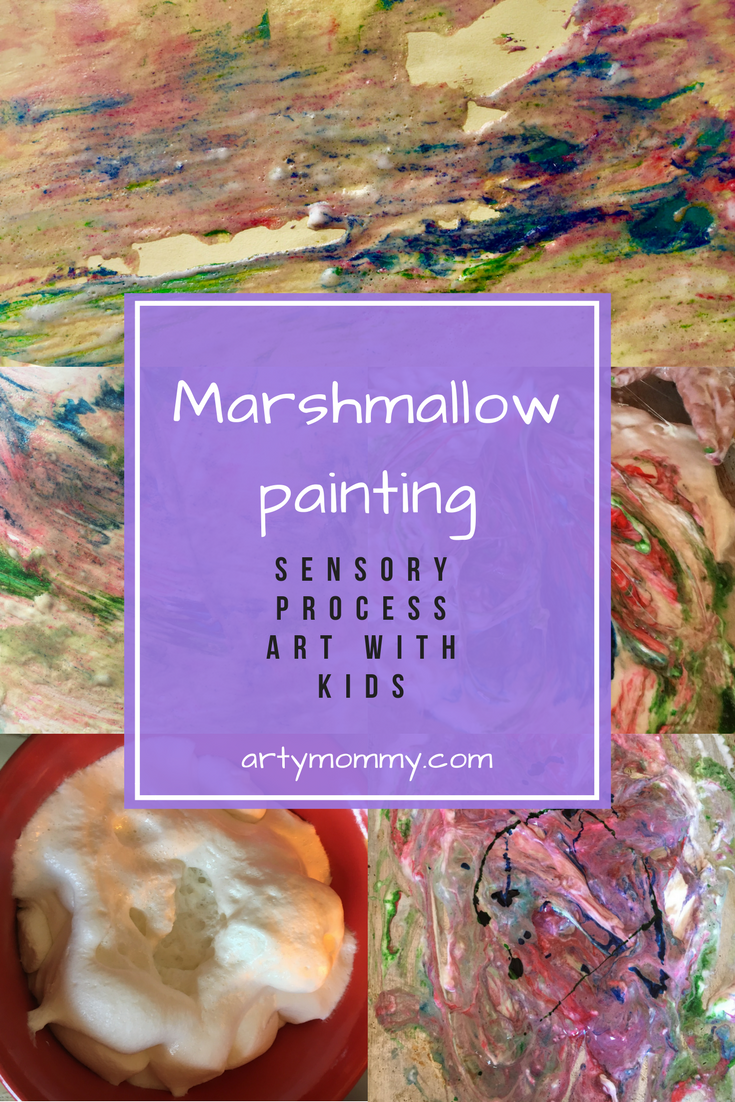
Yup, we decided to make marshmallow paint! Now, this is true process art in that the experience is the creative output. I snapped lots of photos of our paintings and we greatly appreciated them, but they were meant to be temporary — transient mallow colors passing in a summer’s day. Feel free to keep your sweet art forever, but since the paint consists almost solely of sugar, it would be just too appetizing for our neighborhood ants — which are already invading our home. This is really fun but also really messy and really sticky so be warned. But hey, talk about sensory play!! I recommend moving outside for this project.
- We pulled out our food coloring, an art-friendly baking sheet, construction paper and a ruler.
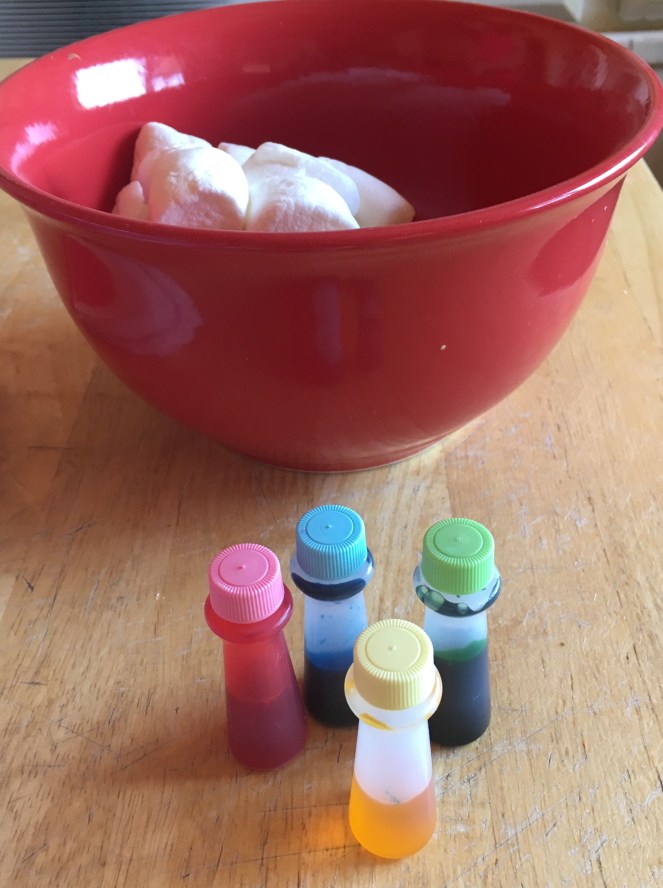
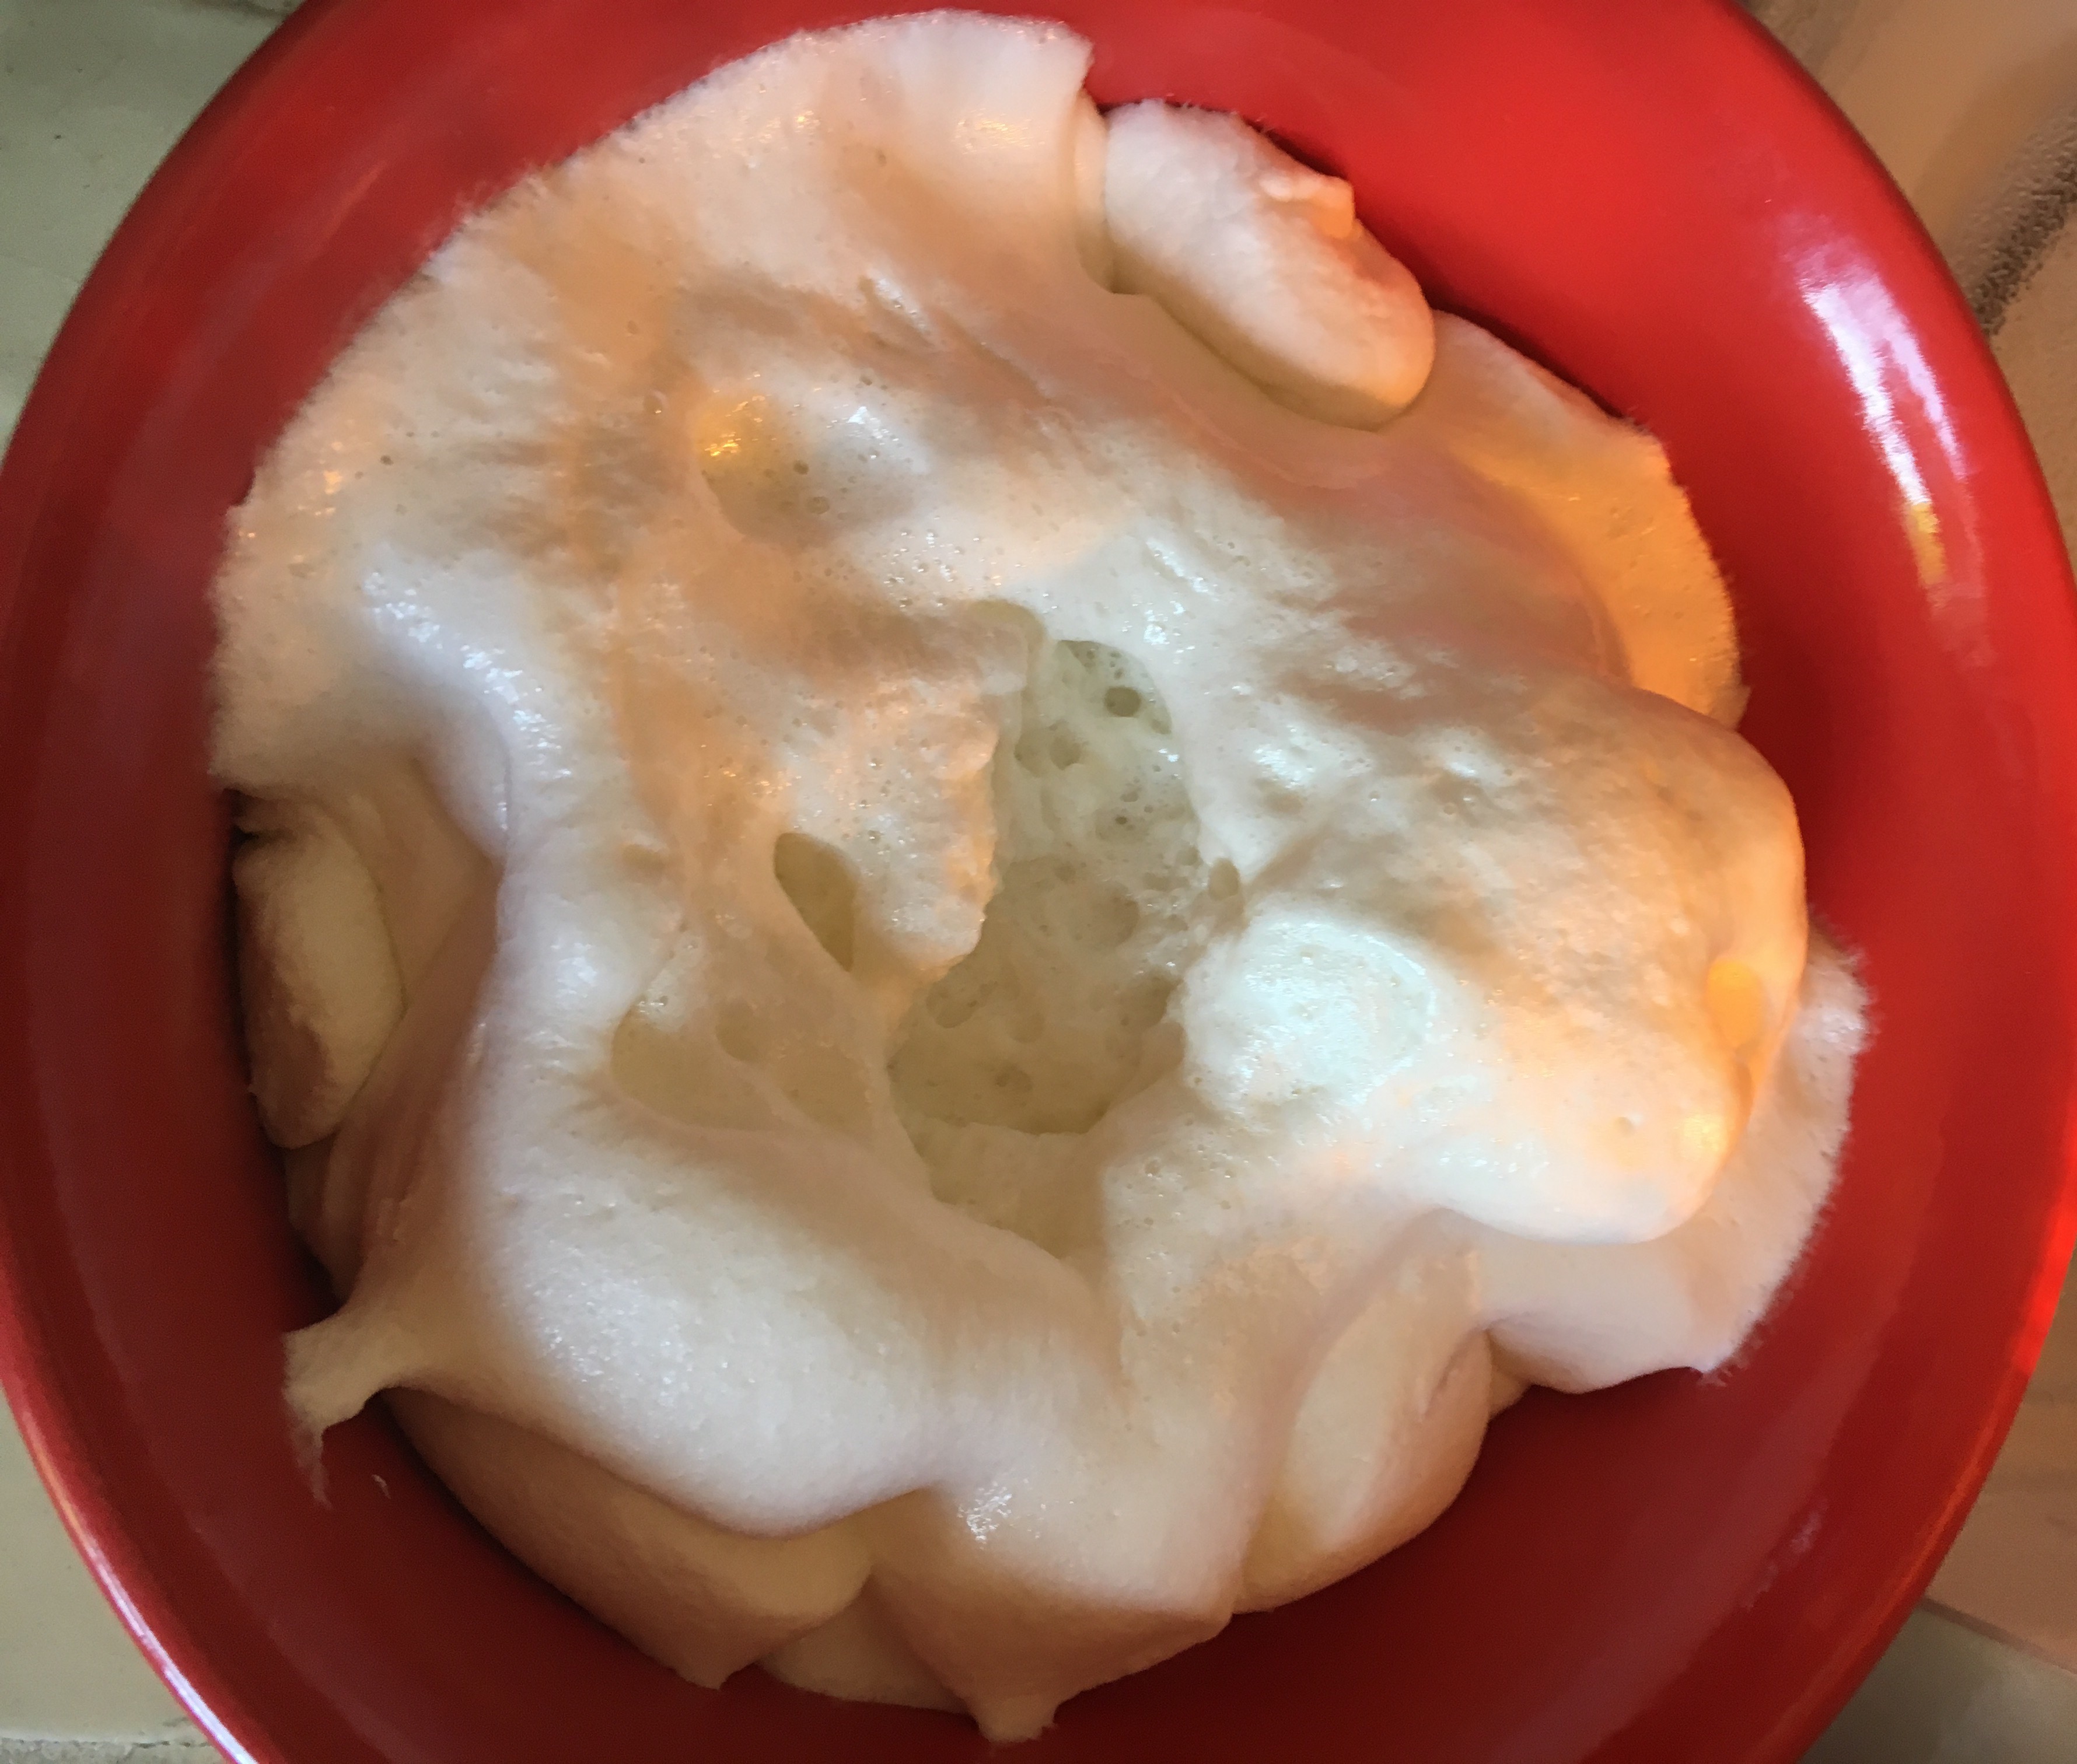
- We microwaved the mallows in a microwave-safe bowl for around 45 seconds, and watched them fluff up into an adorably delectable white mountain.

- We added around 1/4 cup of water (start with just a few tsps) and mixed.
- We scooped the mixture out onto the baking sheet and spread it out.
- We added several drops of food coloring to the sticky mixture.

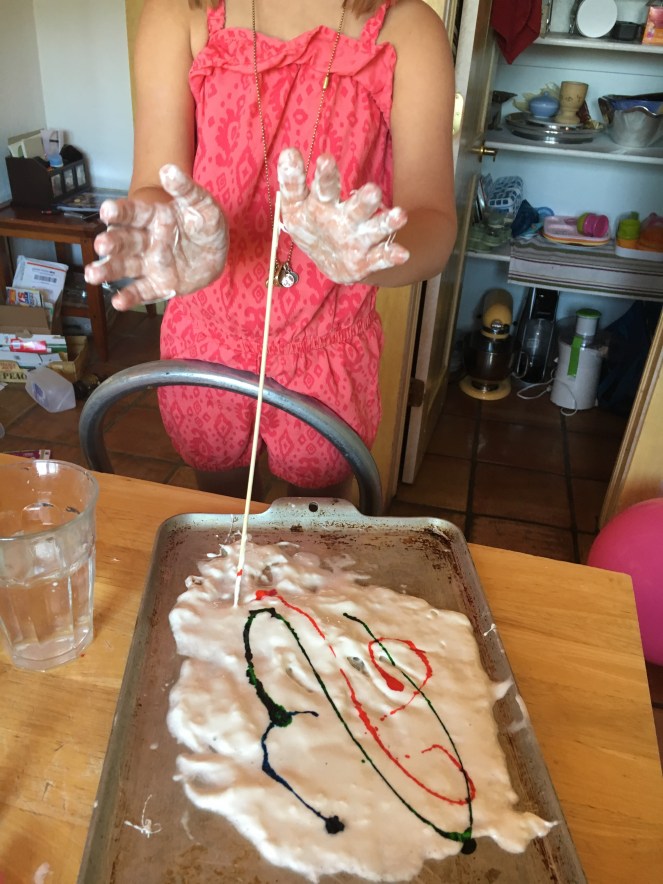
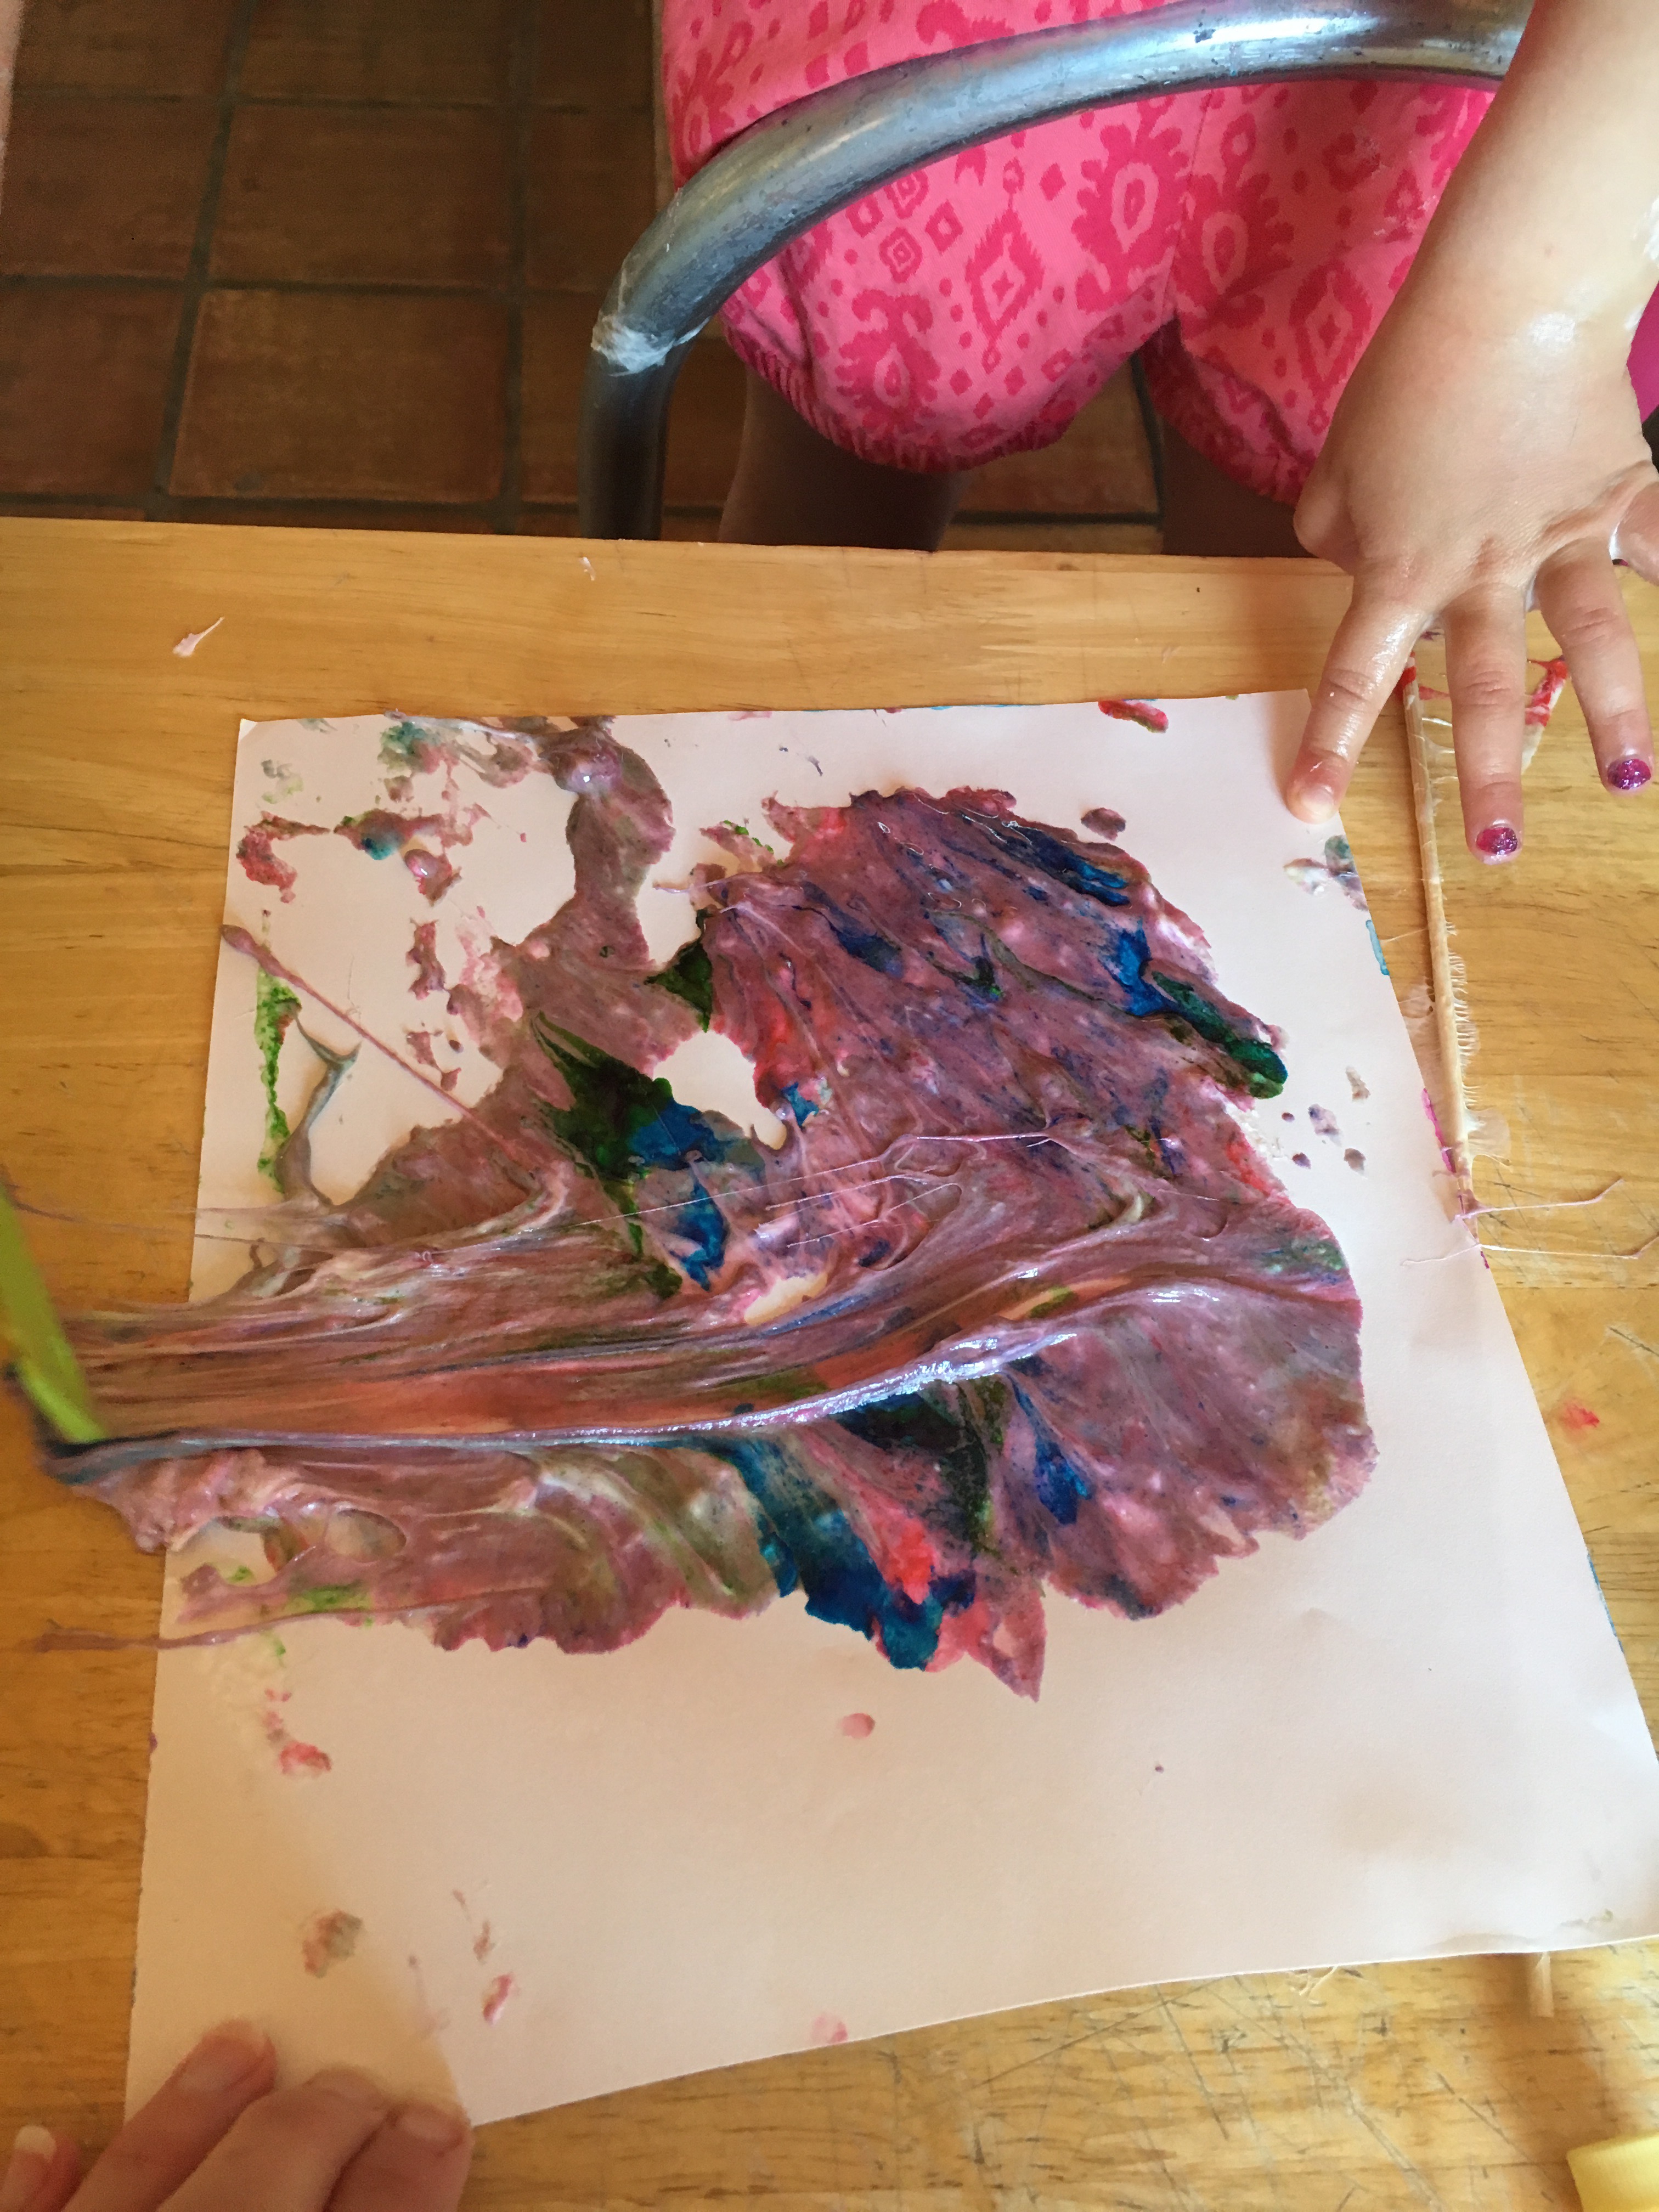
- Miss R took a spoon and a skewer and swirled in the food coloring.

- Once R was happy with her color composition, she took a piece of construction paper and pressed it into the tray.

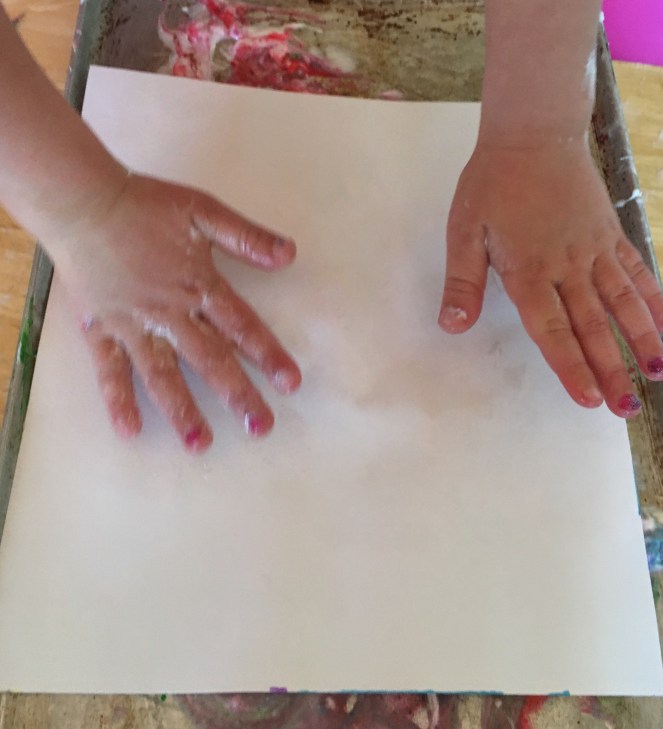
- R then slowly pulled the paper off, watching the stickiness with great fascination.

- She then took her ruler and scraped off excess “paint”.

- We repeated the process several times and then hung our work OUTSIDE.


Now, if you’re underwhelmed by and find the initial results to be a bit lackluster, just wait. When the paint dries, it transforms and becomes shiny, thick and texturally interesting. 


Got any other food art to share? Let me know!! Happy summering.

Another winner!
LikeLiked by 1 person
Very cool!! I’d be so tempted to keep it, but the photos are awesome.
Food art? Hmm, I must be a real novice in this department, because the only food art we do is a pasta collage… Very 1992, I know… 🙂
LikeLiked by 1 person
An oldy but a goodie! Pasta necklaces are fun too.
LikeLiked by 1 person
This looks fun! and the outcome looks even more fun. Kind of reminds me of shaving cream painting. But we have made stamps out of potatoes and painted with those!
LikeLiked by 1 person
Yes! Very similar to shaving cream painting! And the potatoes — that’s been on my list! You may see me write about that here ;). Have a good night!
LikeLiked by 1 person
Such a fun idea!! I might try it with my nieces sometime – they’d love it!
LikeLiked by 1 person
That looks like such a fun gooey craft!!! Kids love getting their hands into goo!! Thank you so much for sharing
LikeLiked by 1 person